Build An Elasticsearch Query GUI Application Using Kivy and Python (Part 1)
Introduction
If you’re looking to create an Elasticsearch GUI app, using Kivy is a natural choice. The Kivy library is a cross-platform toolkit for developing applications with natural user interfaces using the Python programming language. When you use Kivy, you can deploy applications for all platforms including iOS, Android, Windows, Linux, and Windows.
In this first installment of our two-article series, we’ll show you how to install Kivy and the Elasticsearch client for Python, and we’ll explain how to import the package libraries inside a Python script. Our second article will include all the instructions and example code needed to create the Elasticsearch GUI app with Kivy and Python. part 2 of this Elasticsearch-Kivy series will explain how to create the class structure for the GUI application.
Kivy and Elasticsearch prerequisites and installation
Before we proceed with this tutorial, it’s important to review a few prerequisites that will be necessary to build an Elasticsearch GUI app with Kivy and Python:
You’ll need to have Python 3 installed. It’s recommended that you use Python 3.x instead of Python 2.7 when testing out the example code in this article as the older version of Python is deprecated and will be losing support.
The Elasticsearch cluster needs to be running on the machine that will be running the GUI app. This will ensure that Kivy can display the document information returned by Elasticsearch. You can use the following cURL request to verify that Elasticsearch is running:
1 | curl -XGET localhost:9200 |
The Kivy library has several dependencies such as PIL and Pygame, so you’ll need to have the PIP3 package manager installed on your system.
You’ll need to install the Pygame GUI library for Python using
pip3:
1 | pip3 install pygame |
- You’ll also need to install the Kivy library using
pip3:
1 | pip3 install kivy |
- Finally, you’ll need to make sure that the Elasticsearch low-level client for Python is installed:
1 | pip3 install elasticsearch |
NOTE: You may need to use elevated sudo permissions while installing with PIP on a Linux system.
Import the Kivy library to check if PIP3 installed it properly
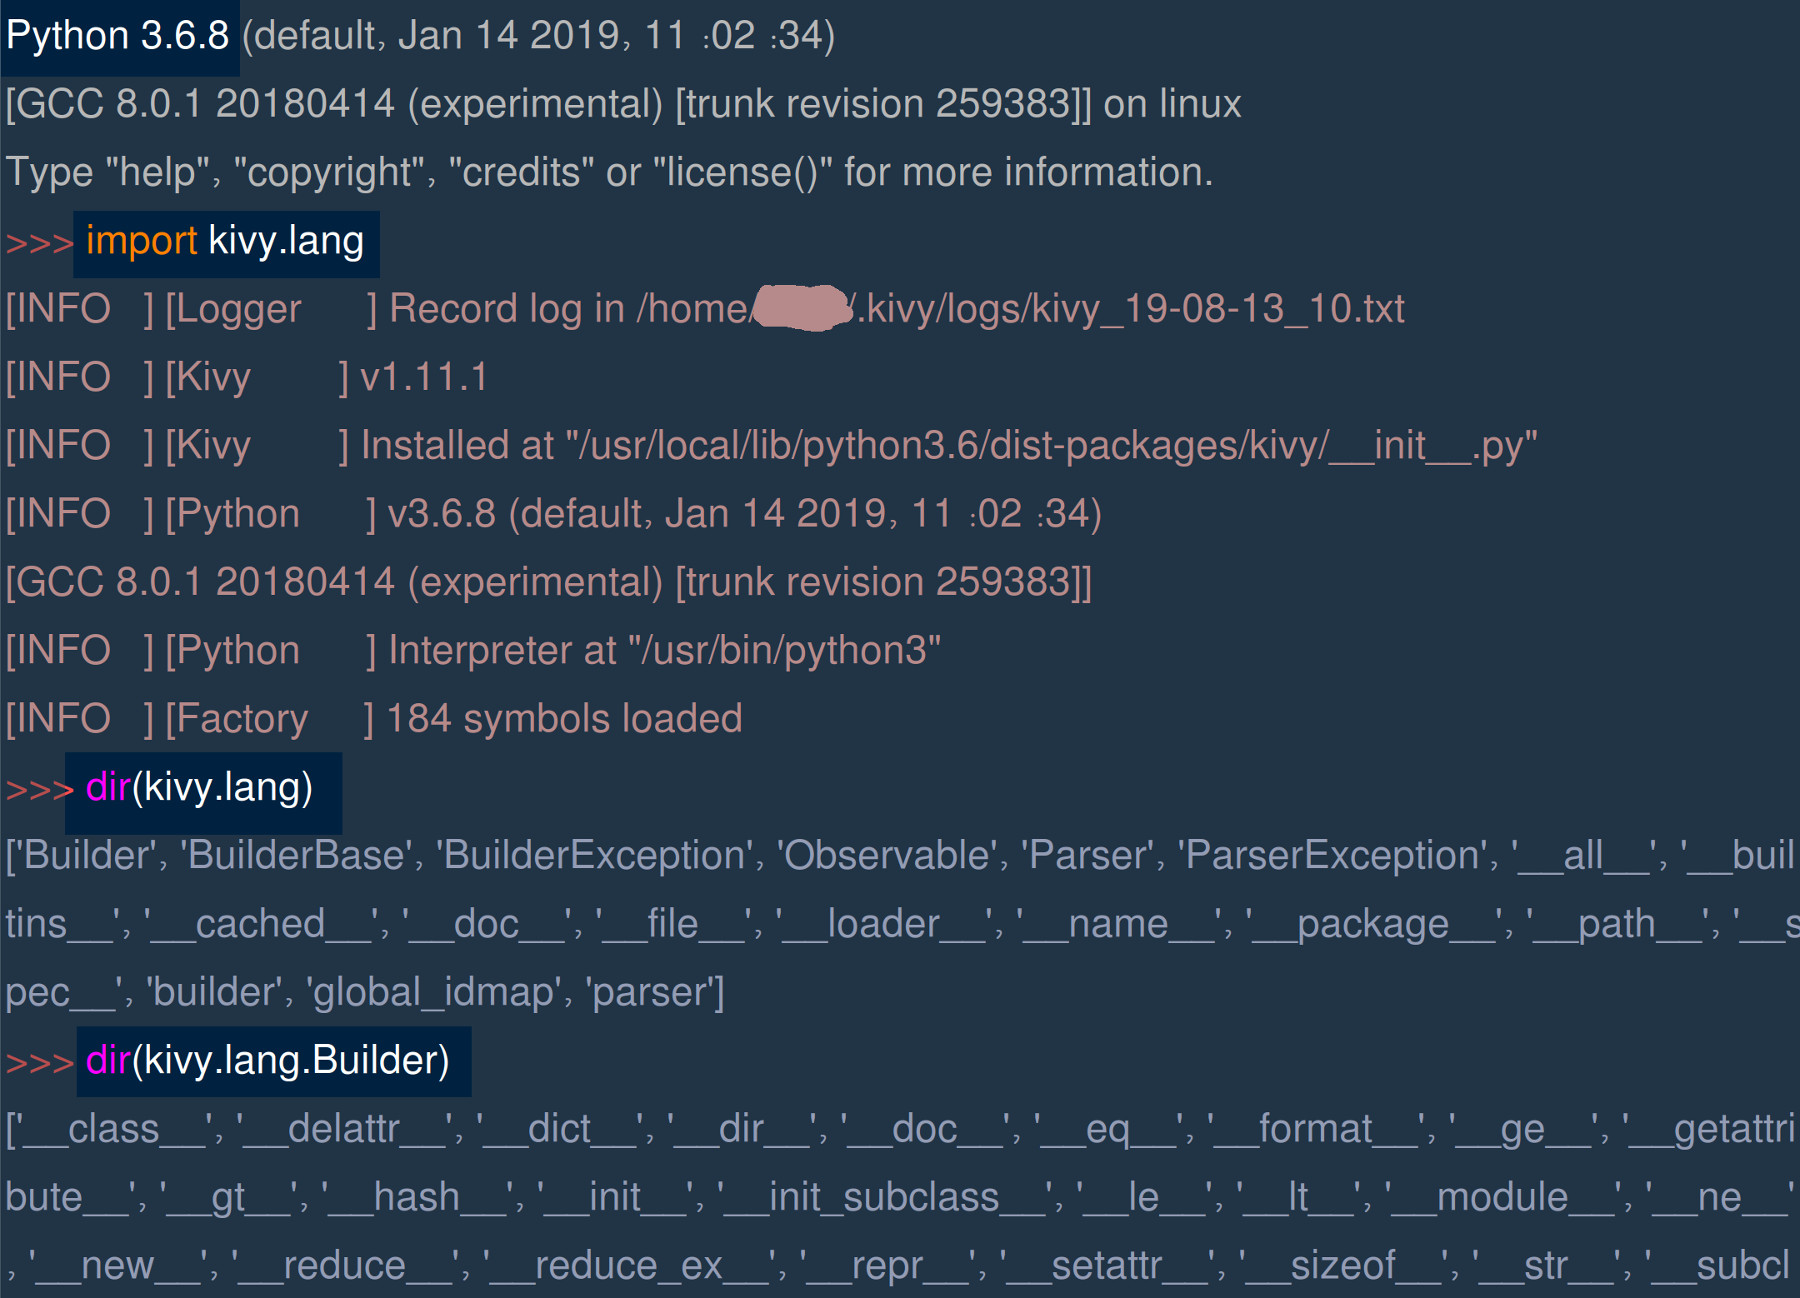
Once you’re done getting the prerequisites in place, it’s time to start working with Python. Open a Python interpreter or IDLE environment and try to import kivy to make sure that the library was installed properly:
1 | import kivy |
Two ways to create an application with Kivy and Python
Kivy allows you to develop applications using Python or using a Kv script (with a .kv file extension) written in the Kivy language. For the sake of simplicity, this tutorial will focus on an application written in “pure” Python.
There are also three ways to load a Kivy string in Python. You can use the Build.load() or Builder.load_string() methods, or you can have Kivy look for a Kv file automatically. Let’s look at some of these possibilities:
Use the Builder.load() method to load a Kivy string
In this example, we simply use Kivy’s Builder() method found in the kivy.lang library:
1 2 3 4 5 6 7 8 9 | from kivy.lang import Builder Builder.load_string(''' <MainApp>: Label: text: 'ObjectRocket AppLabel' Button: text: 'CLICK ME' ''') |
Use the Builder.load() method to load the Kv file
You can also pass a string containing the file name and the Kv file’s path to the Builder library’s load_file() method:
1 2 | from kivy.lang import Builder Builder.load_file('directory/path/to/kvfile.kv') |
Have Kivy load the Kv file automatically using the app name
Kivy will get a Kv file automatically if the filename is the same as your app’s class name, but spelled out in lowercase letters and without App at the end. For example, if the name of your app is ElasticApp then the .kv file should be named elastic.kv, and it should be located in the same directory.
Set up the Python script and the Kivy project directory
Next, let’s create a directory for the Elasticsearch Kivy app. You can use the mkdir command if you’re working on a UNIX-based terminal:
1 | mkdir elastic_app |
Change into the directory (cd elastic_app) and use the touch command to create a new Python script for the Kivy project:
1 | touch main.py |
NOTE: The typical naming convention for Python project directory and script names is all lowercase with hyphens (_) separating the words.
Import the Kivy and Elasticsearch libraries
Now that we’ve created our script, let’s edit it for the Kivy project and import the necessary Python packages so that we can have access to their method calls and libraries.
Import Python’s JSON library for the Elasticsearch API response
We’ll need to import Python’s native JSON library so that its dumps() method call can be used. The dumps() method is needed to convert the dict response returned by the Elasticsearch client into a human-readable JSON string that can be assigned to a Kivy widget’s text property:
1 2 | # import the JSON library to prettify the API response import json |
Import the Elasticsearch low-level client library for Python
We’ll also need to import the Elasticsearch client package library:
1 2 | # import the Elasticsearch client library from elasticsearch import Elasticsearch |
Import the Kivy app and UIX libraries
Our Elasticsearch application will require several different types of widgets, including labels, buttons, and text input UIX objects. In the following section of code, we import each respective library for Kivy:
1 2 3 4 5 6 7 8 9 10 11 | # import the necessary UIX libraries for the Kivy app from kivy.app import App from kivy.uix.button import Button from kivy.uix.label import Label from kivy.uix.textinput import TextInput # import the FloatLayout library for UIX object location from kivy.uix.floatlayout import FloatLayout # import the Config library to set window size from kivy.config import Config |
Create an Elasticsearch client instance
We’ll use the Elasticsearch client to declare a client object instance of the library:
1 2 | # create a client instance of Elasticsearch client = Elasticsearch("http://localhost:9200") |
Since the example app we’re building is designed for development and testing purposes, we use the localhost:9200 domain and port number.
Use Kivy’s Config library to set the app’s window size
Make sure to set your desired application window size by calling Kivy’s Config.set() method graphics configuration with
1 2 3 | # set the app's window size with Config Config.set('graphics', 'width', '1024') Config.set('graphics', 'height', '1536') |
Define a Python function to make Elasticsearch queries
The application that we’re building is designed to make an API query request to Elasticsearch when the user clicks on a GUI button. Let’s take a look at the global function that will get called when the button event is triggered:
1 2 3 4 5 6 7 8 9 10 | # define a function for the Elasticsearch query API call def make_query(filter, index_name): # make an API call to check if the index exists index_exists = client.indices.exists(index=index_name) # if it exists then make the API call if index_exists == True: print ("index_name:", index_name, "exists.") print ("FILTER:", filter, "\n") |
NOTE: This function is designed to return an error response if the index name doesn’t exist.
Use a try-except block to catch Elasticsearch API exceptions
If the Elasticsearch index in question exists, the function call will make an API request to Elasticsearch. This API call will take place inside a try-except indentation block to catch any API or HTTP errors returned by the Elasticsearch cluster. Catching errors allows them to be displayed in the Kivy GUI application itself:
1 2 3 4 5 6 7 8 9 10 11 12 | # catch any exceptions and return them to Kivy app try: # pass filter query to the client's search() method response = client.search(index=index_name, body=filter) # print the query response for debugging purposes print ('response["hits"]:', len(response["hits"])) print ('response TYPE:', type(response)) except Exception as err: print ("search() index ERROR", err) response = {"error": str(err)} |
Keep in mind that in a more “polished” production stage of the app’s development, you may not want to display errors in a Kivy widget. However, this method of handling errors is ideal for the development and debugging stages.
Return an error message if the Elasticsearch index doesn’t exist
The following section of code handles cases where the Elasticsearch index does not exist. Simply use the else statement for the indices.exists() API response to return a response saying that the index does not exist:
1 2 3 4 5 6 7 8 9 | # error text response if index doesn't exist else: # build a string for the index-does-not-exist response resp_text = "Elasticsearch index name '" + str(index_name) resp_text += "' does not exist." response = {"response": resp_text} # return the dict response to Kivy app return response |
Conclusion
Building an Elasticsearch GUI app with Kivy and Python is a complex task, so we’ve broken up our tutorial into two articles. This first article in our two-part series demonstrated how to install and import the Elasticsearch and Kivy package libraries for Python. It also explained how to create a function that will pass a filter query dict object to the search() method call. In the next installment in this series, we’ll show you how to create a Kivy application and how to change the UIX labels to reflect the JSON data returned by the API query.
Just the Code
Here’s the Python script we created in its entirety (Please check out part 2 of this Kivy series to see the finished code for the GUI application):
1 2 3 4 5 6 7 8 9 10 11 12 13 14 15 16 17 18 19 20 21 22 23 24 25 26 27 28 29 30 31 32 33 34 35 36 37 38 39 40 41 42 43 44 45 46 47 48 49 50 51 52 53 54 55 56 57 58 59 60 61 | #!/usr/bin/env python3 #-*- coding: utf-8 -*- # import the JSON library to prettify the API response import json # import the Elasticsearch client library from elasticsearch import Elasticsearch # import the necessary UIX libraries for the Kivy app from kivy.app import App from kivy.uix.button import Button from kivy.uix.label import Label from kivy.uix.textinput import TextInput # import the FloatLayout library for UIX widget's location from kivy.uix.floatlayout import FloatLayout # import the Config library to set window size from kivy.config import Config # create a client instance of Elasticsearch client = Elasticsearch("http://localhost:9200") # set the app's window size with Config Config.set('graphics', 'width', '1024') Config.set('graphics', 'height', '1536') # define a function for the Elasticsearch query API call def make_query(filter, index_name): # make an API call to check if the index exists index_exists = client.indices.exists(index=index_name) # if it exists then make the API call if index_exists == True: print ("index_name:", index_name, "exists.") print ("FILTER:", filter, "\n") # catch any exceptions and return them to Kivy app try: # pass filter query to the client's search() method response = client.search(index=index_name, body=filter) # print the query response for debugging purposes print ('response["hits"]:', len(response["hits"])) print ('response TYPE:', type(response)) except Exception as err: print ("search() index ERROR", err) response = {"error": str(err)} # error text response if index doesn't exist else: # build a string for the index-does-not-exist response resp_text = "Elasticsearch index name '" + str(index_name) resp_text += "' does not exist." response = {"response": resp_text} # return the dict response to Kivy app return response |

Pilot the ObjectRocket Platform Free!
Try Fully-Managed CockroachDB, Elasticsearch, MongoDB, PostgreSQL (Beta) or Redis.
Get Started