How To Integrate Elasticsearch with WordPress Fantastic Elasticsearch Plugin
Introduction
Like many standard websites, it’s common for WordPress sites to contain a Search box so that users can enter keywords and phrases of the content they want to locate. This works fine if your site is small with a tiny amount of content. The thing is, your site will likely grow and you’ll soon need a way to quicken the retrieval of search results.
When it comes to searching for data on a large site, users can’t wait. They need to see results from a large database fast and now. That’s because every time someone uses a Search box, it uses up system resources. Imagine many queries taking up many resources, every day.
Whether your site is small, medium, or large, a viable solution is to integrate Elasticsearchy with WordPress Fantastic Elasticsearch plugin. This step-by-step tutorial explains how to accomplish that task in the smoothest way.
Prerequisites:
Install and run the following applications:
- WordPress
- Elasticsearch – Install from the Elastic Stack set of products.
For this tutorial, WordPress and Elasticsearch is all you need. To find out more about the Elastic Stack, visit the Elastic’s download page.
Note: You can use the elasticsearch parameter from the bin directory to start Elasticsearch.
1 | bin/elasticsearch |
- From your browser, go to localhost:9200. Check that Elasticsearch service is running.
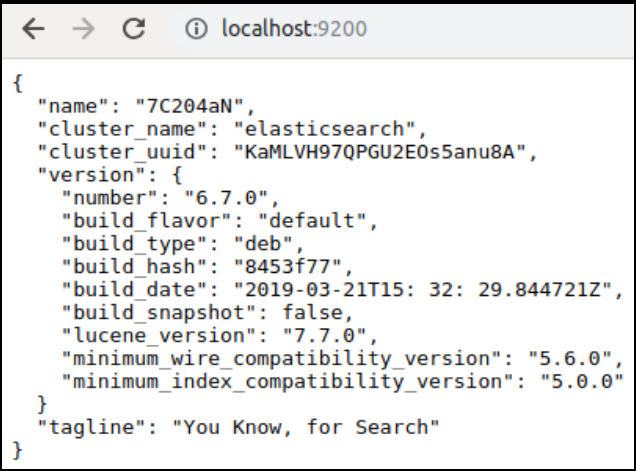
Configure ElasticSearch with WordPress
Open a browser window and enter “_localhost/wordpress_sitelocation” to open your WordPress site.
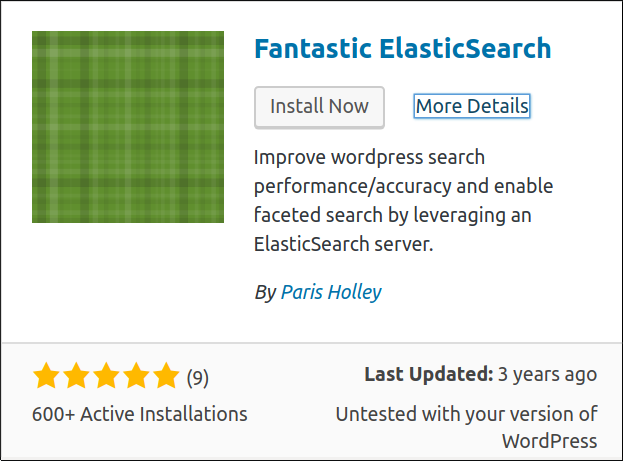
On the Plugins page in WordPress, go to the search bar and type in “fantastic elasticsearch.”
To install the Fantastic Elasticsearch WordPress plugin, click “Install Now.”
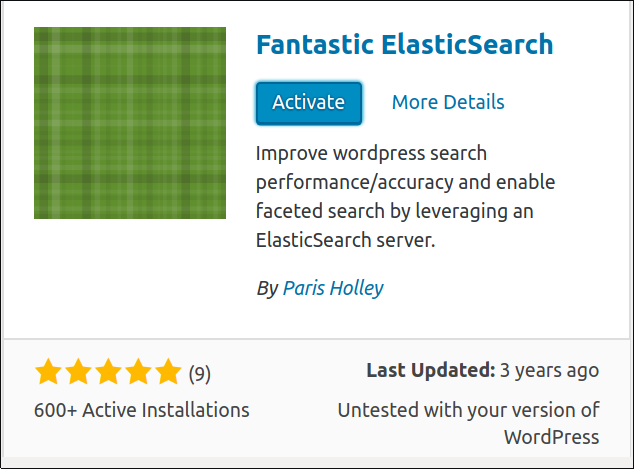
- Click “Activate” to complete the plugin installation process
Configure the Settings for Elasticsearch
- In WordPress, click “Server Settings” tab.
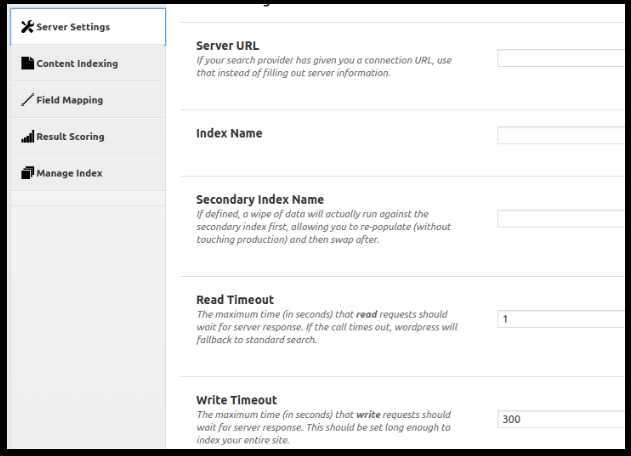
Configure the Settings for WordPress Integration
Click the “WordPress Integration” tab.
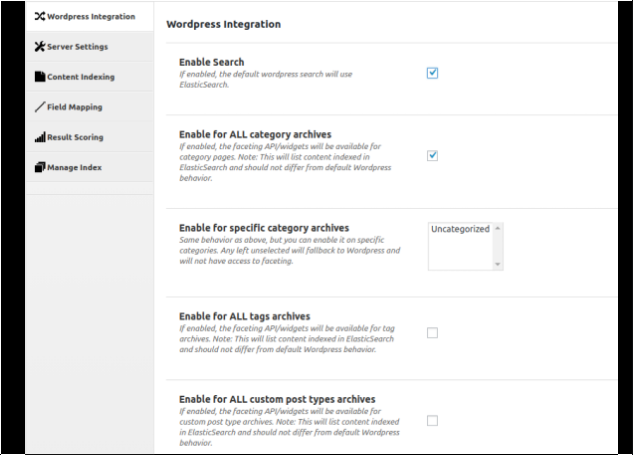
View the settings and select the ones you want to enable or disable. At a minimum, check the boxes for “Enable Search,” and “Enable for ALL category archives.”
NOTE: WordPress is known for its capability to handle the sorting of blog posts and other content. If you have content that falls into other categories other than “uncategorized,” you’ll want to be sure to select all of those listed in the HTML scrollbox next to “Enable for specific category archives.” If you miss them, the plugin will ignore them too.
Check the “Enable for all tag archives” checkbox if you want the API/widgets to tag them. Content in Elasticsearch will be indexed.
Check the “Enable for ALL custom post type archives” if you want the API/widgets to tag them. Content in Elasticsearch will be indexed for them as well.
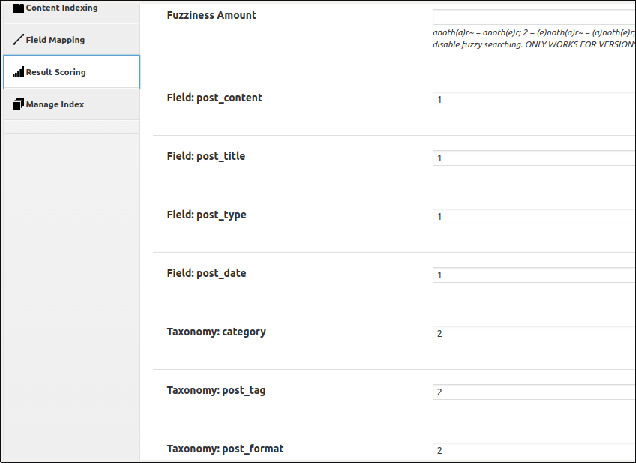
Configure Result Scoring Fields
- These are optional settings. You can leave the default settings as they are or you can change them based on how you want the results to rank in your searches. For example, if you want to change the “Fuzziness Amount,” which is the number of words that can be swapped out, you enter that number in the associated text box on the right side.
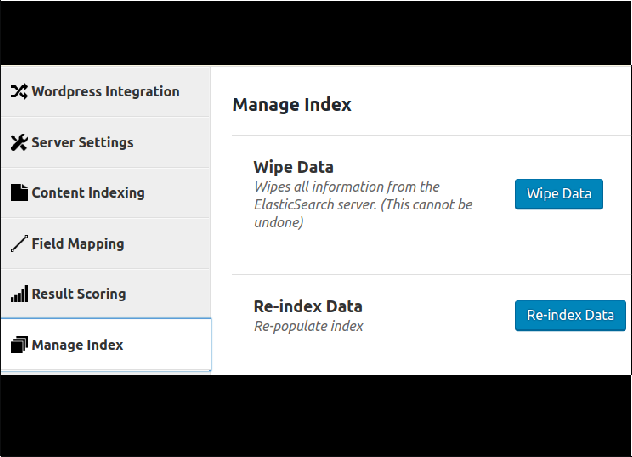
- Go to the “Manage Index” tab to wipe the data or re-index data. Use the “Wipe Data” page with caution as this deletes all of the information from ElasticSearch server—you can’t go back and retrieve it.
The beauty of the WordPress Fantastic Elasticsearch plugin is that as new posts are published and deleted on WordPress, the updates to Elasticsearch occur automatically.
Conclusion
In this tutorial, you learned how to integrate Elasticsearchy with WordPress Fantastic Elasticsearch plugin. It enables users to quickly find what they need from a comprehensive database. After you installed the plugin, you freed up resources so your site doesn’t get bogged down. The bottom line is that WordPress and Elasticsearch together increase search satisfaction for you and those who visit your site. In actuality, because it offers a more streamlined search experience, using the WordPress Fantastic Elasticsearch plugin is a good way to promote repeat visits.
Pilot the ObjectRocket Platform Free!
Try Fully-Managed CockroachDB, Elasticsearch, MongoDB, PostgreSQL (Beta) or Redis.
Get Started


