How to install the high-level .NET NEST client for Elasticsearch
Introduction
Elasticsearch uses the .NET high-level client, ElasticClient in NEST to interpret a variety of conventions. Some of these include inferences for document IDs, property names, index names as well as conjunctures for creating Uniform Resource Identifier (URI) paths to indices and documents.
Mapping to fields and JavaScript Object Notation (JSON) documents must occur before that happens though. For the best user experience, you should explicitly control document mapping, otherwise, Elasticsearch will infer it and you’ll have less mapping manipulation ability. The good news is that with ElasticClient, you get a high-level client and a high level of control to match.
Just so you know, Elasticsearch also uses another .NET client, the low-level client, Elasticsearch.Net which uses the property `LowLevel. It is dependency-free. We won’t focus on that here.
This tutorial shows you how to install high level .NET NEST client Elasticsearch. The high-level client ElasticClientdeals with mapping documents and is JSON.NET dependent. Its query is a robust domain specific language (DSL) and it maps seamlessly with Elasticsearch’s full Query DSL.
Prerequisites
Visual Studio IDE – Microsoft’s comprehensive development tools for creative coders. It’s available for Windows and macOS environments. Download the latest version. Install, and run the application.
.NET Core – Download both of Microsoft’s .NET Core SDK and .NET Core Runtime applications. They’re available for Windows, osMAC, and Red Hat Linux (UNIX-like) environments. In UNIX, the .NET Core SDK version should also be available from its terminal.
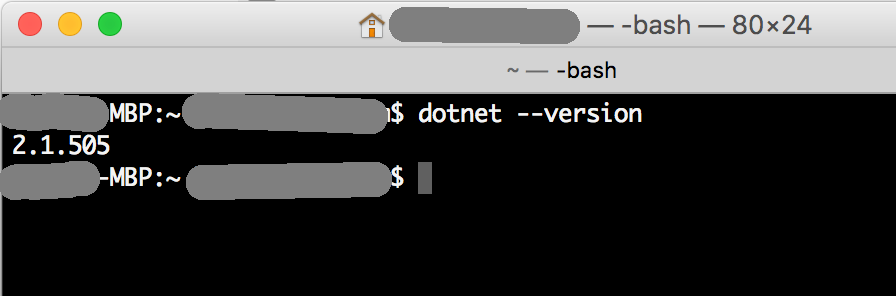
1 | dotnet --version |
This image shows the .NET version on a macOS.
For macOS especially, but also as a general rule, when downloading .NET programming applications, always use the latest version. Elasticsearch v5 is the minimum version level that is compatible for Elasticsearch’s .NET client. Download the most recent version—higher than v5—if possible, to get the latest features, bug fixes, and streamlined technological advances.
Tips for Installing Visual Studio
Installer packages for macOS and Windows are simple enough. However, you might face challenges with Ubuntu, Red Hat Linux, Linux CentOS, SUSE, Fedora, and Debian. In that case, you’ll need to download one of the Visual Studio Code – installer packages. If you’ve experienced problems installing Visual Studio for macOS or Windows, you can download a Visual Studio Code installer package for either one of those platforms from that link too.
Debian and Ubuntu platforms require the
.debVisual Studio Code package installer.Fedora, SUSE, and all Linux platforms including CentOS require the
.rpmVisual Studio Code package installer.
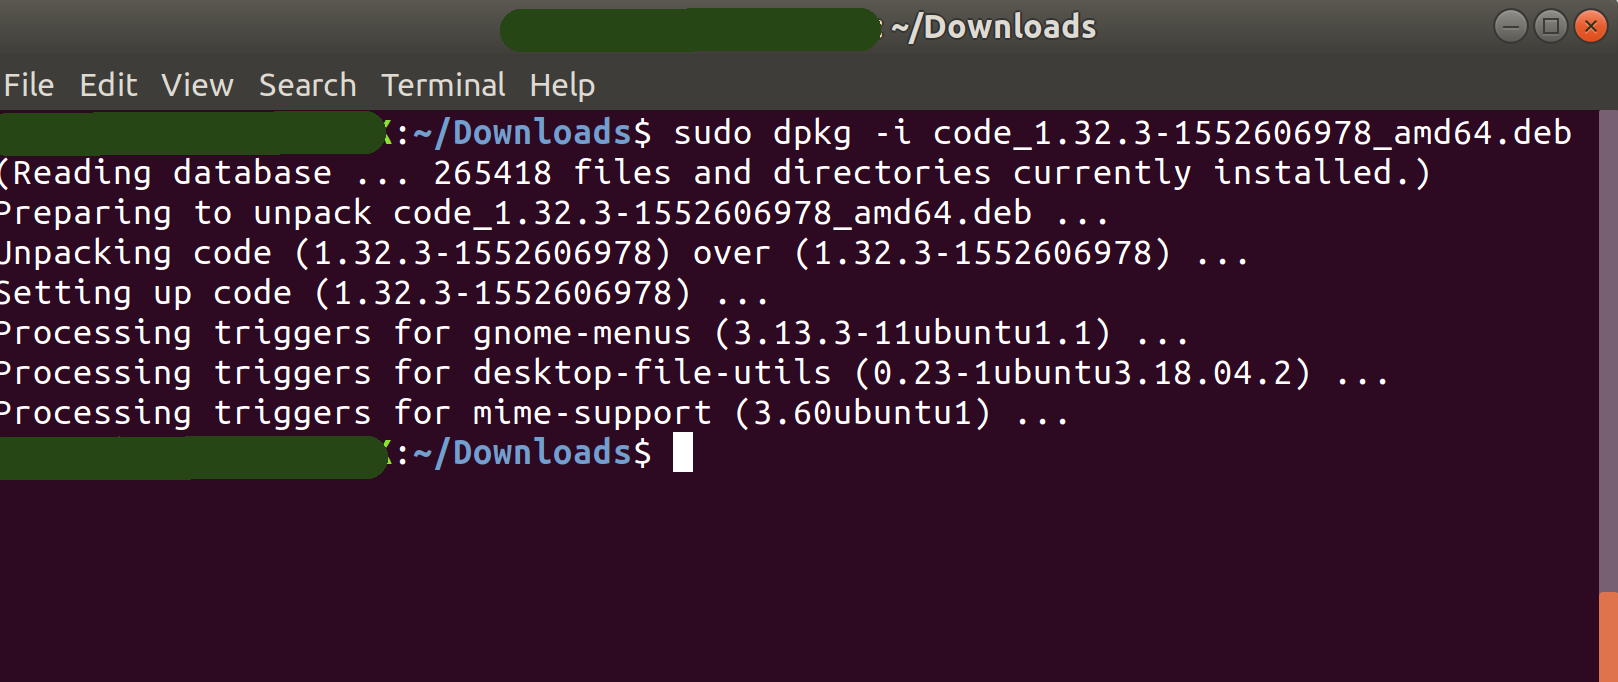
This image is an example of the Visual Studio Code being downloaded on an Ubuntu platform.
Download, and Install NEST Client and the Associated Dependencies
You’re ready to install JSON
Create a Test Project.
Double-click the Package Manager icon. Select the JSON packages to add them to your project.
More information about JSON packages can be found at npmjs.com and Newtonsoft.Json.
The image below is an example of how to add the JSON packages.
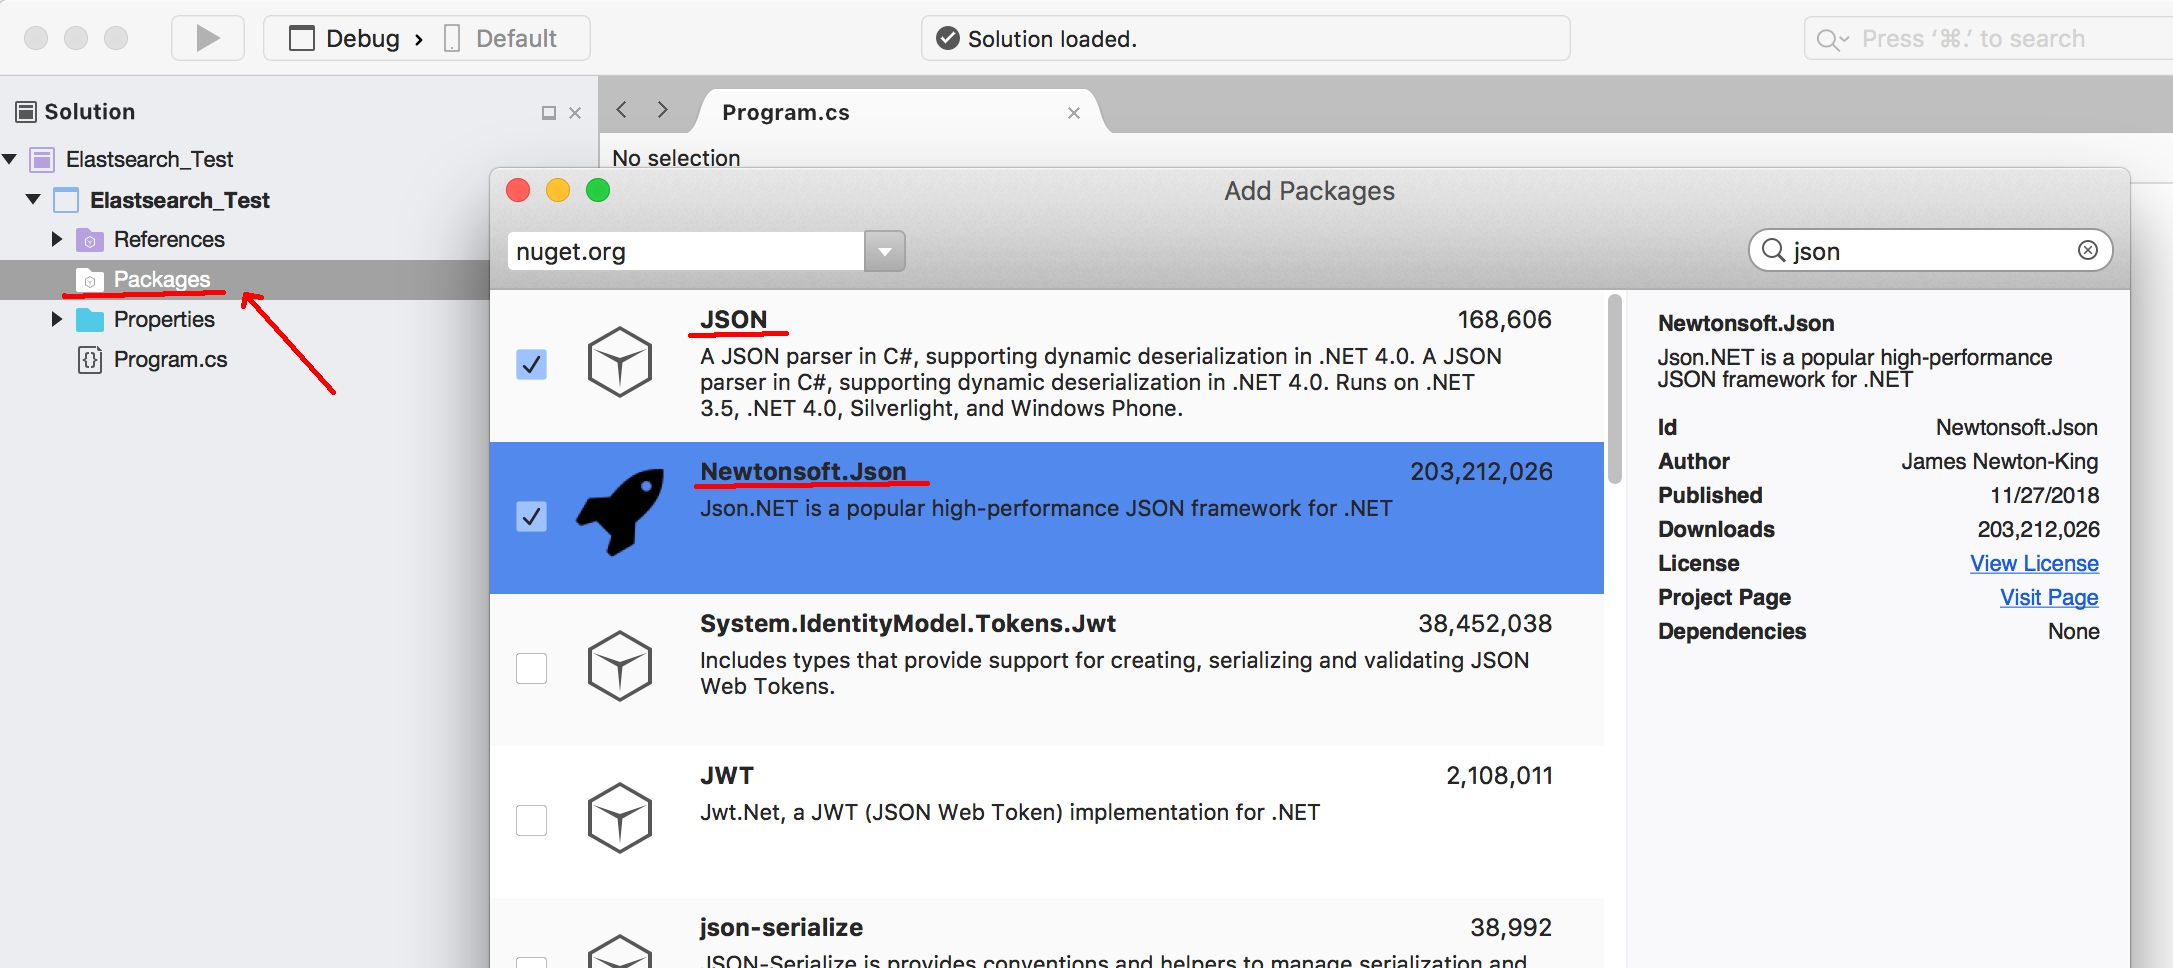
- Click “Add package to complete the process.
Now you’re ready to install the .NET NEST client in Elasticsearch
- Go to Packages folder and then double-click it. Select the NEST and NEST JsonNestSerializer packages to add them to your project.
The image below illustrates how to add the high-level .NET NEST client Elasticsearch to your project.
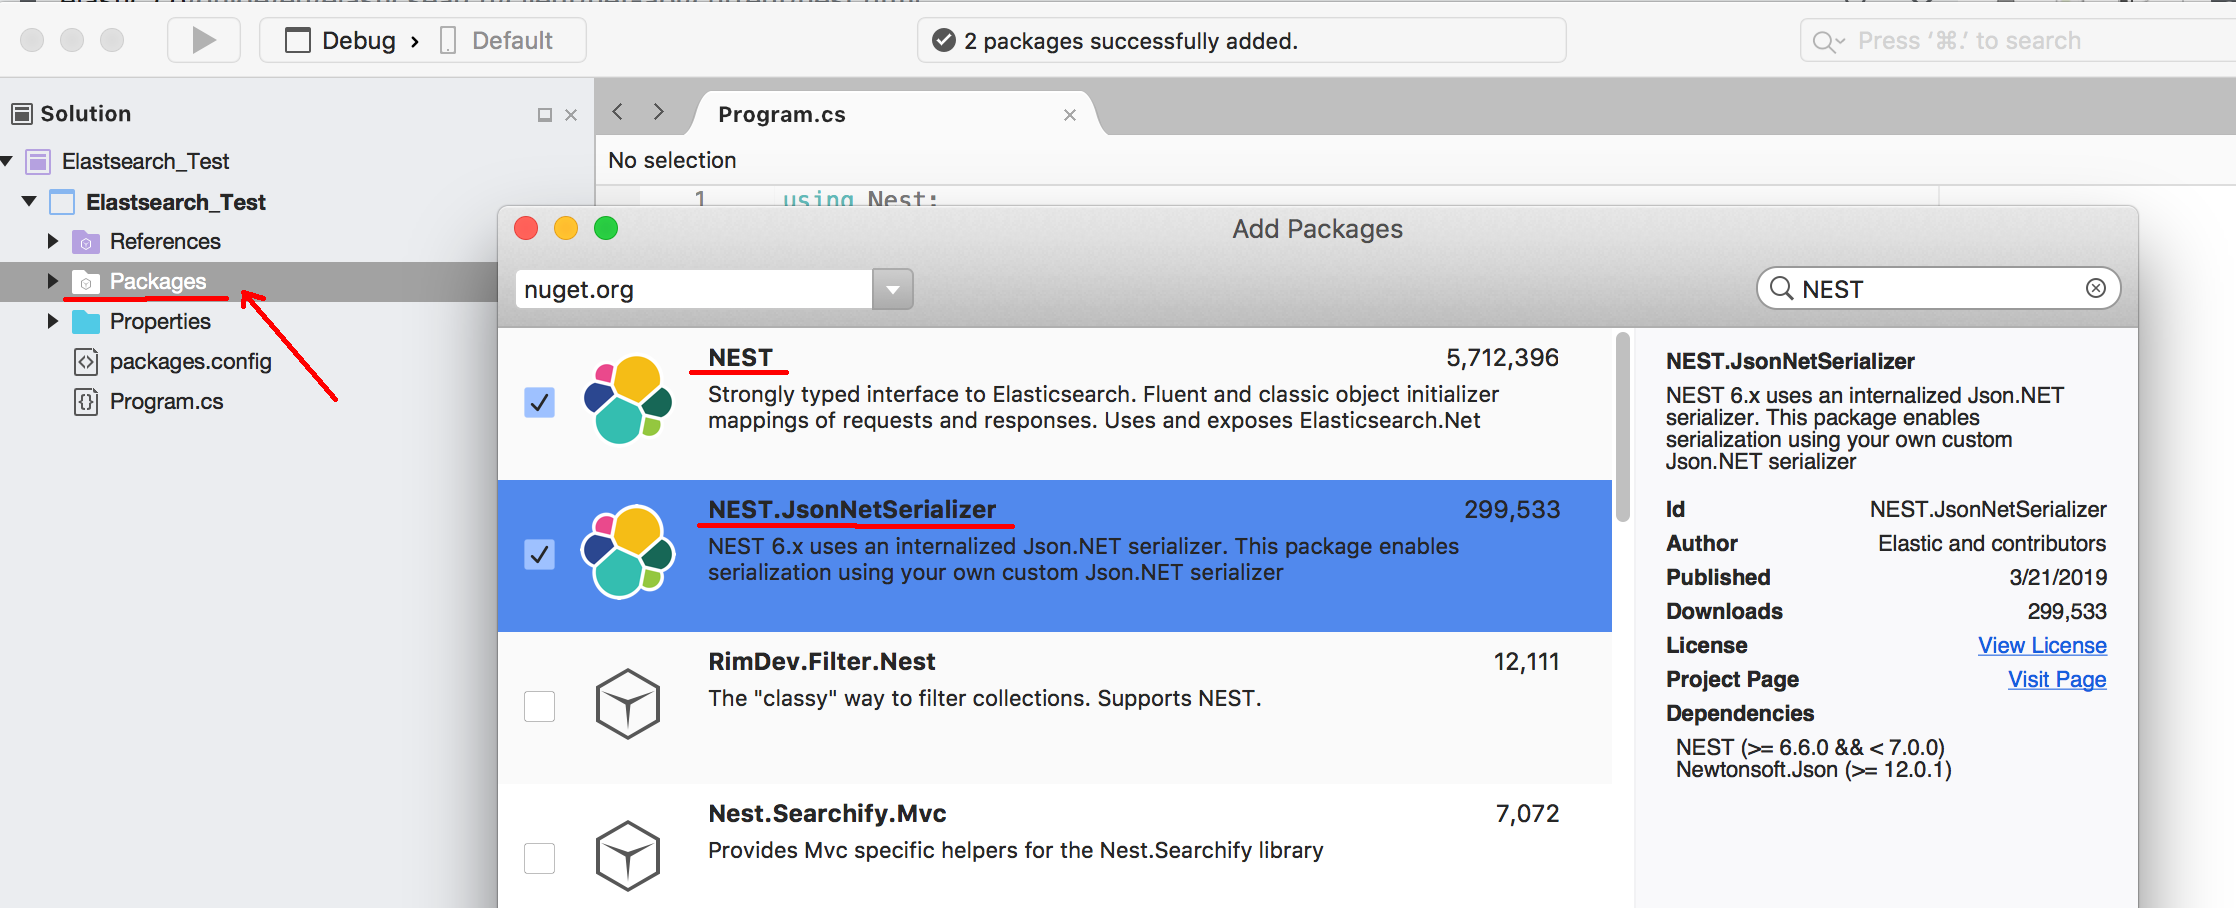
- Click “Add Package” to complete the process.
Install high level .NET NEST client for Elasticsearch in a Visual Studio Project
Open Visual Studio, and then create a new project.
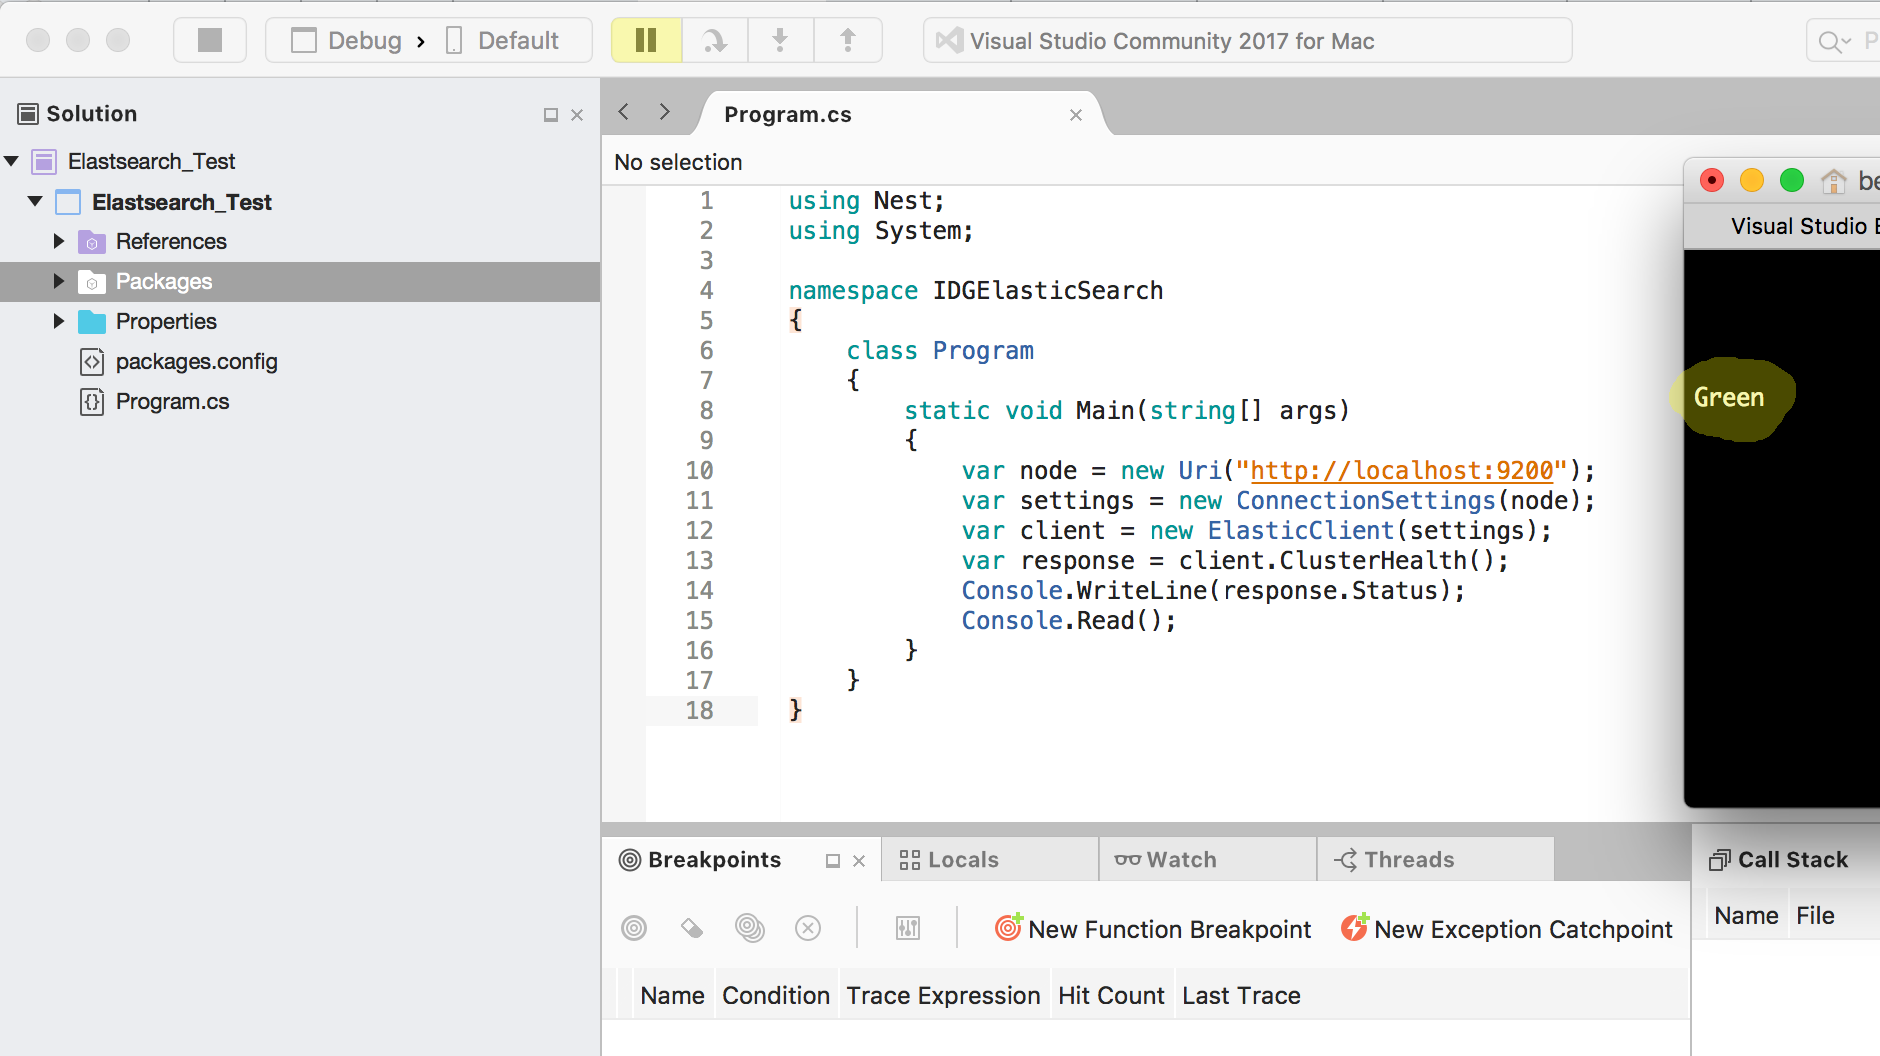
The C# script code example below shows how to connect Visual Studio to NEST, Elasticsearch’s high-level client,
ElasticClient:
1 2 3 4 5 6 7 8 9 10 11 12 13 14 15 16 17 18 19 20 21 22 23 | using Nest; using System; namespace IDGElasticSearch { class Program { static void Main(string[] args) { // create a new node instance (change default port for Elasticsearch if needed var node = new Uri("http://localhost:9200"); // settings instance for the node var settings = new ConnectionSettings(node); // new client instance var client = new ElasticClient(settings); // get a cluster health response var response = client.ClusterHealth(); Console.WriteLine(response.Status); // output the response status to a terminal console Console.Read(); } } } |
You can run the script in one of two ways:
1) Debug it by pressing the F5 key.
Or
2) Press the Run arrow button.
This image shows the Visual Studio code used to connect to Elasticsearch.
Conclusion
After you install high-level .NET NEST client ElasticClient, you’ll gain better control of mapping documents and fields. NEST uses suppositions for building URI paths and associating index names with files, for example. Therefore, ElasticClient plays a big role in giving you access to faster and more accurate data search and retrieval.

Pilot the ObjectRocket Platform Free!
Try Fully-Managed CockroachDB, Elasticsearch, MongoDB, PostgreSQL (Beta) or Redis.
Get Started