How to install and use Curator Python in Elasticsearch
Introduction
If you have indices stored in Elasticsearch, Python’s Curator module is a tool you will love. Just as a museum curator manages the displays, Curator helps you manage all of your indices. Curator Python for Elasticsearch allows you to create your own scripts to perform various tasks. The Elasticsearch Curator Python API supports Python versions 2.7 and later and is currently compatible with the 5.x Elasticsearch versions.
Elastic’s official Github repository the Curator module
Prerequisites
- While the Python code will function on Windows machines, this article will explain how to install and use the Curator module on UNIX-based machines, such as a macOS or Linux.
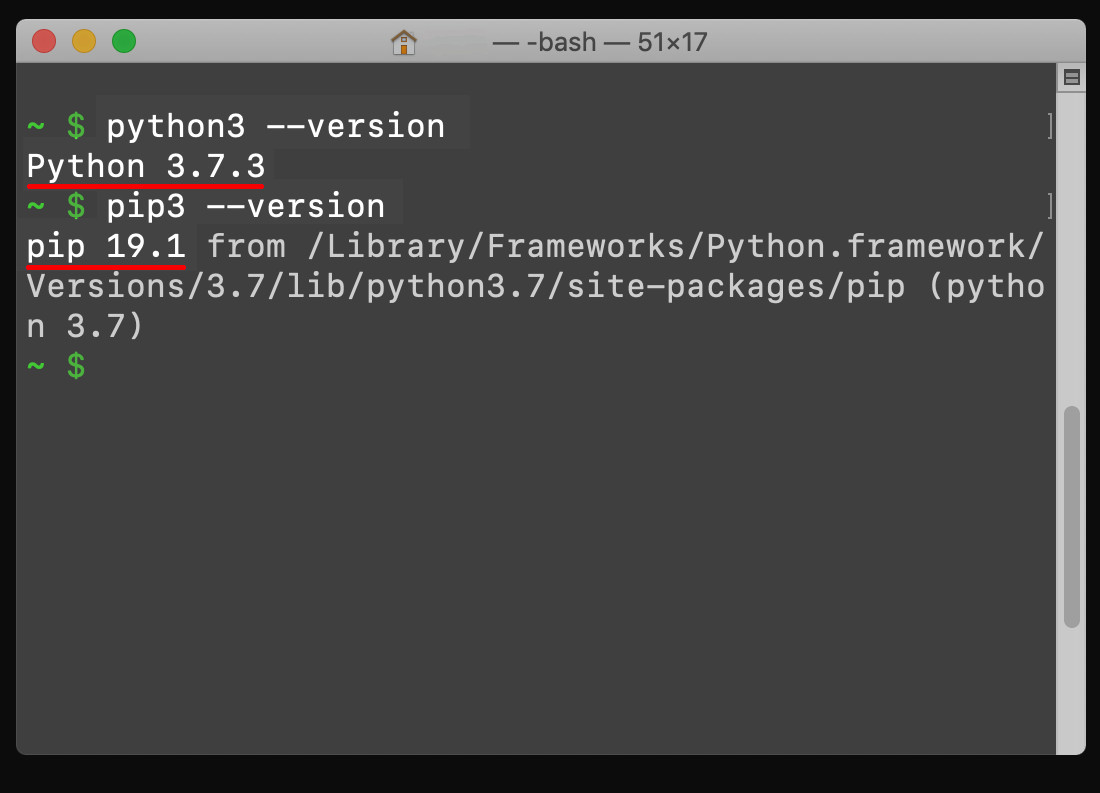
- You are advised to use Python 3 as Python 2 is depreciating and will be obsolete by 2020. A listing of all Python 3 dependencies for the
curatorlibrary are listed in the repository’s Debian page. - Be sure you have the most recent stable release of Python 3 on your machine.
- The commands for
python3and thepip3package manager each follow the following format (ending with a3) :
1 2 | python3 some_script.py pip3 install examplemodule |
- The Elastic Stack must be installed and running properly on your machine for you to be able to import data to your target cluster. You will need to have an index created on your cluster to place the Python data into.
- Use a private key to establish SSH access to your server.
Install the Curator Module
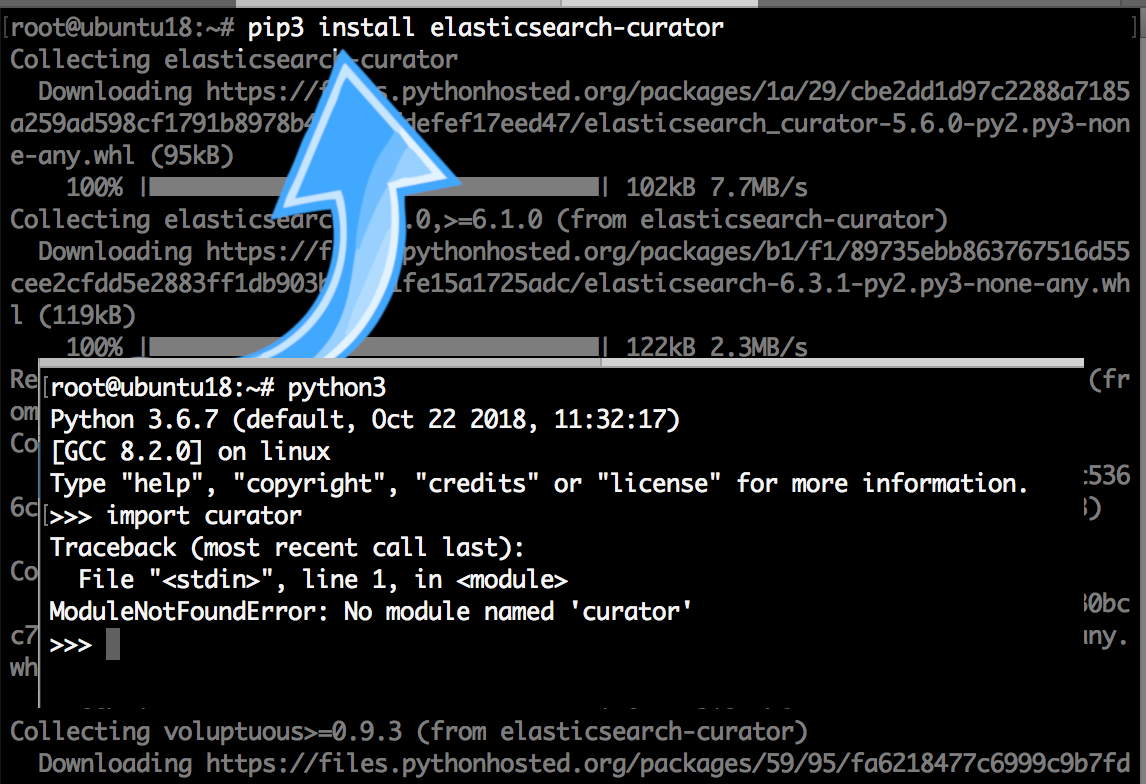
- Use the Python 3’s
pip3package manager to install Curator:
1 | pip3 install elasticsearch-curator |
 If Curator is already installed on you machine, employ PIP’s
 freeze command to obtain the currently-installed version:
1 | pip3 freeze | grep curator |
It should return something similar to this:
1 | elasticsearch-curator==5.6.0 |
Once Curator is installed, use the --help option to view a list of all the commands:
1 | curator --help |
Configure Curator
The default file and directory for the configuration file is:
1 | ~/.curator/curator.yml |
The . in front of the directory denotes that directory is hidden. If there is no hidden directory in your home (~) directory for Curator, (use ls -a to list hidden files and folders in a directory), and you will then be able to create the directory and the YAML configuration file yourself:
1 2 3 | sudo mkdir ~/.curator/ cd .curator sudo touch curator.yml |
The most essential curator.yml fields to configure in the file are the "hosts:" and "port:" fields. Make sure Elasticsearch is running on the correct domain and port.
You can use a text editor, like nano, to edit the file:
1 | sudo nano curator.yml |
The default configuration file is as follows
1 2 3 4 5 6 7 8 9 10 11 12 13 14 15 16 17 18 19 20 21 22 | --- # Leave a key empty if there isn’t a value given. None will be a string, # not a Python "NoneType" client: hosts: - 127.0.0.1 port: 9200 url_prefix: use_ssl: False certificate: client_cert: client_key: ssl_no_validate: False http_auth: timeout: 30 master_only: False logging: loglevel: INFO logfile: logformat: default blacklist: ['elasticsearch', 'urllib3'] |
- The
blacklist:field should be one of the following three: - An empty Python array (
[]) - An array of log-handler strings
- A black space
Refer to Elastic’s documentation for the Curator’s configuration file for more information.
Perform YAML File Actions
- Generate a YAML file called
test.ymland edit it withnano:
1 2 | sudo touch test.yml sudo nano test.yml |
Contents of test.yml
1 2 3 4 5 6 7 8 9 10 11 12 13 14 15 16 17 18 19 20 21 22 23 | --- actions: 1: action: delete_indices description: >- Find indexes older than 15 days that match a filter pattern options: ignore_empty_list: True timeout_override: continue_if_exception: False disable_action: False filters: - filtertype: pattern kind: prefix value: elasticsearch- exclude: - filtertype: age source: name direction: older timestring: '%Y.%m.%d' unit: days unit_count: 15 exclude: |
Save the file and execute the action with the fgollowing command:
1 | curator --dry-run test.yml |
Create a new Python script
- Create a Python script in your terminal with the following command:
1 | sudo touch elastic_curator.py |
Edit the Python Script
- Use a terminal editor, like
nano, to edit the new script:
1 | sudo nano elastic_curator.py |
When finished, save the file and exit nano by pressing: CTRL + O CTRL + X
Import the Curator modules:
1 2 | import elasticsearch import curator |
- Generate a new client instance of Elasticsearch:
1 | elastic = elasticsearch.Elasticsearch() |
- Create an new instance of an index list using the
IndexListclass:
1 | index_list = curator.IndexList(elastic) |
- Note that this class has different methods for filtering data for each type of available filter.
Filter Examples
- The documentation provides complete list of all the filter methods.
- Filter by age and
regexkeyword parameters:
1 2 3 4 | index_list.filter_by_regex(kind='prefix', value='logstash-') index_list.filter_by_age(source='name', direction='older', timestring='%Y.%m.%d', unit='days', unit_count=20) delete_indices = curator.DeleteIndices(index_list) delete_indices.do_action() |
- A
unit_countis a value you can pass that will calculate the number of units relative to the number of seconds.
Filter by age
1 2 3 | index_list.filter_by_age(source='name', direction='older', timestring='%Y.%m.%d', unit='days', unit_count=5 ) |
Conclusion
In this tutorial you learned how to install, configure and use the Curator module on UNIX-based machines. As Curator is written in Python, it will work with almost all operating systems. Be aware, Curator only requires access to a client node in the Elasticsearch cluster to function, and does not have to be directly installed on the nodes in the cluster. Remember to use Python 3, as you may encounter compatibility issues with Python 2 and outdated libraries.

Pilot the ObjectRocket Platform Free!
Try Fully-Managed CockroachDB, Elasticsearch, MongoDB, PostgreSQL (Beta) or Redis.
Get Started