Elasticsearch - How To Configure Multiple Pipelines In Logstash
Introduction:
Configuring multiple pipelines in Logstash creates an infrastructure that can handle an increased load. With a higher number of entry and exit points, data always has an open lane to travel in. Pipelines provide these connecting pathways that allow info to be transmitted without difficulty. The tutorial below shows the detailed actions to configure a successful setup.
Processing in Logstash is divided into what’s referred to as pipelines that each have input plugins that receive data which gets put on an integrated queue. The amount of data is small by default but that is one of the options that can be configured to improve flxibility and reliability. To utilize more than one pipeline, you’ll need to make adjustments to the pipelines.yml file. It can be found in settings directory.
Prerequisites:
The Elastic Stack, Java, and its corresponding JVM needs to be installed and running on your server or machine.
SSH terminal access to your server (if applicable)
Logstash needs to be installed and running. Download Logstash. Make sure that the version of Logstash you’re installing is compatible with the version of Elasticsearch you have installed.
Check if it’s running using :
1 | sudo service logstash status |
- If it returns a
"service could not be found"response, it may mean that the service is not installed or running. Once it’s installed, use this command to enable the service:
1 2 | sudo systemctl enable logstash.service sudo service logstash status |

Create Pipelines
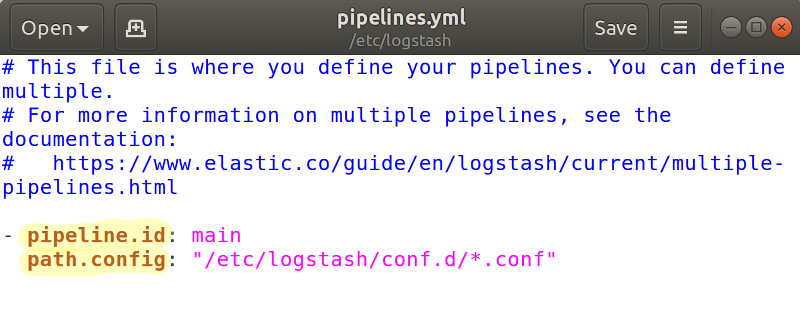
Logstash provides configuration options to be able to run multiple pipelines in a single process. The configuration is done through the file pipelines.yml which is in the path.settings directory and has the following structure:- pipeline.id:
1 2 3 4 5 6 | - pipeline.id: pipe_1 path.config: "/etc/yourpath/p1.config" pipeline.workers: 3 - pipeline.id: pipe_2 path.config: "/etc/anotherpath/p2.cfg" queue.type: persisted |
A Logstash pipeline which is managed centrally can also be created using the Elasticsearch Create Pipeline API which you can find out more about through their documentation. The API can similarly be used to update a pipeline which already exists.
Note: You cannot access this endpoint via the Console in Kibana.
Configure the Pipelines YAML File:
The yaml configuration file is a list of dictionary structures which each describe the specificaiton of a pipeline using key-value pairs. Our example shows two different pipelines which are given different ids and utilize configuration files that reside in different directories. In pipe1 we set pipeline.workers to 3, and with pipe_2 we set to have the persistent queue function enabled. If a value is not set in this file it will default to what is in the yaml file logstash.yml.
Starting Logstash without proving any configuration arguments will make it read the file pipelines.yml and initiate all pipelines in the file. If you use the options -e or -f, Logstash will ignore pipelines.yml and log a warning about it.
If event flows in the current configuration don’t share inputs and outputs and they are kept separate by using conditionals and tags, using multiple pipelines can prove especially useful.
Multiple pipelines in one singular instance allows event flows different parameters for performance. The separation prevents one blocked output from cause disruptions in another.
- The
pipelines.ymlconfiguration file will be in the/etc/directory, or wherever Logstash is installed (usually located at/etc/logstash/pipelines.yml) on the machine or Linux server

- Once inside the directory, use a text editor like
nanofor altering the file:
1 | sudo nano edit pipelines.yml |
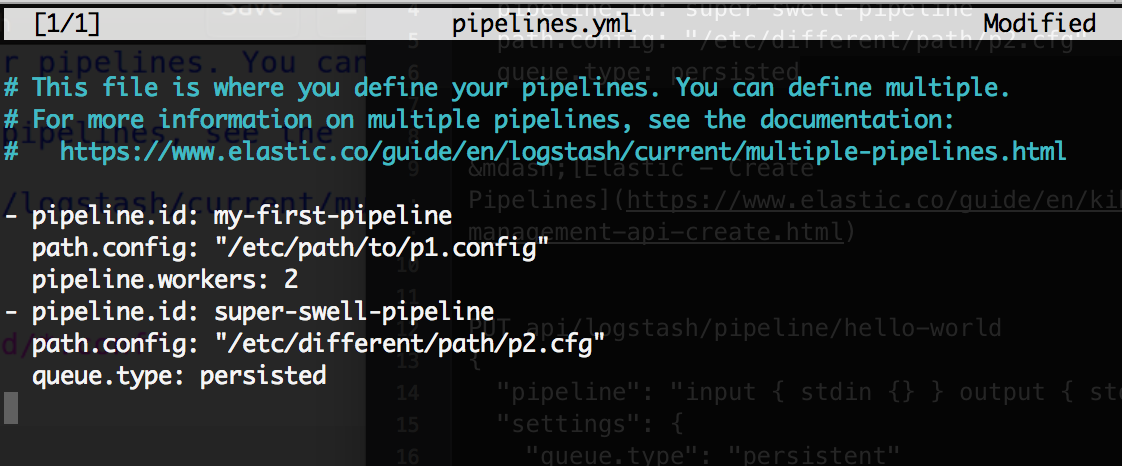
- Here is a configuration example making two pipelines:
1 2 3 4 5 6 | - pipeline.id: my-first-pipeline path.config: "/etc/logstash/my-first-pipeline.config" pipeline.workers: 2 - pipeline.id: super-swell-pipeline path.config: "/etc/logstash/super-swell-pipeline.config" queue.type: persisted |

- Once you’re finished modifying the
logstash.ymlfile press CTRL+O to save the changes, and CTRL+X to exit thenanoeditor.
Create the Pipeline’s Configuration File
- Inside the target directory (
/etc/logstash/), as specified in the Logstash YAML file, create the configuration files for the pipelines using thetouchcommand:
1 | sudo nano touch my-first-pipeline.config |
Press CTRL+X until you’re editing the
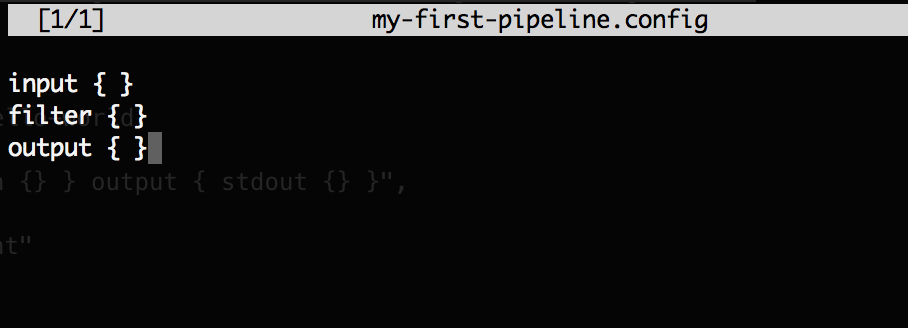
.configfile.For simplicity’s sake, we’ll use a bare and basic layout for a Logstash pipeline config file:
1 2 3 | input { } filter { } output { } |
 press CTRL+O to save changes, and CTRL+X for exiting the
 nano editor.
- Repeat the same for each pipeline config file.
Create a Pipeline Using a Curl PUT Request
It is also possible to use cURL’s
XPUTrequest to setup the pipelinesWith SSH access to your server via a terminal (DO NOT use the Kibana Console UI) you can make a
PUTrequest using cURL to create a pipeline anew.
1 | curl -XPUT -k 'http://{YOUR_DOMAIN}/_ingest/pipeline/_simulate?pretty' -H 'Content-Type: application/json' -d '{"pipeline": "input { stdin {}} output { stdout {} }", "settings": { "queue.type": "persistent"}}' |
- The terminal output should return
HTTP 204 No Contentif the request was successful.
Conclusion:
Outlined above, you can see the purpose and method for setting up and configuring multiple pipelines in Logstash for Elasticsearch.
Pilot the ObjectRocket Platform Free!
Try Fully-Managed CockroachDB, Elasticsearch, MongoDB, PostgreSQL (Beta) or Redis.
Get Started


