Simple Chat App using NodeJS and MongoDB Atlas Part 4
Introduction
This lesson is Part 4 of the multiple-series tutorial, “Simple Chat App using NodeJS and MongoDB Atlas.” In Part 3, you learned how to code the server.js for the backend. Today’s lesson focuses on coding the index.html for the frontend. Let’s continue to use Node and MongoDB Atlas, the fully managed cloud database, to build a simple, yet robust Chat application.
If you’re familiar with how to do this and want to skip the detailed steps, go to Just the Code.
Prerequisites
Complete Part 1 through Part 3 of the multiple-series tutorial prior to proceeding with this one. Here are the links to the earlier lessons:
Simple Chat App using NodeJS and MongoDB Atlas Part 1
Simple Chat App using NodeJS and MongoDB Atlas Part 2
Simple Chat App using NodeJS and MongoDB Atlas Part 3
Coding The Index.HTML
The code for your index.html file is shown below. Throughout this lesson, code will be given, and explanations for the main parts of it will follow for further clarification.
HTML Structure
- Input the code for the structure of the file index.html.
1 2 3 4 5 6 7 8 9 10 11 12 13 14 15 16 17 18 19 20 21 22 23 24 25 26 27 28 29 30 31 32 | <!DOCTYPE html> <head> <meta charset="utf-8"> <meta http-equiv="X-UA-Compatible" content="IE=edge"> <title></title> <meta name="description" content=""> <meta name="viewport" content="width=device-width, initial-scale=1"> <link rel="stylesheet" href="style.css"> <link rel="stylesheet" href="https://maxcdn.bootstrapcdn.com/bootstrap/4.0.0/css/bootstrap.min.css" integrity="sha384-Gn5384xqQ1aoWXA+058RXPxPg6fy4IWvTNh0E263XmFcJlSAwiGgFAW/dAiS6JXm" crossorigin="anonymous"> <script src="https://code.jquery.com/jquery-3.3.1.min.js" crossorigin="anonymous"></script> <script src="/socket.io/socket.io.js"></script> </head> <body> <div class="chatbox"> <div class="chatlogs" > <div class="chat" id="messages"></div> </div> <div class="chat-form"> <input id="name" class="form-control" placeholder="name"> <br> <textarea id="message" class="form-control" placeholder="message"></textarea> <br> <button id="send" >Send</button> </div> <script> // javascript code goes here </script> </div> </body> </html> |
Coding the Script
The scripts for the backend of your Chat App using NodeJS enable it to connect to the server. You set up the backend in the previous lesson. Now, we want to finish up by adding code for the connection process.
- The script shown above serves two important functions: 1) performs a socket.io initialization, and 2) makes an attempt to connect to the server using the current page’s hosting URL.
1 2 3 4 5 6 7 8 9 |
The function document ready event is created in a condensed way.
Next, a function callback along with a function arrow is passed.
After that, the document is loaded completely.
Now the function document ready event is called.
The Send button is given that ID so that when clicked, it sends data. The variable message is where you’re saving it to.
The values are set for properties, and they correspond with the form’s IDs for
nameandmessage.Lastly, you called the function
postMessage(message)and made a message object parameter pass.
1 2 3 4 5 6 7 |
- This code used the
addMessagefunction to append the HTML element “messages” ID.
1 2 3 4 5 6 7 |
The code shown above used the function
getMessageand passed it to the'http://localhost:2500/messages'local server URL.You’ll want to get and see the data results, so to get
data, you set a callback. Use the constructforEachfor iteration. Next, put in theaddMessageformatted message function.
1 2 3 4 5 |
- The code shown above does post-data sending with the
postMessagefunction. It makes a node endpoint. In addition, for the post call, it’s the parameter located after the local host message parameter in the function’s message object.
Testing The Chat Application
Time to try out your newly created Chat App using NodeJS and MongoDB Atlas.
Use this command to run your
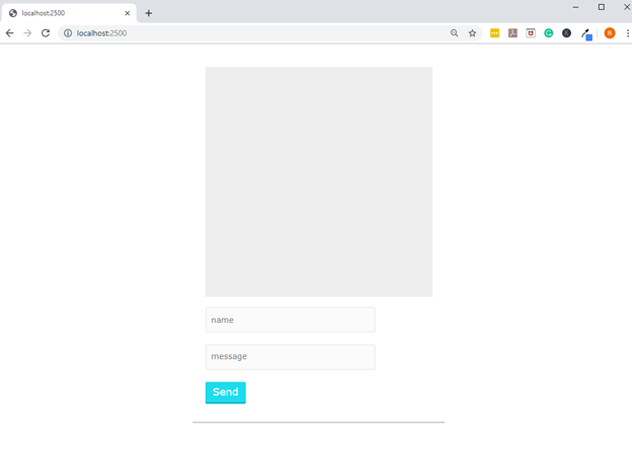
nodemon server.jsserver.In your browser, input ‘localhost:2500’ URL to load the interface and start your application.
- As shown below, open up the Chat App using NodeJS and MongoDB Atlas again so that you have two windows running at the same time. Drag them to half their original size and place them next to one another. Make the username for the left side, “left the window.” Give the username on the right, “right window.”
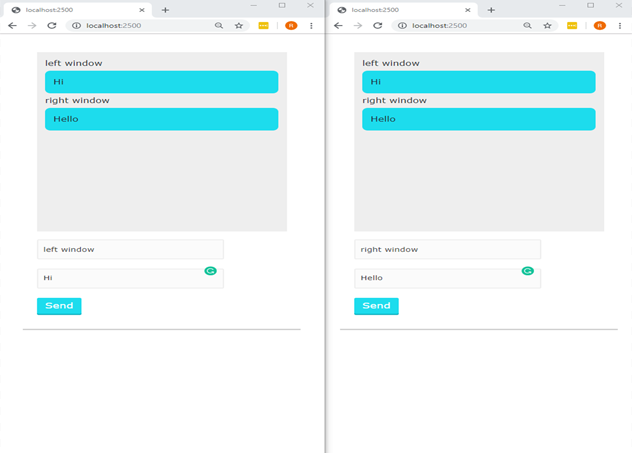
It works! As shown below, the message appears on each window simultaneously.
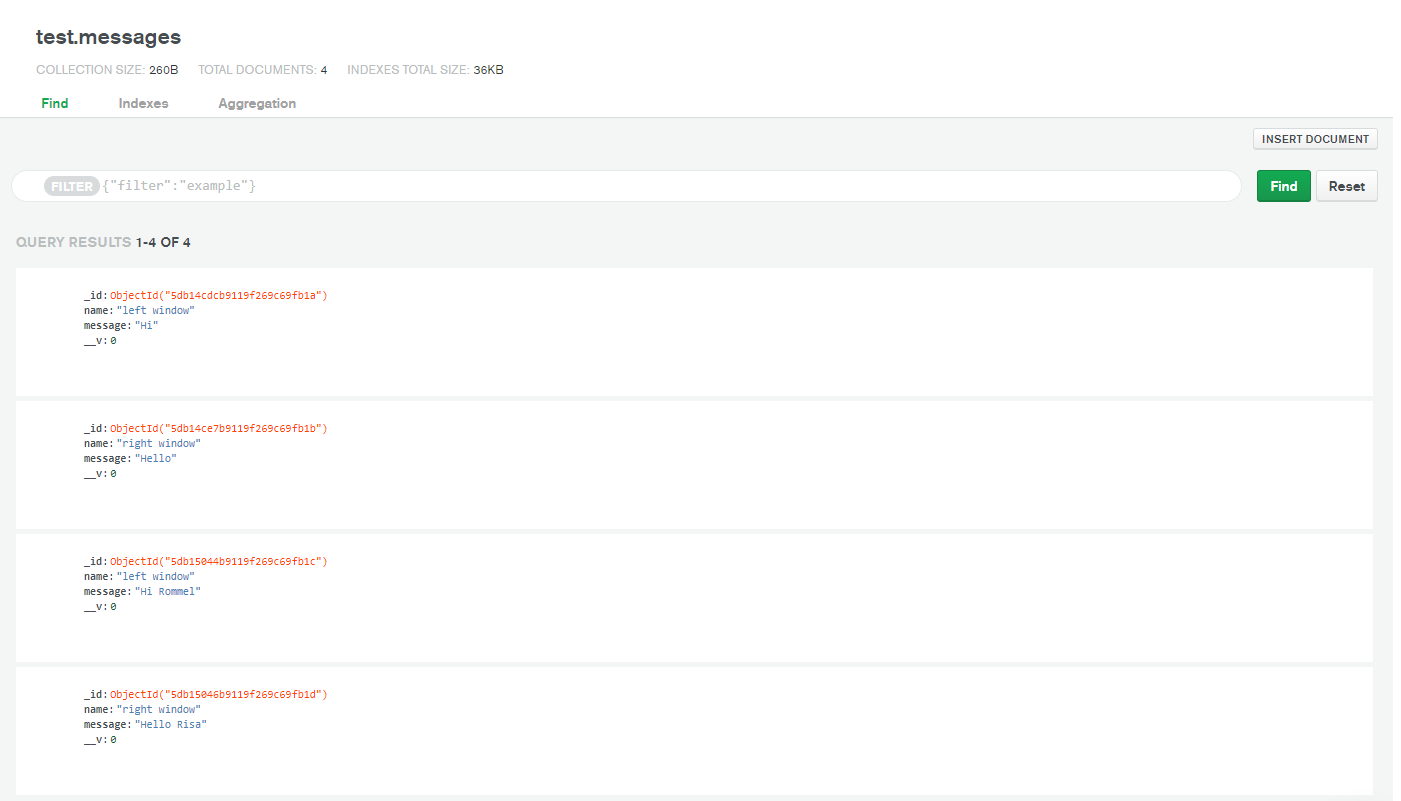
- View the collections in MongoDB database Atlas to confirm that it contains the messages.
Conclusion
This tutorial explained how to create a simple chat application using Chat App using NodeJS and MongoDB Atlas. Today, in Part 4 you learned how to code the frontend of your chat application to complete its communication functionality. Application with chat features enables customers to talk to representatives and resolve their issues quickly by getting fast answers to their questions. Be sure to utilize the steps in this multiple-series tutorial any time you want to create Chat apps that are simple, yet effective.
The Code
Here is the complete code for the sample used in this tutorial for creating a Chat App using NodeJS and MongoDB Atlas.
1 2 3 4 5 6 7 8 9 10 11 12 13 14 15 16 17 18 19 20 21 22 23 24 25 26 27 28 29 30 31 32 33 34 35 36 37 38 39 40 41 42 43 44 45 46 47 48 49 50 51 52 53 54 55 56 57 58 59 60 61 62 63 64 65 66 67 68 69 70 71 72 73 74 75 76 77 78 79 | <!DOCTYPE html> <!--[if lt IE 7]> <html class="no-js lt-ie9 lt-ie8 lt-ie7"> <![endif]--> <!--[if IE 7]> <html class="no-js lt-ie9 lt-ie8"> <![endif]--> <!--[if IE 8]> <html class="no-js lt-ie9"> <![endif]--> <!--[if gt IE 8]><!--> <html class="no-js"> <!--<![endif]--> <head> <meta charset="utf-8" /> <meta http-equiv="X-UA-Compatible" content="IE=edge" /> <title></title> <meta name="description" content="" /> <meta name="viewport" content="width=device-width, initial-scale=1" /> <link rel="stylesheet" href="style.css" /> <link rel="stylesheet" href="https://maxcdn.bootstrapcdn.com/bootstrap/4.0.0/css/bootstrap.min.css" integrity="sha384-Gn5384xqQ1aoWXA+058RXPxPg6fy4IWvTNh0E263XmFcJlSAwiGgFAW/dAiS6JXm" crossorigin="anonymous" /> <script src="https://code.jquery.com/jquery-3.3.1.min.js" crossorigin="anonymous" ></script> <script src="/socket.io/socket.io.js"></script> </head> <body> <div class="chatbox"> <div class="chatlogs"> <div class="chat" id="messages"></div> </div> <div class="chat-form"> <input id="name" class="form-control" placeholder="name" /> <br /> <textarea id="message" class="form-control" placeholder="message" ></textarea> <br /> <button id="send">Send</button> </div> </div> <script> var socket = io(); // ========= Start of document ready function ======= $(() => { $("#send").click(() => { var message = { name: $("#name").val(), message: $("#message").val() }; postMessage(message); }); getMessage(); }); // ========= End of document ready function ========= socket.on("message", addMessage); function addMessage(message) { $("#messages").append( `<p class="user-name"> ${message.name} </p> <p class="chat-message"> ${message.message} </p>` ); } function getMessage() { $.get("http://localhost:2500/messages", data => { data.forEach(addMessage); }); } function postMessage(message) { $.post("http://localhost:2500/messages", message); } </script> </body> </html> |

Pilot the ObjectRocket Platform Free!
Try Fully-Managed CockroachDB, Elasticsearch, MongoDB, PostgreSQL (Beta) or Redis.
Get Started