Simple Chat App using NodeJS and MongoDB Atlas Part 1
Introduction
This is part one of a tutorial explaining how to create, from scratch, a simple chat app using NodeJS and MongoDB Atlas as its database. Chat apps are valuable for many applications, from interacting on social media to providing customer service.
NodeJS is a powerful open source program for web app development. As it is somewhat different from other programs, is does have a bit of a learning curve. However, once a basic understanding is obtained, NodeJS is a powerful tool for web developers to have at their disposal.
Prerequisites
Requirements for building a chat app using NodeJS and MongoDB Atlas:
- NodeJS must be properly installed and configured.
- MongoDB Atlas database must be properly created and configured.
Possess a basic knowledge of NodeJS
Have a VSCODE or VSCODIUM text editor. The editor can be download here.
Nodemon must be installed globally; this is accomplished with the following command:
npm install -g nodemon
How to Serve Static Content using ExpressJS
This section will explain how to create and serve a static file with a web API.
First, a project folder must be created to host the files.
Because the app is being developed locally, files can be hosted anywhere on the operating system. In this case, files will be hosted within the “Documents” folder via the following directory: “C:UsersteamsoloDocumentsnodechatApp”.
Create a server file within the project directory and name it ‘server.js’. After creating the package.json file, a new file must be created to store the dependencies, such as Express.js.
Note that Express.js will be used to handle client requests, routing and serving views to the client via a browser. Execute this by opening a terminal and navigating to the project directory and then executing the following code:
1 | npm init --yes |
The above code will create a default package.json file with the following details:
1 2 3 4 5 6 7 8 9 10 11 12 13 | { "name": "webapp", "version": "1.0.0", "description": "", "main": "server.js", "scripts": { "test": "echo "Error: no test specified" && exit 1", "start": "node server.js" }, "keywords": [], "author": "", "license": "ISC" } |
After the package.json file is created, install the Express.js in the same manner using the following command:
1 | npm install -s express |
Notice the ‘-s’ flag in the above code was used to save it to the package.json file. Check the package.json file again to verify it was saved successfully. The results should resemble the following:
1 2 3 4 5 6 7 8 9 10 11 12 13 14 15 | { "name": "webapp", "version": "1.0.0", "description": "", "main": "server.js", "scripts": { "test": "echo "Error: no test specified" && exit 1", "start": "node server.js" }, "keywords": [], "author": "", "license": "ISC", "dependencies": { "express": "^4.17.1" } |
Coding a basic Node server
With express.js installed, code the server and confirm it’s running properly. Do this by opening the server.js file and executing the following code:
1 2 3 4 5 6 | // requiring express js var express = require("express"); // set a variable named app with an instance of express var app = express(); app.listen(2500); |
The above code will call the express.js using the require() method and will then assign that instance to variable ‘app’. This allows for calling the listen() method and passing a number to set the port to instruct the server where to listen.
Now test the application by executing the following code in a terminal:
1 | nodemon server.js |
The results should resemble the following:
1 2 3 4 5 6 | PS C:UsersteamsoloDocumentsnodechatApp> nodemon server.js [nodemon] 1.19.3 [nodemon] to restart at any time, enter `rs` [nodemon] watching dir(s): *.* [nodemon] watching extensions: js,mjs,json [nodemon] starting `node server.js` |
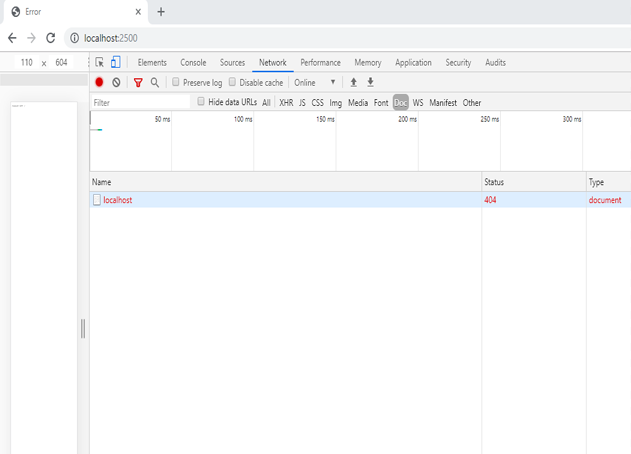
Verify the server is accepting a connection on port ‘:2500’ using this URL in a browser: localhost:2500.
The results should resemble the following:

Note that the image shows the developer tools displayed a 404 status. This is because nothing has been served yet; a connection was opened just to confirm the server is working properly.
Serving a static file
With the connection to the server verified in the previous section, now serve a static, or HTML, file using the express method app.use().
Open the server.js file, add the app.use() code and then save it. Nodemon will react to the changes and present the following error:
1 2 3 4 5 6 7 8 9 10 11 12 13 14 15 16 17 | [nodemon] starting `node server.js` [nodemon] restarting due to changes... [nodemon] starting `node server.js` C:UsersteamsoloDocumentsnodechatAppnode_modulesexpresslibapplication.js:210 throw new TypeError('app.use() requires a middleware function') ^ TypeError: app.use() requires a middleware function at Function.use (C:UsersteamsoloDocumentsnodechatAppnode_modulesexpresslibapplication.js:210:11) at Object.<anonymous> (C:UsersteamsoloDocumentsnodechatAppserver.js:7:5) at Module._compile (internal/modules/cjs/loader.js:956:30) at Object.Module._extensions..js (internal/modules/cjs/loader.js:973:10) at Module.load (internal/modules/cjs/loader.js:812:32) at Function.Module._load (internal/modules/cjs/loader.js:724:14) at Function.Module.runMain (internal/modules/cjs/loader.js:1025:10) at internal/main/run_main_module.js:17:11 [nodemon] app crashed - waiting for file changes before starting... |
This error occurs because nothing has yet been defined that can be used by the app.use() method.
Now create an HTML file and name it index.html. While any random string can be used inside the file, for this example type “Hello from Express.js” and then save the file.
Now app.use can be instructed to serve a static file within the project directory. Update the server.js file with the following code:
1 | app.use(express.js(__dirname)); |
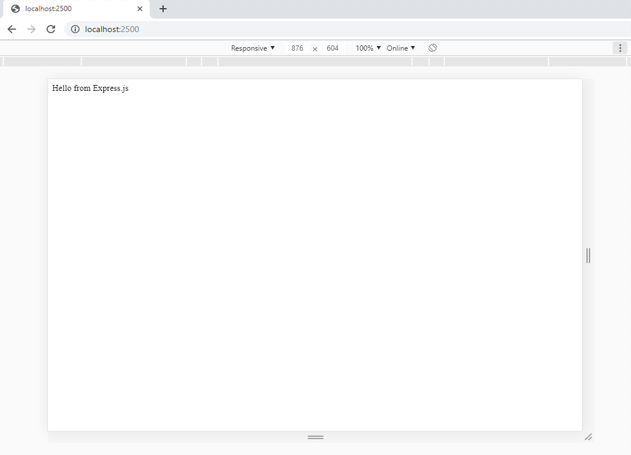
Now save that and then refresh the page of the browser to verify the server successfully recalls the index.html file, as shown here:

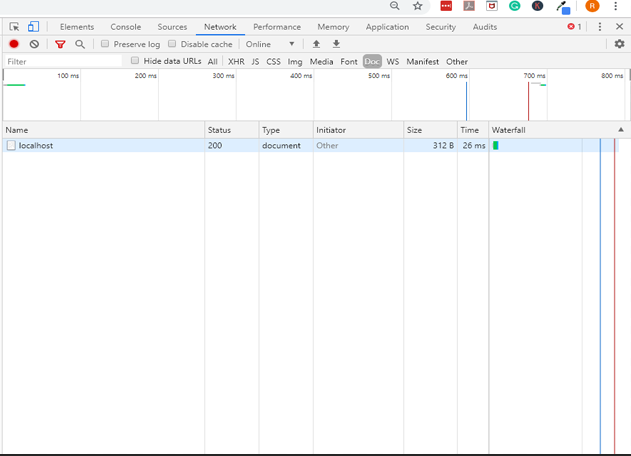
Examine the page using the developer tool, under the “Network” tab. It should show the browser returns a status 200. This is acceptable. The results should resemble the following screenshot:

With the server successfully configured to serve static files, adjust the code and set a callback to the app.listen to make the code efficient for the application.
Execute the following code to update the server.js file:
1 2 3 4 5 6 | var server = app.listen(2500, () => { console.log( "Server is now running and listening to port", server.address(port) ); }); |
The above code will create a callback () that takes no parameter and performs a console log to confirm the server is running. In order to make a reference to the port dynamically, set the app.listen() method to a variable named server and reference the port using theserver.address(port) code. This ensures the right port is always referenced whenever it is updated.
Save the change and then examine the details within the console. The results should resemble the following:
1 2 3 | [nodemon] restarting due to changes... [nodemon] starting `node server.js` Server is now running and listening to port 2500 |
Conclusion
This was part one of a tutorial explaining how to create a simple chat app using NodeJS and MongoDB Atlas. The article covered the prerequisites needed for building a chat app using NodeJS and MongoDB Atlas. It specifically covered how to serve static content using ExpressJS and how to create and serve a static file with a web API. The tutorial also provided examples on how to code a basic node server and how to serve a static file. Remember that you must have a basic knowledge of NodeJS in order to be able to properly execute the functions set fourth in this tutorial.
Pilot the ObjectRocket Platform Free!
Try Fully-Managed CockroachDB, Elasticsearch, MongoDB, PostgreSQL (Beta) or Redis.
Get Started


