Psql Connect to a Database PostgreSQL 783
Introduction
Psql is a helper function available through the pgAdmin tool that is included in your PostgreSQL installation. As an interactive program, psql allows you to connect to the server where the PostgreSQL database is located. Interactivity is psql’s greatest benefit because it enables you to effectively handle database object management as well as administer SQL statements. This tutorial explains how to complete a psql connect to database with the interactive psql terminal and assign user roles.
Prerequisites
- [PostgreSQL]((https://www.postgresql.org/download/) – Download, install, then properly configure the database management application. Next, run it in the background.
Use psql to connect to the server that has PostgreSQL
- Input this PostgreSQL command to complete the psql connect to database:
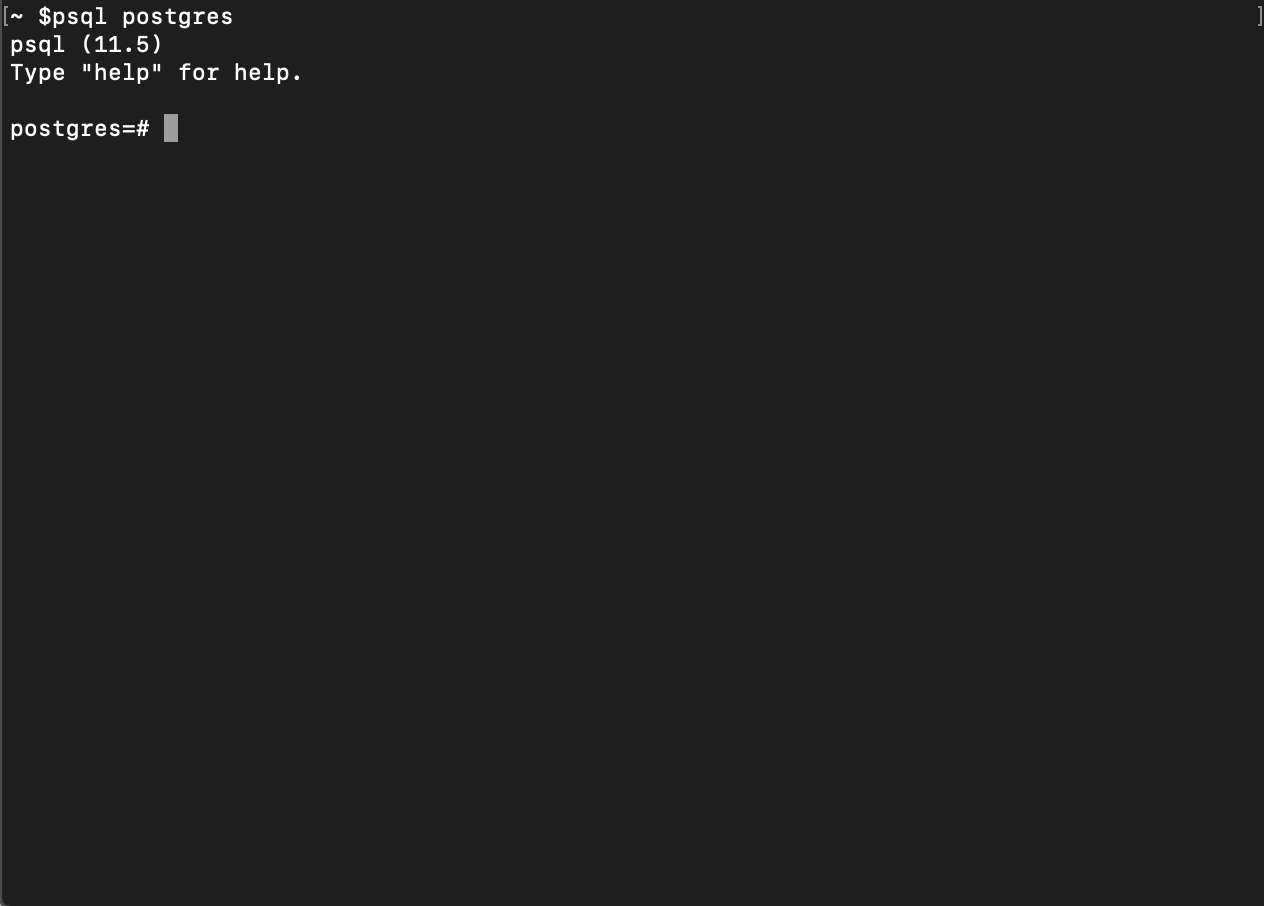
1 | psql postgres |
This image shows what the result should resemble. Note, in this example, the utility version of psql is 11.5.
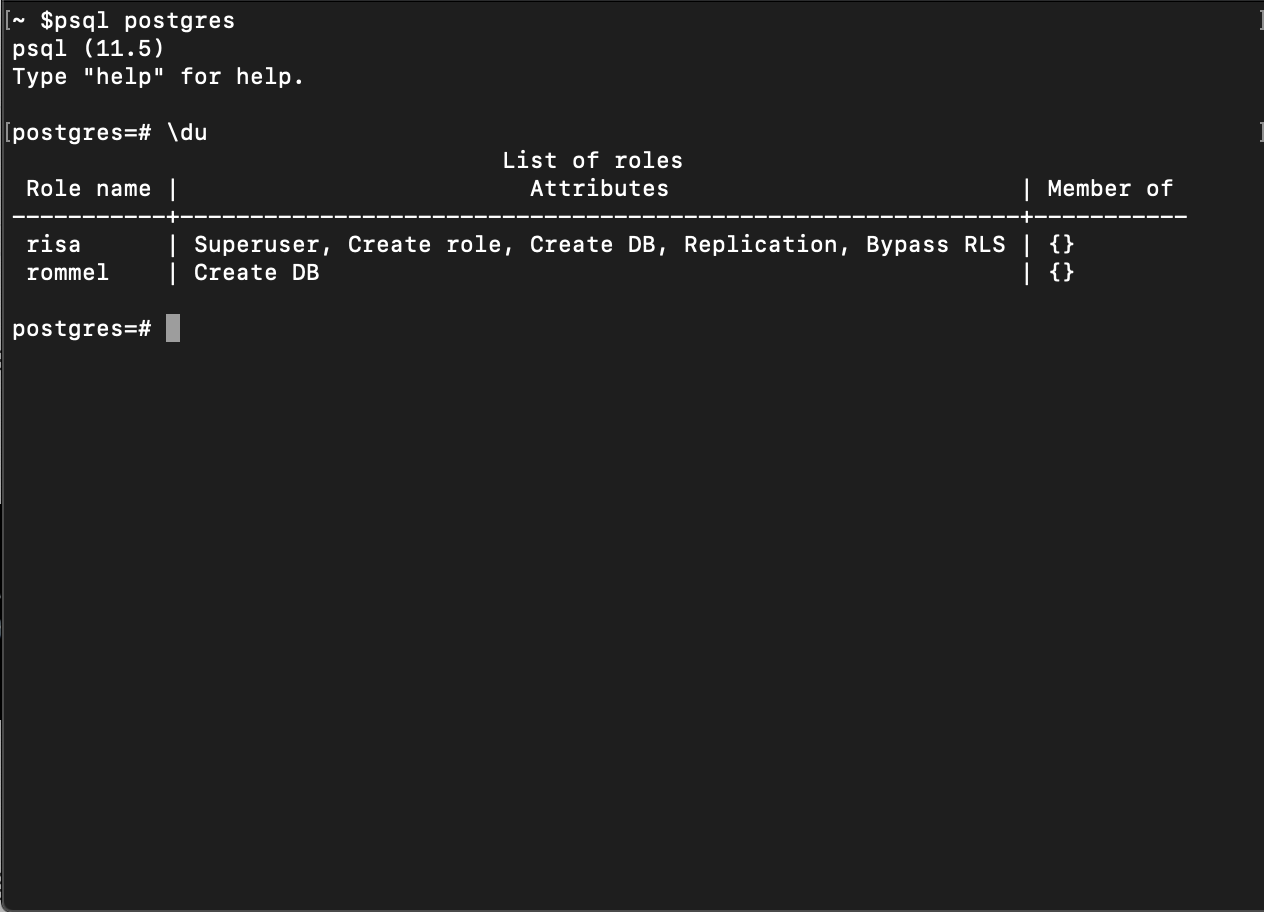
- After you complete the psql connect to database steps above, try a simple interaction. Create a list showing all users. To do this, use the
\ducommand:
- To find out what version of PostgreSQL you have installed, input the
select version();SQL statement:
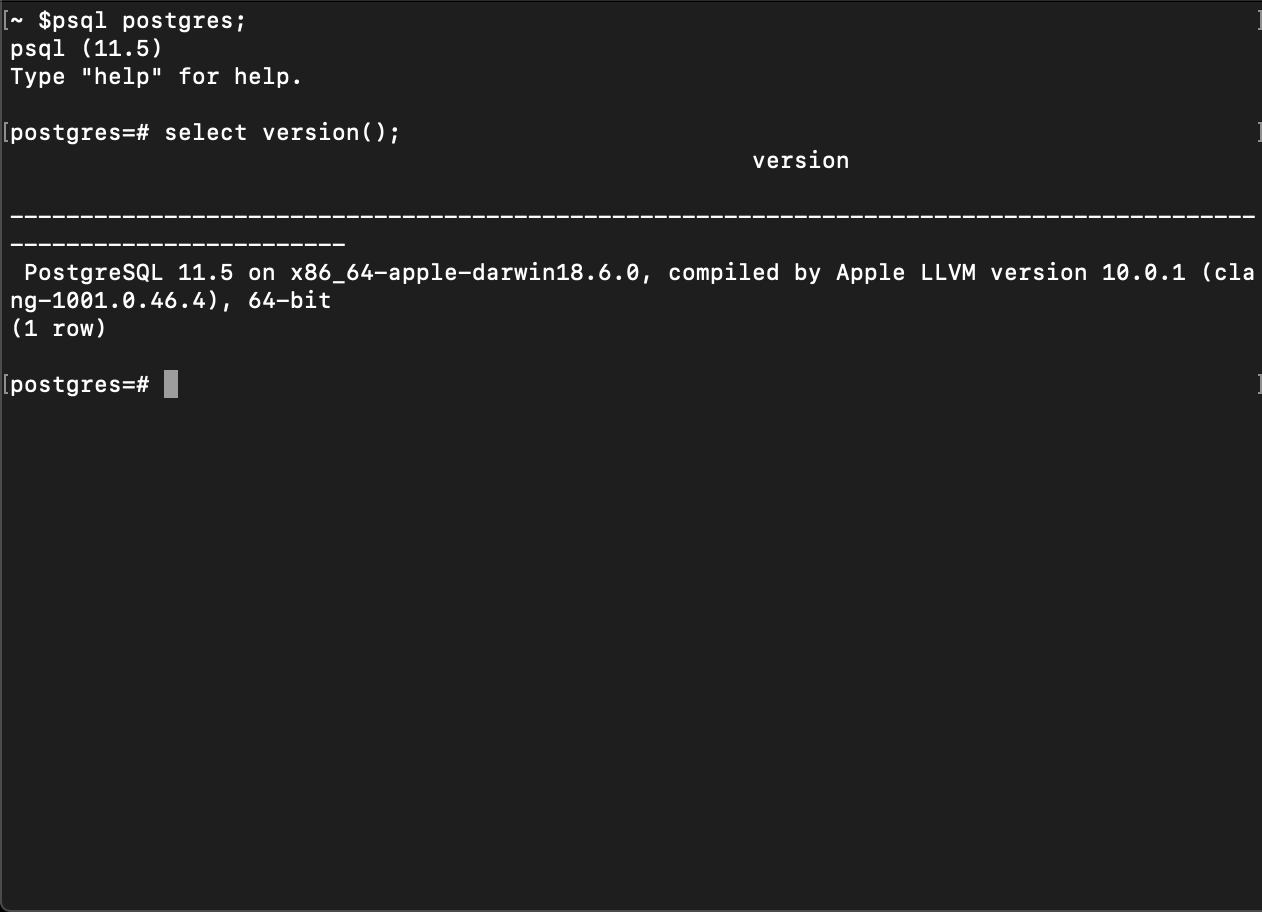
The above image shows the details of the result from the previous command for the select version();. It indicates that the computer operating environment is Apple, so the PostgreSQL installation was put on that server.
PostgreSQL automatically sets up a default user with access privileges
- A default superuser account is created when you install PostgreSQL on your server. That account has access privileges to manage the PostgreSQL database. The superuser account status is also appropriate for DBAs and developers who want to set up and manage roles for other users after they finish a psql connect to database.
Use the CREATE ROLE command to create roles
Users have roles that you’ll set for them and PostgreSQL manages those roles.
- Set a new role for a user you create, use the
CREATE ROLEcommand:
1 | CREATE ROLE new_user_name WITH LOGIN PASSWORD 'quoted_password'; |
- Try out this sample statement with the new user name creation of
devanddev123as its corresponding password:
1 | CREATE ROLE dev WITH LOGIN PASSWORD 'dev123'; |
- Now, use the
ALTERto modify the attributes of the PostgreSQL’s user namedev. The role calledCREATEDBgives certain privileges to the user when there’s a psql connect to database completion. With the roleCREATEDB, the userdevwill be able to make databases as well as edit and delete them.
1 | ALTER ROLE dev CREATEDB; |
- When you’ve finished assigning the role, you can print out a list of all of the users. Look for user
devon that list and verify if the new role was assigned successfully.
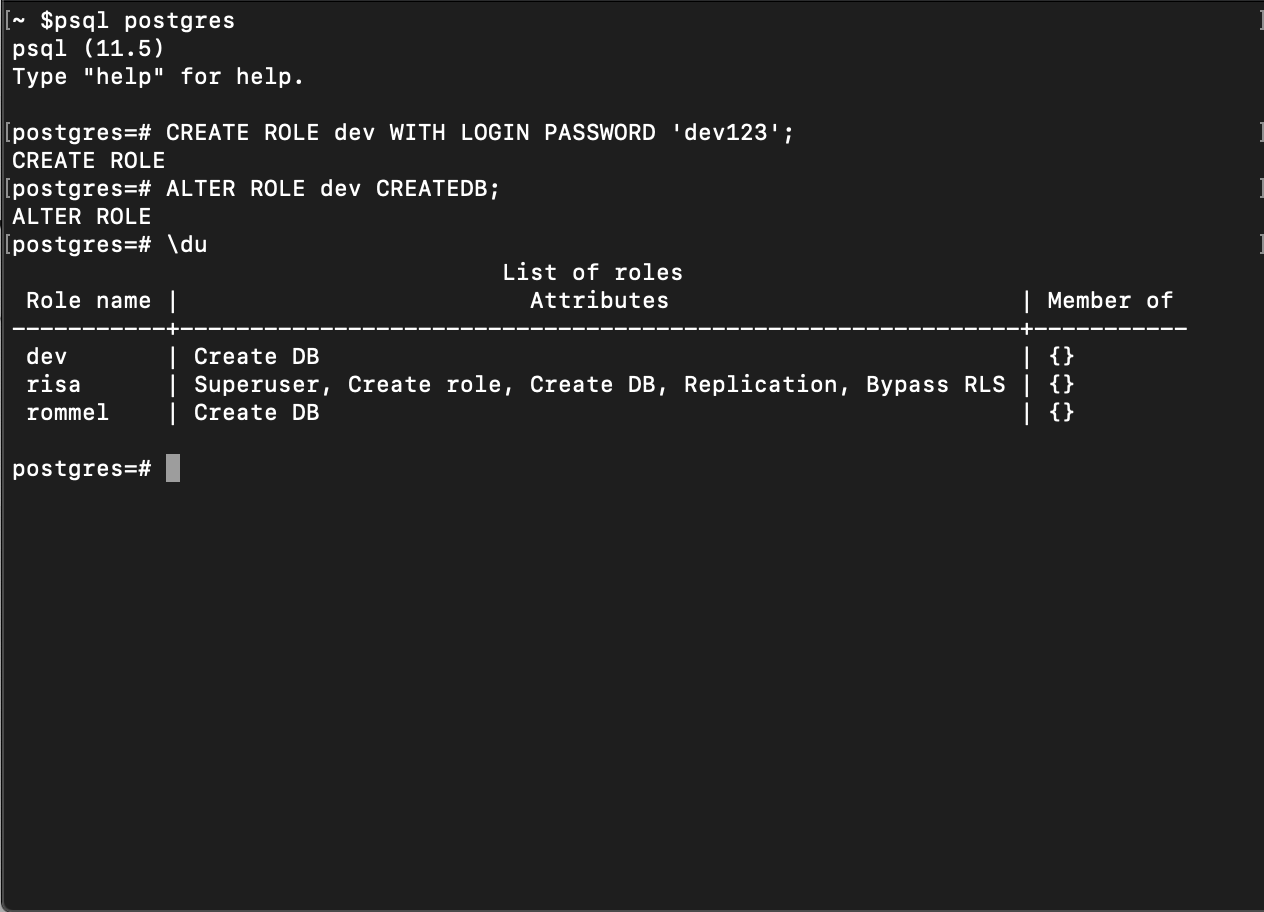
In the image sample of a list printout, notice that
devis the first user name listed below the column under the Role name heading. See also under the heading for the column List of roles Attributes. It hasCreate DBas the role for user namedev.Use the
\qcommand to quit out of the session so you can test the user namedevand it’s assigned role capabilities.Input the psql command below to log into the account user name
dev:
1 | psql postgres -U dev |
- You should see something similar to this:
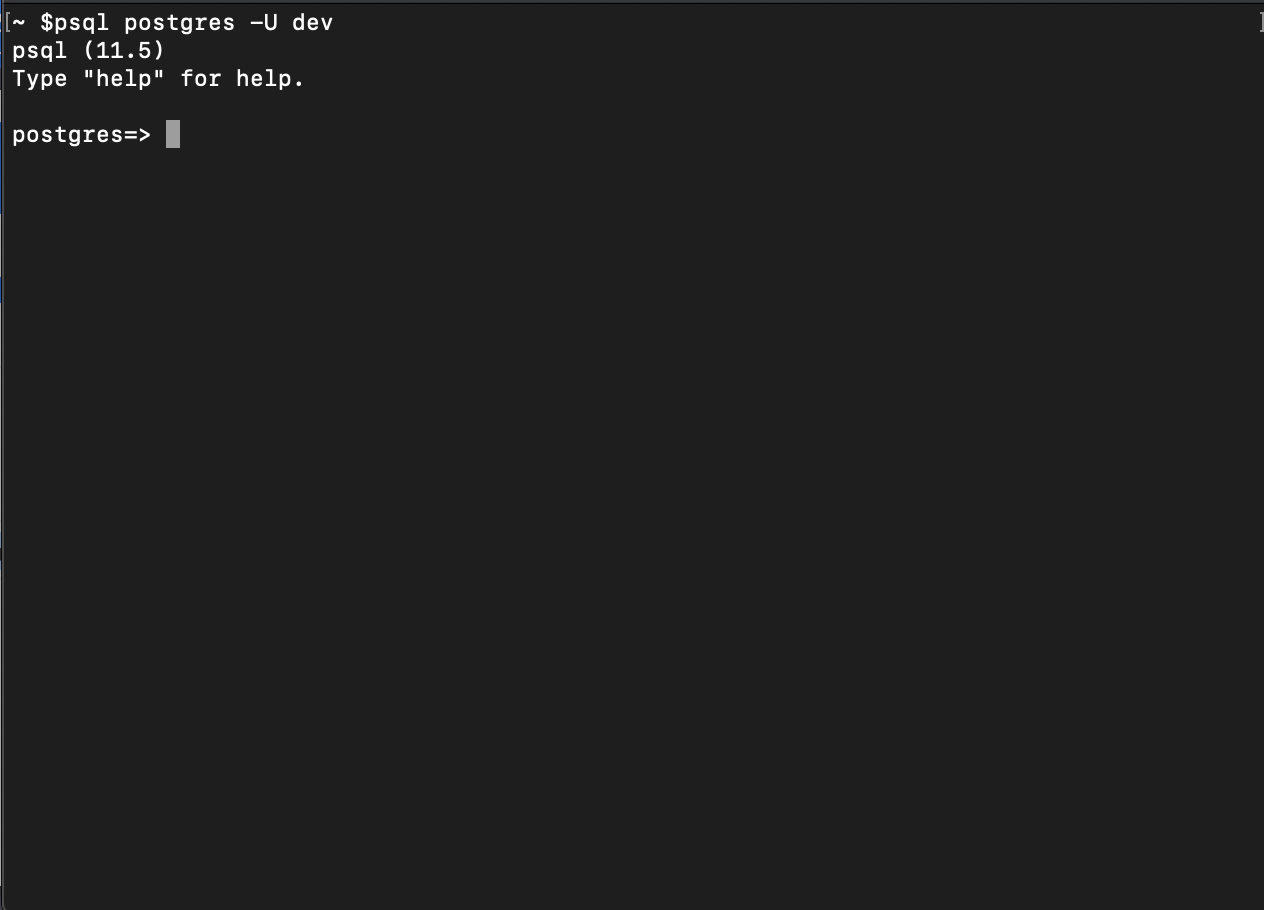
- The result is a successful response as you’re able to log in to the account for the user name
dev.
Conclusion
This tutorial showed you a simple way to perform a psql connect to database in PostgreSQL. You also learned about the psql interactive program. After you complete the PostgreSQL installation, you use the default superuser account to create new users and assign roles as well as manage them. When you print out a list of every user and review their matching roles for accuracy as it pertains to their database privileges, you are in effect managing those roles. Keep this tutorial handy and use it a quick reference guide to match your scripting needs.


Pilot the ObjectRocket Platform Free!
Try Fully-Managed CockroachDB, Elasticsearch, MongoDB, PostgreSQL (Beta) or Redis.
Get Started