Connect to a PostgreSQL Database Using Python and the psycopg2 Adapter
Introduction to the psycopg2 PostgreSQL adapter for Python
If you’re planning to connect to your PostgreSQL database from a Python script, you’ll need an adapter to allow Python to interact with PostgreSQL. One of the most popular PostgreSQL adapters for Python is the psycopg2 adapter. In this article, we’ll show you how to connect to a PostgreSQL database using Python and the psycopg2 adapter.
Prerequisites for using Python with PostgreSQL
In order to follow along with the Python code examples we’ll be showing in this tutorial, a few important prerequisites need to be in place:
- You’ll need to have Python 3 and its PIP package manager installed and working. You’ll need the package manager to install the
psycopg2package library for Python 3, using the following command:
1 | pip3 install psycopg2 |
PostgreSQL also needs to be installed. You can check if PostgreSQL is installed using the psql -V command in a terminal window; this command will return its version number:
1 | psql -V |
Use this command in a terminal window to ensure that the psql command works:
1 | sudo -u postgres psql |
Set up a new PostgreSQL database for connection using psycopg2
If you don’t have a PostgreSQL database set up already, you’ll need to create a new one for the psycopg2 adapter to connect to in your Python script. Use the following PostgreSQL statements to create a database and grant user privileges for it:
1 2 3 | CREATE DATABASE python_test; CREATE USER objectrocket with encrypted password 'mypass'; GRANT ALL PRIVILEGES ON DATABASE python_test TO objectrocket; |
NOTE: When you execute these statements, make sure that each individual PostgreSQL command ends with a semi-colon; otherwise, psql may interpret it as a multi-line command.
Verify that the PostgreSQL database exists
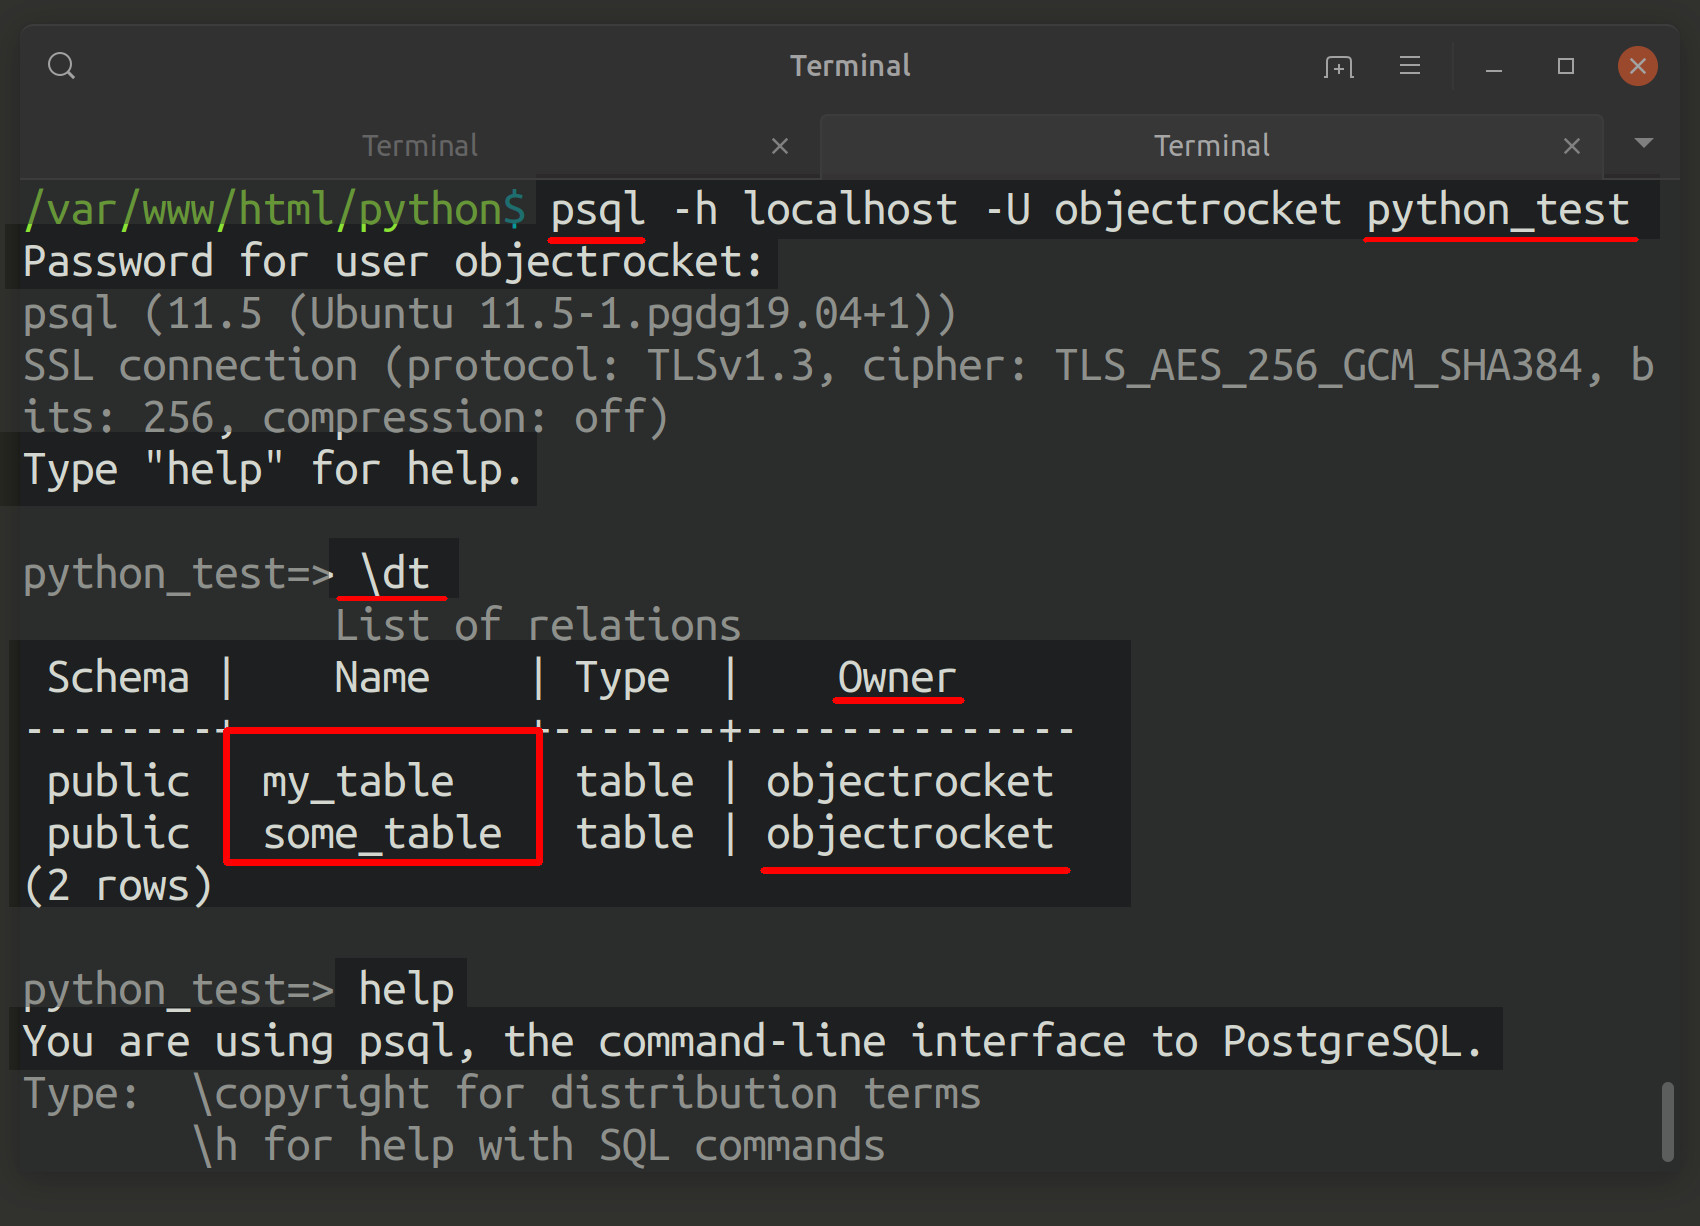
Next, you can use the psql command to access a host domain and a username followed by the database name:
1 | psql -h localhost -U objectrocket python_test |
You can then use the \dt command, while connected to the PostgreSQL database, to list all of the tables:

At this point, you should have an idea of which PostgreSQL user, database name, and host that you’ll use when you connect to PostgreSQL in a Python script.
Create a new Python script for the psycopg2 PostgreSQL adapter
The next step is to begin working on our Python script. Navigate to the directory folder for your PostgreSQL Python project and create a new Python script in a UNIX terminal using the following command:
1 | touch connect_postgres.py |
If you’re connected to a remote server via SSH, you’ll want to use a terminal-based editor like nano, gedit or vim to edit the Python script. If you have a graphical IDE, such as Sublime or Visual Basic Code, installed locally, you can also use that to edit the script.
You can use the code command to edit a Python script with VB code:
1 | code connect_postgres.py |
Alternatively, you can use the subl command to edit a script with the Sublime editor:
1 | subl connect_postgres.py |
Import the psycopg2 library for the PostgreSQL Python adapter
For the purposes of this script, we only need to import the connect method library from psycopg2. Here’s how to do it using Python’s from keyword:
1 2 | # import the connect library from psycopg2 from psycopg2 import connect |
We’ll be using the connect() method to connect to PostgreSQL.
Create a Python connection object for PostgreSQL
Let’s call the connect() method to create an instance of the psycopg2 connection object. If you’re following along with your own Python script, make sure to change the values of the credential strings in the method call:
1 2 3 4 5 6 7 | # declare a new psycopg2 object for connecting to PostgreSQL conn = connect( dbname = "python_test", user = "objectrocket", host = "localhost", password = "mypass" ) |
Print the attributes of the connection object
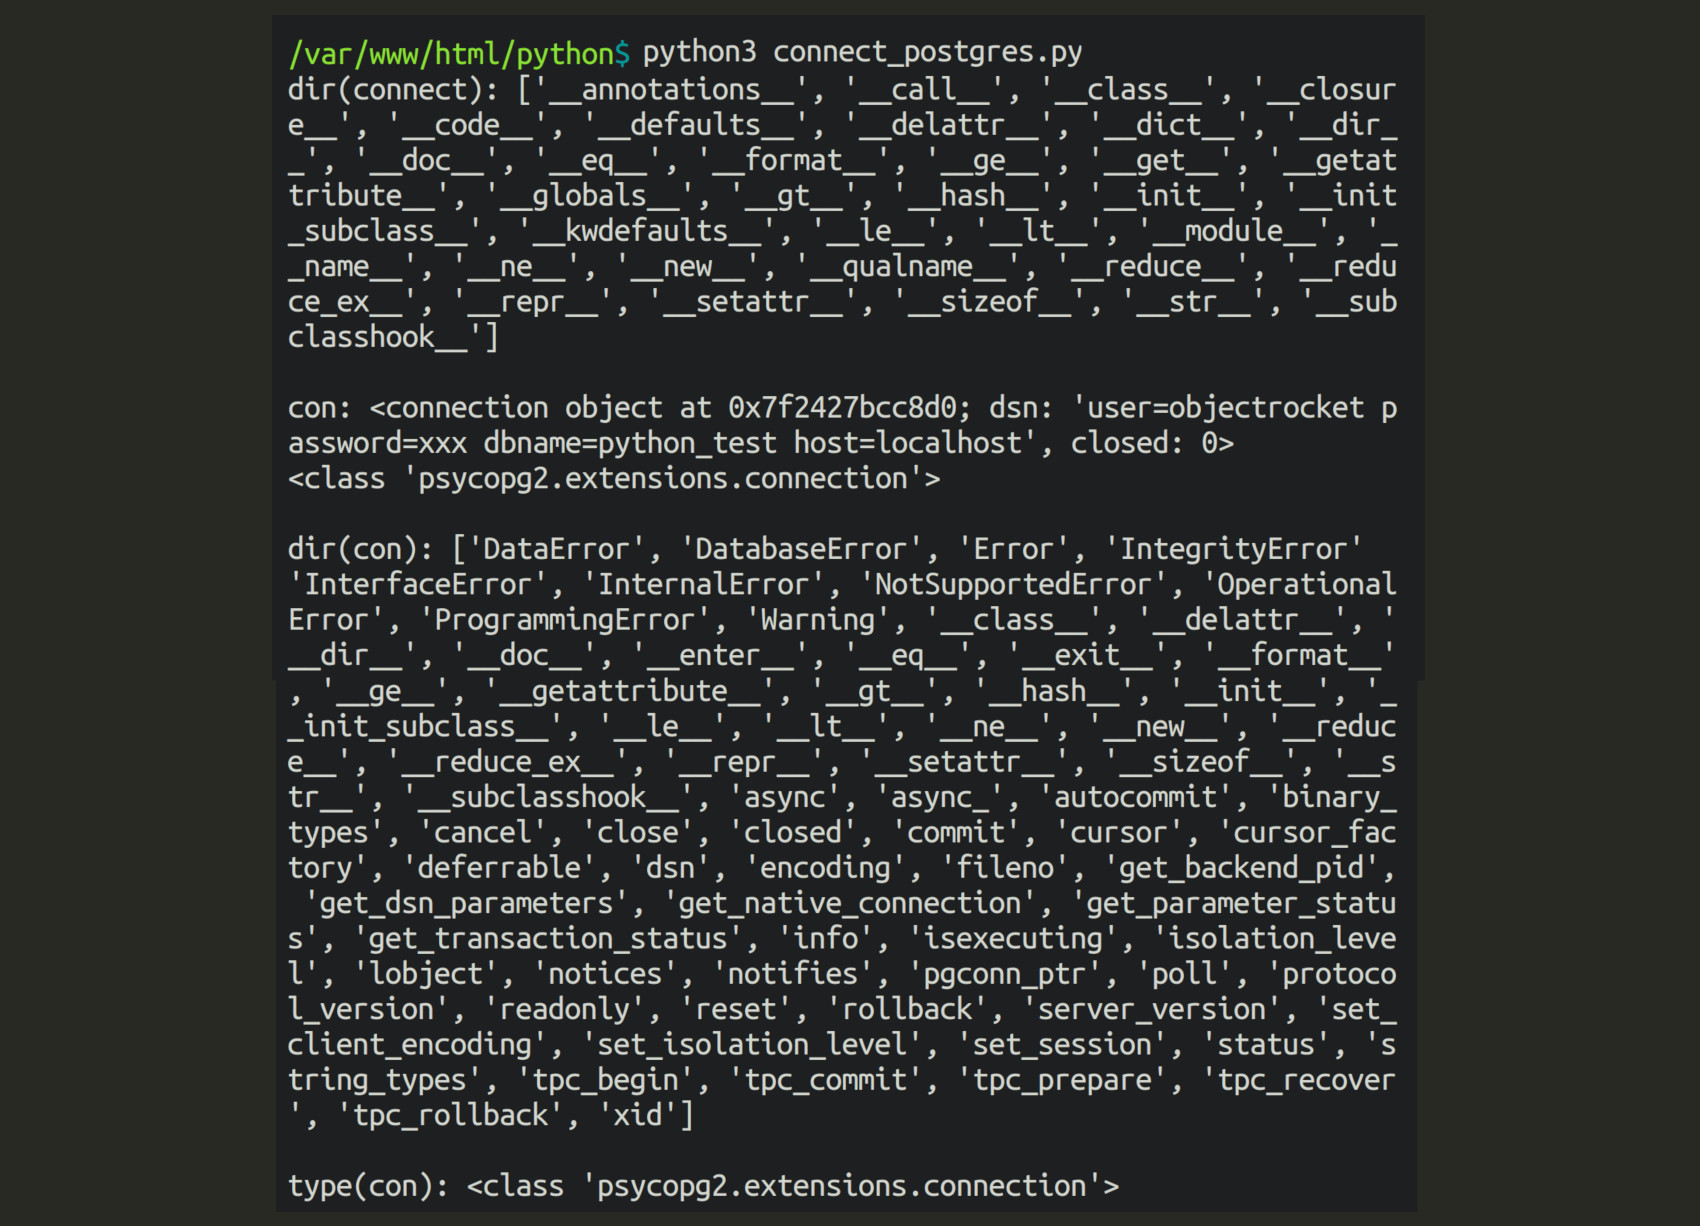
The next bit of code prints the response of the connection object. The Python dir() method will print all of the attributes of the connection object:
1 2 3 4 5 6 7 8 9 10 11 | print ("dir(connect):", dir(connect)) # print the connection object's host attributes print ("\ncon:", conn) print (type(conn)) # returns a list of all the connection object's attributes print ("\ndir(con):", dir(conn)) # object type: psycopg2.extensions.connection print ("\ntype(con):", type(conn)) |
Close the connection object to avoid memory leaks
It’s important to call the connection object’s close() method to avoid memory leaks:
1 2 | # close the connection to avoid memory leaks conn.close() |
Conclusion
Now that we’ve finished our script, we can test it out. You can use the python3 command to run the Python script you just created. It will print all of the attributes of the connection object.

Being able to connect to PostgreSQL from a Python script opens up all kinds of possibilities for application development. However, you need to use the right adapter in order to connect to the database from Python. In this article, we showed you how to connect to a PostgreSQL database with Python and the psycopg2 adapter. With the example code provided in this tutorial, you’ll be able to create a script of your own to interact with PostgreSQL using Python.
Just the Code
Shown below is all of the code that we looked at throughout this tutorial:
1 2 3 4 5 6 7 8 9 10 11 12 13 14 15 16 17 18 19 20 21 22 23 24 25 26 27 28 | #!/usr/bin/python # -*- coding: utf-8 -*- # import the connect library from psycopg2 from psycopg2 import connect # declare a new psycopg2 object for connecting to PostgreSQL conn = connect( dbname = "python_test", user = "objectrocket", host = "localhost", password = "mypass" ) print ("dir(connect):", dir(connect)) # print the connection object's host attributes print ("\ncon:", conn) print (type(conn)) # returns a list of all the connection object's attributes print ("\ndir(con):", dir(conn)) # object type: psycopg2.extensions.connection print ("\ntype(con):", type(conn)) # close the connection to avoid memory leaks conn.close() |
Pilot the ObjectRocket Platform Free!
Try Fully-Managed CockroachDB, Elasticsearch, MongoDB, PostgreSQL (Beta) or Redis.
Get Started


