Retrieve MongoDB Document using Laravel
Introduction
If you’re building apps using the Laravel PHP framework, you may want your application to communicate with a MongoDB database. Fortunately, Laravel can be configured to handle a variety of database operations, such as retrieving a specific document from a collection. In this article, we’ll show you how to retrieve a MongoDB document using Laravel.
Prerequisite
Before we begin working with Laravel, let’s take a look at some prerequisites that need to be in place for this task:
- You’ll need to download and install Composer. This product is helpful for installing Laravel and creating any Laravel projects.
- You’ll also need to download and install XAMMP and run it as a service.
- You can use any text editor you want. For the examples shown in this tutorial, we’ll be using Visual Studio Code as our text editor.
- Be sure to download the appropriate
php_mongodb.dllfor the version of PHP that’s installed on your system. - MongoDB must be properly installed and configured. In this article, the MongoDB version used is:
1 | db version v4.2.1 |
- The version of PHP is:
1 | php 7.3.11 |
- Be sure to install the Postman application before proceeding.
NOTE: In this tutorial, our work is being done on a Windows system.
How to Configure MongoDB Database in Windows
We’ll begin by discussing how we can configure a MongoDB database in a Windows system. There are a few steps to follow:
After downloading the required MongoDB DLL file, we’ll extract that in the PHP extension directory, which is located within the XAMPP directory. The path file will be
C:\xampp\php\ext.Then we’ll modify our
php.infile and append the following text in the PHP extensions section:exetnsion=php_mongodb.dll
Create Laravel Project
Now that we’ve configured MongoDB to work properly, we can create our Laravel project.
To do this, we simply execute the command shown below. Be sure that you’re inside the htdocs folder when you run the command:
1 | composer create-project --prefer-dist laravel/laravel fetchmongo |
This will create the fetchmongo directory within htdocs.
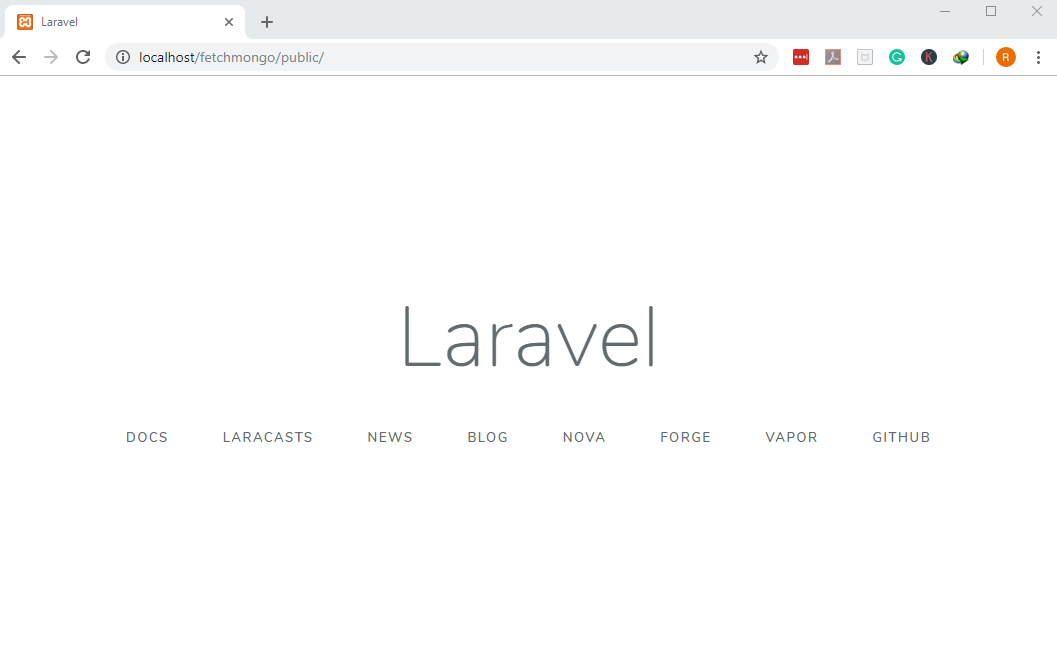
To verify that our Laravel project was successfully created, use the following URL in the browser: http://localhost/fetchmongo/public.
You’ll see something like the following:

Setting Up Laravel Virtual Host
Next, we’re going to clean up our URL to look like this: fetchmongo.net. We’ll do this by creating a basic virtual host for our application.
There are a few steps involved in the process:
- First, we’ll open up the
hhtpd-vhosts.conffile within our XAMPP application with administrator rights. It’s located in the directoryC:\xampp\apache\conf\extra. - We’ll add the following lines of text to the file:
1 2 3 4 5 6 7 8 | <VirtualHost *:80> DocumentRoot "C:/xampp/htdocs" ServerName localhost </VirtualHost> <VirtualHost *:80> DocumentRoot "C:/xampp/htdocs/fetchmongo/public" ServerName fetchmongo.net </VirtualHost> |
In order for the settings to take effect, we’ll have to modify our system host file, which can be found in the following directory:
C:\Windows\System32\drivers\etc.We’ll modify the
hostsfile by appending these lines of text:
1 2 | 127.0.0.1 localhost 127.0.0.1 fetchmongo.test |
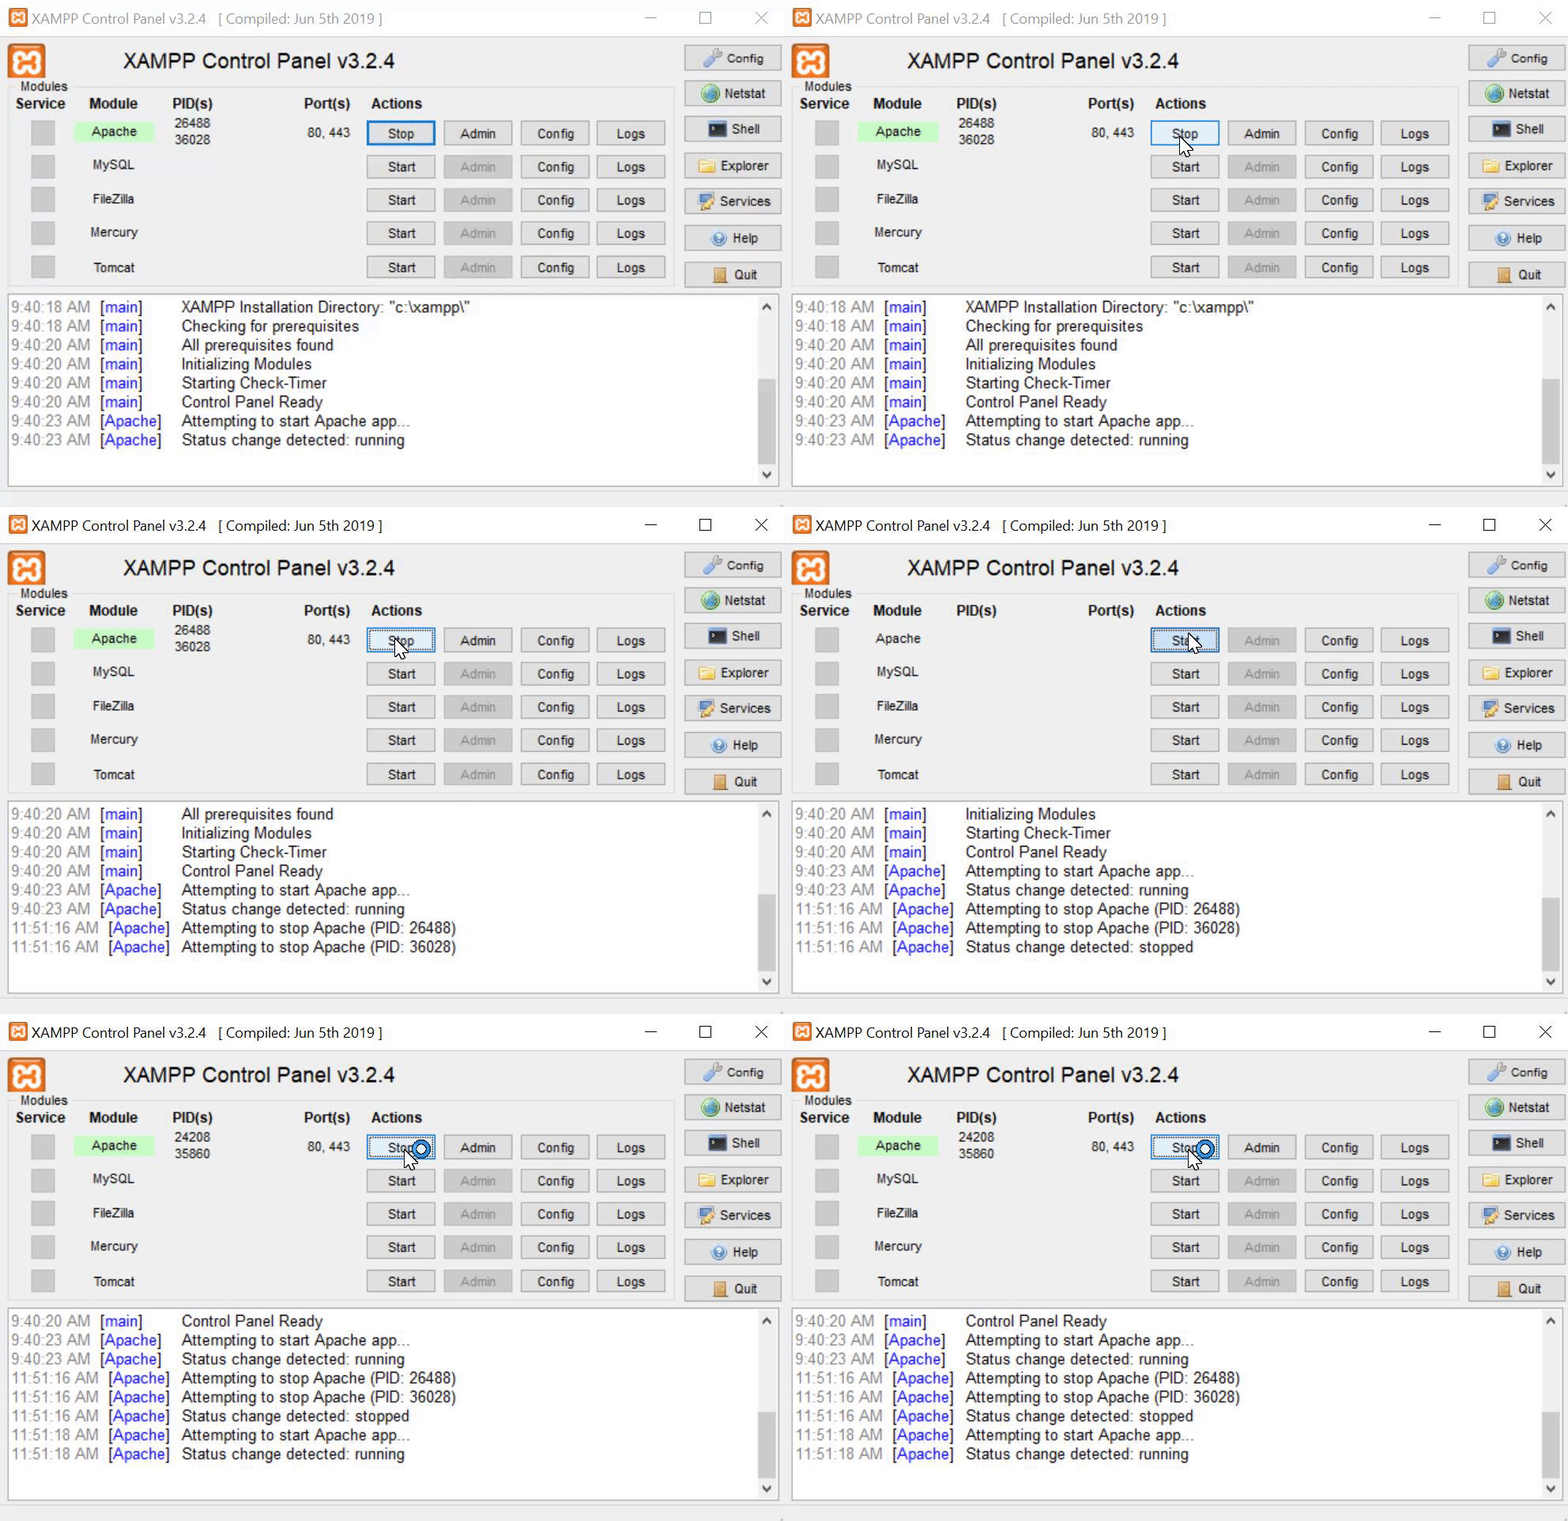
- We will then save the file and restart Apache using the Control Panel.

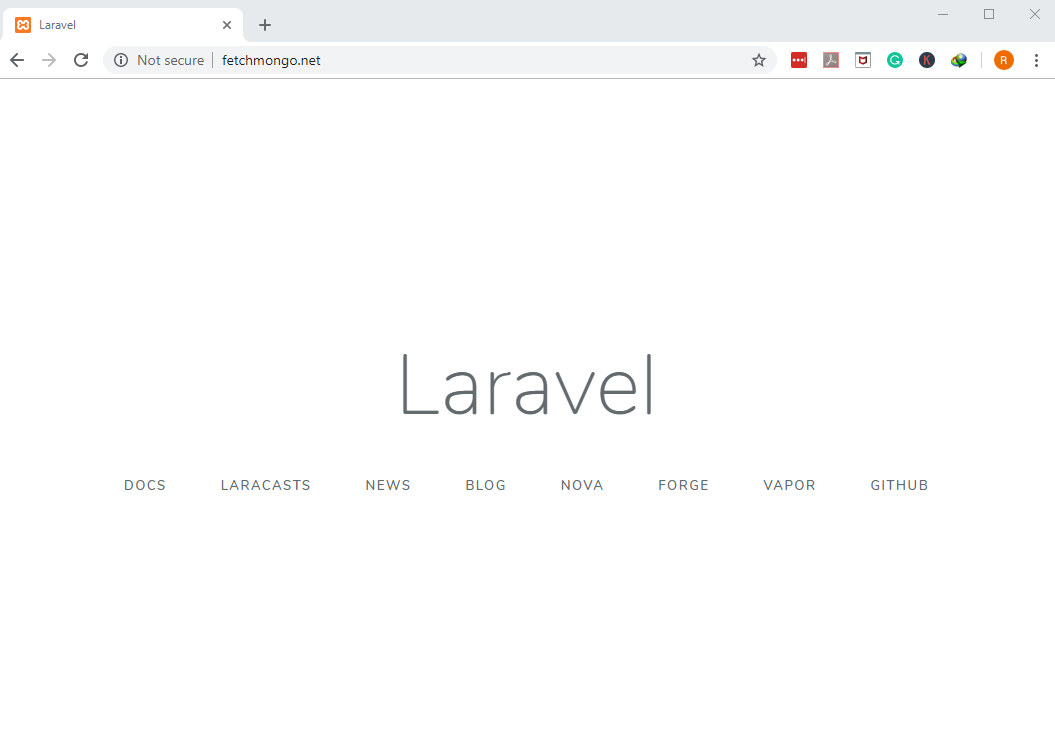
Now we can test our application to see if it will use the URL: fetchmongo.net that we configured earlier.
We should get output that looks something like this:

We can see that our application is now using the customized URL.
Configure MongoDB Database in Laravel
Our next step will be to configure a MongoDB database to work properly with Laravel. Here’s what we’ll do:
- First, we’ll open up the
.envfile and append the following:
1 2 3 4 5 6 | DB_CONNECTION=mongodb DB_HOST=127.0.0.1 DB_PORT=27017 DB_DATABASE=ShoeDb DB_USERNAME= DB_PASSWORD= |
- We’ll also need to add the code shown below to our
database.phpfile:
1 2 3 4 5 6 7 8 9 | 'mongodb' => [ 'driver' => 'mongodb', 'host' => env('MONGO_DB_HOST', 'localhost'), 'port' => env('MONGO_DB_PORT', 27017), 'database' => env('MONGO_DB_DATABASE','ShoeDb'), 'username' => env('MONGO_DB_USERNAME'), 'password' => env('MONGO_DB_PASSWORD'), 'options' => [] ], |
NOTE: Remember to change the mysql value in the line of code 'default' => env('DB_CONNECTION', 'mysql'). You’ll need to change it to this: 'default' => env('DB_CONNECTION', 'mongodb').
Install MongoDB Package in Laravel
We’ll be using the following command to install the MongoDb package:
1 | composer require jenssegers/mongodb |
Register MongoDB Provider
We’ll also need to register MongodbServiceProvider within the app.php file, which is located within the config directory:
1 2 3 | 'providers' => [ Jenssegers\Mongodb\MongodbServiceProvider::class, ] |
Create a Laravel Model
Next, we’ll be creating our model file. The model is able to interact with the document fields of a MongoDB document.
1 | php artisan make:model Shoe |
The command shown above generates a new file in our application called Shoe.php. Let’s open that file and append the following PHP code:
1 2 3 4 5 6 7 8 9 10 11 12 13 14 15 16 | <?php namespace App; use Illuminate\Database\Eloquent\Model; use Jenssegers\Mongodb\Eloquent\ Model as Eloquent; class Shoe extends Eloquent { protected $connection = 'mongodb'; protected $collection = 'shoe'; protected $fillable = [ 'brand', 'model','price' ]; } |
Creating a MongoDB database and Collection
In this section, we will be creating our sample MongoDB database and collection. To do this, we’ll use the commands shown below:
1 2 3 4 5 6 7 8 9 10 11 12 | > use ShoeDb switched to db ShoeDb > db.shoe.insertMany([{ "brand":"nike", "model":"airmax", "price":2000 }, { "brand":"adidas", "model":"zx400", "price":1000 }]); { "acknowledged" : true, "insertedIds" : [ ObjectId("5df4e8541f821ea3d234facd"), ObjectId("5df4e8541f821ea3d234face") ] } > |
We can verify if our database operations were successful:
1 2 3 4 5 6 7 8 9 10 11 12 13 14 | > db.shoe.find().pretty() { "_id" : ObjectId("5df4e8541f821ea3d234facd"), "brand" : "nike", "model" : "airmax", "price" : 2000 } { "_id" : ObjectId("5df4e8541f821ea3d234face"), "brand" : "adidas", "model" : "zx400", "price" : 1000 } > |
Create a Shoe Controller
Once we create our model, we can move on to create a shoe controller that will hold our RETRIEVE operation. We’ll use the following PHP scripts to retrieve all documents in a MongoDB collection:
1 2 3 4 5 | public function index() { $shoe = shoe::all(); return view('home')->with('shoes', $shoe); } |
We can now update the web.php file that handles the routing of our application. We’ll be replacing the ‘welcome’ text with ‘home’:
1 2 3 | Route::get('/', function () { return view('home'); }); |
We’ll also create a route that will process the RETRIEVE operation of a MongoDB document:
1 | Route::get('/home', 'ShoeController@index'); |
Create the View
At this point, we’re ready to create the view that will retrieve a MongoDB Document using Laravel.
We’ll create a new template and name it ‘home.blade.php’. Then we’ll append the following structure to it:
1 2 3 4 5 6 7 8 9 10 11 12 13 14 15 16 17 18 19 20 21 22 23 24 25 26 27 28 29 30 31 32 33 34 35 36 37 38 39 40 41 42 43 44 45 46 47 48 49 50 | @extends('layouts.app') @section('content') <!DOCTYPE html> <html> <head> <meta charset="utf-8" /> <title>Index Page</title> <link rel="stylesheet" href="{{asset('css/app.css')}}" /> </head> <body> <div class="container"> <br /> @if (\Session::has('success')) <div class="alert alert-success"> <p>{{ \Session::get('success') }}</p> </div> <br /> @endif <table class="table table-striped"> <thead> <tr> <th>Brand</th> <th>Model</th> <th>Price</th> <th colspan="2">Action</th> </tr> </thead> <tbody> @foreach($shoes as $shoe) <tr> <td>{{$shoe->brand}}</td> <td>{{$shoe->model}}</td> <td>{{$shoe->price}}</td> <td> <form action="" method="post"> @csrf <input name="_method" type="hidden" value="DELETE" /> <button class="btn btn-danger" type="submit">Delete</button> </form> </td> </tr> @endforeach </tbody> </table> </div> </body> </html> @endsection |
Next, we’ll create a new folder under ‘views’ and call it ‘layouts’. We can then create a new file in that folder called app.php and add the following code to the file:
1 2 3 4 5 6 7 8 9 10 11 12 13 14 15 16 17 18 19 20 21 22 23 24 25 26 27 28 29 30 31 | <!doctype html> <html lang="{{ str_replace('_', '-', app()->getLocale()) }}"> <head> <meta charset="utf-8"> <meta name="viewport" content="width=device-width, initial-scale=1"> <!-- CSRF Token --> <meta name="csrf-token" content="{{ csrf_token() }}"> <title>{{ config('app.name', 'Laravel') }}</title> <!-- Scripts --> <script src="{{asset('/js/app.js')}}" defer></script> <!-- Fonts --> <link rel="dns-prefetch" href="//fonts.gstatic.com"> <link href="https://fonts.googleapis.com/css?family=Nunito" rel="stylesheet"> <link href="https://stackpath.bootstrapcdn.com/bootstrap/4.3.1/css/bootstrap.min.css" rel="stylesheet" integrity="sha384-ggOyR0iXCbMQv3Xipma34MD+dH/1fQ784/j6cY/iJTQUOhcWr7x9JvoRxT2MZw1T" crossorigin="anonymous"> <link href="{{ asset('css/app.css') }}" rel="stylesheet"> </head> <body> <main class="py-4"> @yield('content') </main> </div> </body> </html> |
This additional file will allow us to display the retrieved MongoDB document.
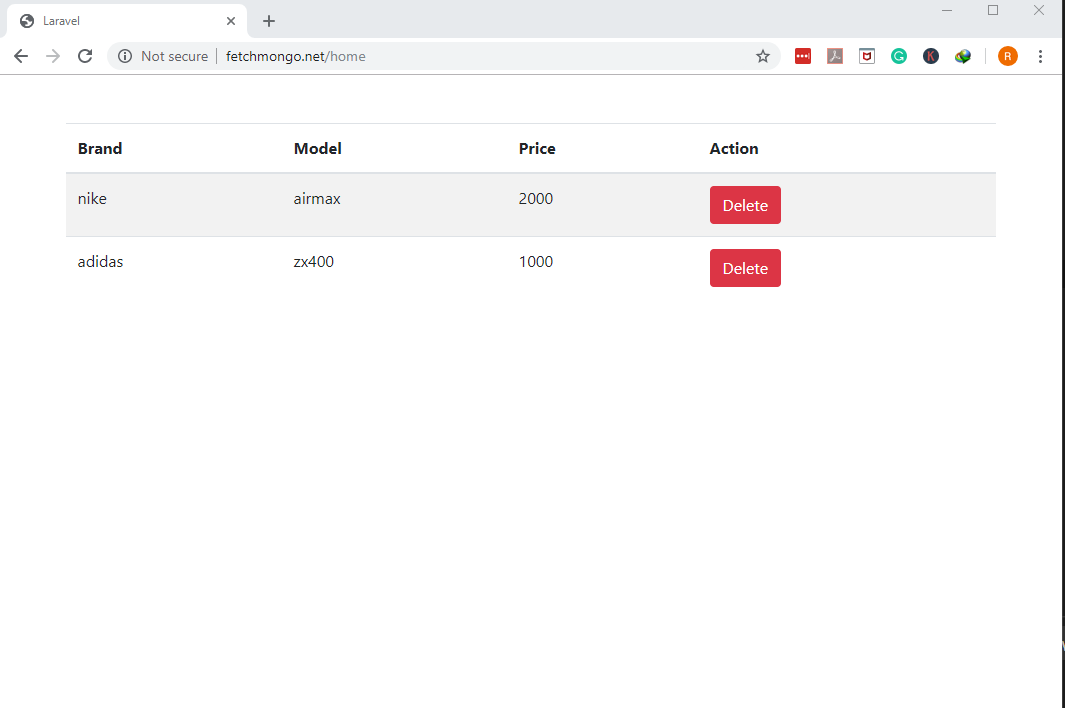
We can now test our application again by using the following URL in our browser: http://fetchmongo.net/home.
You should see something that looks like this:

Conclusion
If you’re storing data in MongoDB, you may want your Laravel apps to interact with your database. It’s easy to configure Laravel to work with MongoDB; once you have everything set up, you can perform a variety of database operations from your scripts. In this article, we showed you how to retrieve a MongoDB document using Laravel. With the help of our instructions and examples, you’ll be ready to work with both Laravel and MongoDB in your own development efforts.
Pilot the ObjectRocket Platform Free!
Try Fully-Managed CockroachDB, Elasticsearch, MongoDB, PostgreSQL (Beta) or Redis.
Get Started


