How to setup React, Node and MongoDB based project - Part 2
Introduction
In part 1 of this series we setup the basic react app using create-react-app and installed Bootstrap to add some styling. In this part 2 of the series we’ll move onto setting up React Router, creating React components for our UI, and start setting up our backend with Express.
How To
So let’s jump straight into using React Router.
Setting Up React Router
React router is a react library which is used to provide routing facilities to navigate through various components.
1 | C:\to-do-app>npm install react-router-dom |
1 2 3 4 5 6 7 8 9 10 11 12 13 14 15 16 17 18 | import { BrowserRouter as Router, Route, Link } from “react-router-dom”; Let’s import the router inside our main app.js file: import React, { Component } from “react”; import { BrowserRouter as Router, Route, Link } from “react-router-dom”; import “bootstrap/dist/css/bootstrap.min.css”; class App extends Component { render() { return ( <Router> <div className=”container”> <h2>MERN-Stack Todo App</h2> </div> </Router> ); } } export default App; |
Let’s configure the routes for the router:
<Route path="/" exact component={TodosList} />

<Route path="/edit/:id" component={EditTodo} />

<Route path="/create" component={CreateTodo} />
For each route which needs to be added to the application a new
We need three routes for our application: / /create * /edit/:id
These are three components which need to be connected with these routes: Todos.js Edit.js * Create.js
Creating Components
To create the needed components in our application let’s first create a new directory src/components and create three new files: todos.js edit.js * create.js
Let’s add a basic React component implementation for each of those components:
todos.js:
import React, { Component } from "react";

export default class TodosList extends Component {

render() {

return (

<div>

<p>Create Your TO-DO List</p>

</div>

);

}

}
edit.js:
`
import React, { Component } from “react”;
export default class EditToDo extends Component { render() { return (
Edit Your TO-DO List
`
create.js:
import React, { Component } from "react";

export default class CreateToDo extends Component {

render() {

return (

<div>

<p>Create Your TO-DO List</p>

</div>

);

}

}
Finally, we have created three basic components for our to-do application. Let’s put them together.
Building a Basic Layout with Navigation using the above components
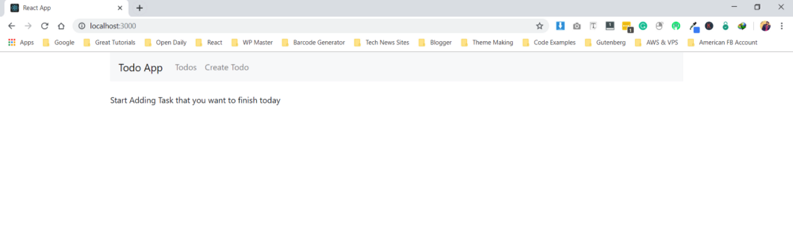
1 2 3 4 5 6 7 8 9 10 11 12 13 14 15 16 17 18 19 20 21 22 23 24 25 26 27 28 29 30 31 32 33 34 35 36 37 38 39 40 | import React from "react"; import "bootstrap/dist/css/bootstrap.css"; import { BrowserRouter as Router, Route, Link } from "react-router-dom"; import TodosList from "./components/todos.js"; import EditToDo from "./components/edit.js"; import CreateToDo from "./components/create.js"; function App() { return ( <Router> <div className="container"> <nav className="navbar navbar-expand-lg navbar-light bg-light"> <Link to="/" className="navbar-brand"> Todo App </Link> <div className="collpase navbar-collapse"> <ul className="navbar-nav mr-auto"> <li className="navbar-item"> <Link to="/" className="nav-link"> Todos </Link> </li> <li className="navbar-item"> <Link to="/create" className="nav-link"> Create Todo </Link> </li> </ul> </div> </nav> <br /> <Route path="/" exact component={TodosList} /> <Route path="/edit/:id" component={EditToDo} /> <Route path="/create" component={CreateToDo} /> </div> </Router> ); } export default App; |
You will see something like as shown in picture below:
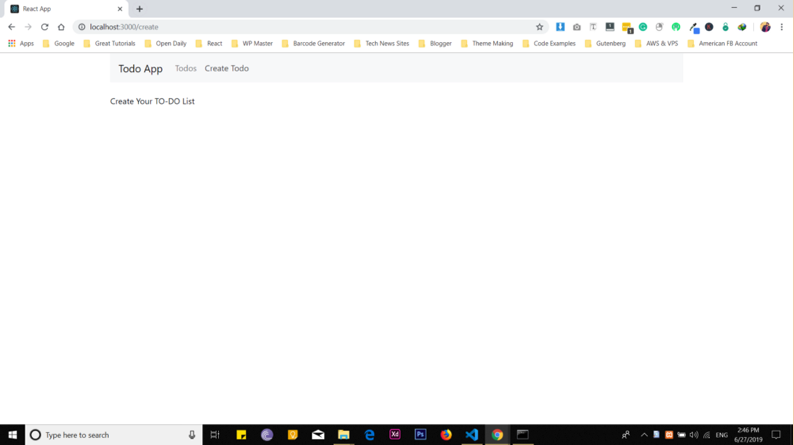
Once you click on Create ToDo, it will show you the content under that component as shown in the picture below:
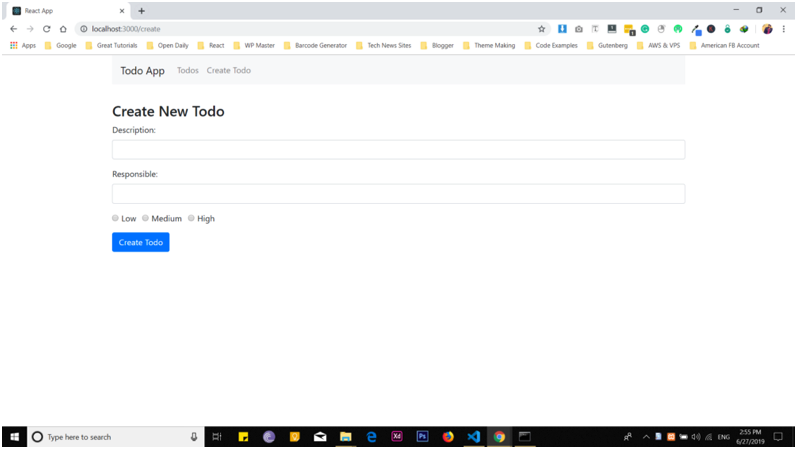
Let’s create the form and functionality through which we submit data into the database. Replace the create.js code with the code provided below, I’ll give a brief about how it’s working:
1 2 3 4 5 6 7 8 9 10 11 12 13 14 15 16 17 18 19 20 21 22 23 24 25 26 27 28 29 30 31 32 33 34 35 36 37 38 39 40 41 42 43 44 45 46 47 48 49 50 51 52 53 54 55 56 57 58 59 60 61 62 63 64 65 66 67 68 69 70 71 72 73 74 75 76 77 78 79 80 81 82 83 84 85 86 87 88 89 90 91 92 93 94 95 96 97 98 99 100 101 102 103 104 105 106 107 108 109 110 111 112 113 114 115 116 117 118 119 120 121 122 123 124 125 126 127 128 129 130 131 132 133 134 135 136 137 138 | import React, { Component } from "react"; export default class CreateToDo extends Component { constructor(props) { super(props); this.onChangeTodoDescription = this.onChangeTodoDescription.bind(this); this.onChangeTodoResponsible = this.onChangeTodoResponsible.bind(this); this.onChangeTodoPriority = this.onChangeTodoPriority.bind(this); this.onSubmit = this.onSubmit.bind(this); this.state = { todo_description: "", todo_responsible: "", todo_priority: "", todo_completed: false }; } onChangeTodoDescription(e) { this.setState({ todo_description: e.target.value }); } onChangeTodoResponsible(e) { this.setState({ todo_responsible: e.target.value }); } onChangeTodoPriority(e) { this.setState({ todo_priority: e.target.value }); } onSubmit(e) { e.preventDefault(); console.log(`Form submitted:`); console.log(`Todo Description: ${this.state.todo_description}`); console.log(`Todo Responsible: ${this.state.todo_responsible}`); console.log(`Todo Priority: ${this.state.todo_priority}`); this.setState({ todo_description: "", todo_responsible: "", todo_priority: "", todo_completed: false }); } render() { return ( <div style={{ marginTop: 10 }}> <h3>Create New Todo</h3> <form onSubmit={this.onSubmit}> <div className="form-group"> <label>Description: </label> <input type="text" className="form-control" value={this.state.todo_description} onChange={this.onChangeTodoDescription} /> </div> <div className="form-group"> <label>Responsible: </label> <input type="text" className="form-control" value={this.state.todo_responsible} onChange={this.onChangeTodoResponsible} /> </div> <div className="form-group"> <div className="form-check form-check-inline"> <input className="form-check-input" type="radio" name="priorityOptions" id="priorityLow" value="Low" checked={this.state.todo_priority === "Low"} onChange={this.onChangeTodoPriority} /> <label className="form-check-label">Low</label> </div> <div className="form-check form-check-inline"> <input className="form-check-input" type="radio" name="priorityOptions" id="priorityMedium" value="Medium" checked={this.state.todo_priority === "Medium"} onChange={this.onChangeTodoPriority} /> <label className="form-check-label">Medium</label> </div> <div className="form-check form-check-inline"> <input className="form-check-input" type="radio" name="priorityOptions" id="priorityHigh" value="High" checked={this.state.todo_priority === "High"} onChange={this.onChangeTodoPriority} /> <label className="form-check-label">High</label> </div> </div> <div className="form-group"> <input type="submit" value="Create Todo" className="btn btn-primary" /> </div> </form> </div> ); } } |
After adding the above code, you will see a change in create todo component. You will see a form as shown below:
Now, we have set up everything in frontend. Let’s add the backend node and MongoDB to save the data in the database and retrieve that data as well.
Let’s create the backend part for this App:
`
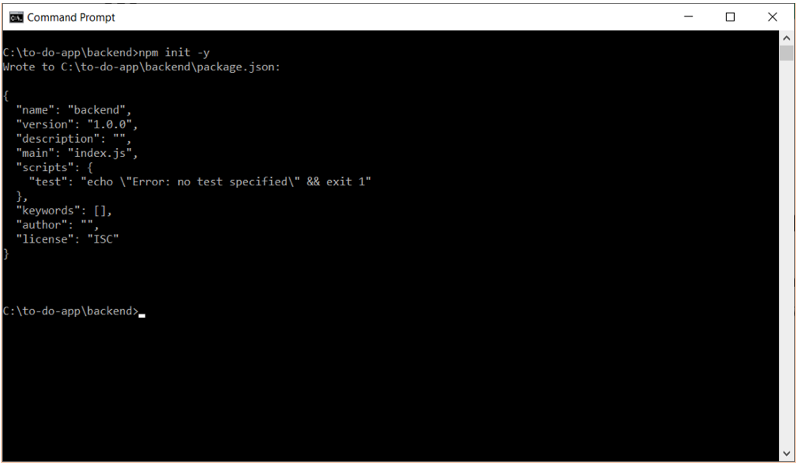
C:to-do-app>mkdir backend
C:to-do-appbackend>npm init -y
`
This will create a default package.json file with the folder name and you don’t need to add anything manually if you want to change something, you can do it through your code editor. Let’s install the supporting files to run this application.
Let’s install the other dependencies and frameworks:
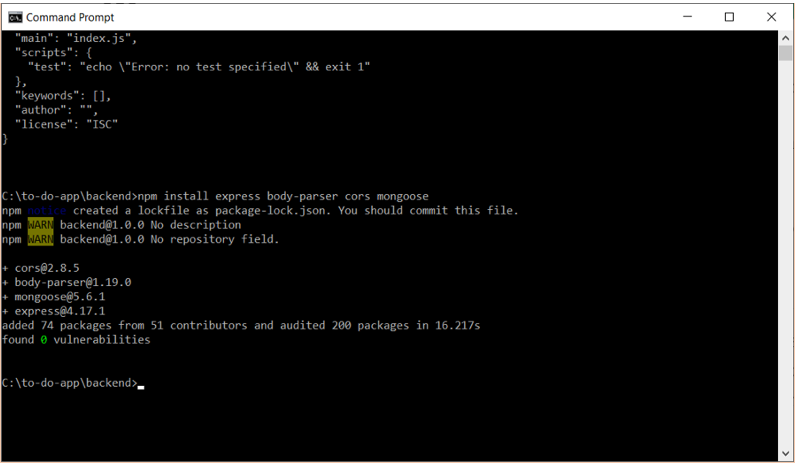
C:\to-do-app\backend>npm install express body-parser cors mongoose
After adding this command, you will start thinking these packages are all about. Let me give you a brief introduction about them
express: A web framework for Node.js great for creating APIs easily. body-parser: A NodeJS body parsing middleware. cors: CORS is a NodeJS package for providing an Express middleware that can be used to enable CORS with various options. Cross-origin resource sharing (CORS) is a mechanism that allows restricted resources on a web page to be requested from another domain. mongoose: A NodeJS framework which uses MongoDB in an object-oriented way.
Finally, we need to make sure to install a global package by executing the following command:
C:\to-do-app\backend>npm install -g nodemon
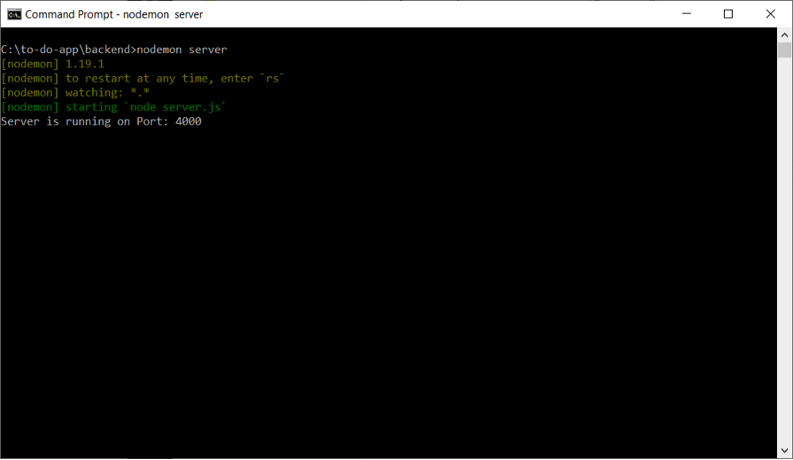
Nodemon is a utility that will monitor for any changes in your source and automatically restart your server. We’ll use nodemon when running our Node.js server in the next steps.
server.js:
`
const express = require(‘express’);
const app = express();
const bodyParser = require(‘body-parser’);
const cors = require(‘cors’);
const PORT = 4000;
app.use(cors());
app.use(bodyParser.json());
app.listen(PORT, function() {
});
`
Let’s test that everything works fine on not by running our backend on via nodemon.
C:\to-do-app\backend>nodemon server
Conclusion
In this part 2 of this series we setup Routing, created our React UI Components, and setup our backend with Express. Continue on to part 3 of the tutorial where we setup MongoDB on the backend.

Pilot the ObjectRocket Platform Free!
Try Fully-Managed CockroachDB, Elasticsearch, MongoDB, PostgreSQL (Beta) or Redis.
Get Started