How to setup React, Node and MongoDB based project - Part 1
Introduction
Today, we are going to set up a project environment for a basic project using React, Node, and MongoDB. This guide is not for absolute beginners, so if you want to understand how things work you must have a little grasp over these programs and libraries. So without wasting time, let’s get started:
Prerequisites
Today, we are going to build a basic to-do listing app using these technologies.
- React JS – Facebook’s popular frontend library to build user interfaces.
- Node JS – Allows us to run our server on Javascript.
- MongoDB – A flexible and scalable NoSQL database technology. You can also use MySQL or PostgreSQL as a database for the node-react application. It is a document based database system.
- Express – A framework for Node JS which offers great features for node based application and also makes it easy to use for users. It’s great at creating API routes.
How To
Let’s Setup React, Node, and MongoDB based project
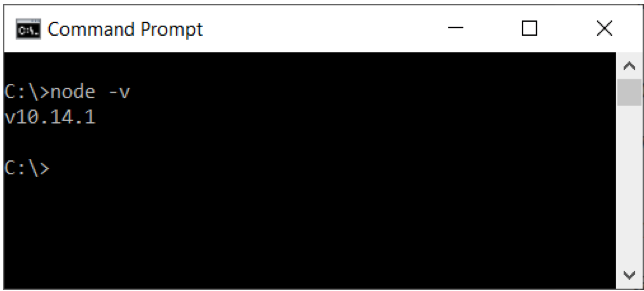
So let’s get started by installing everything. So, first of all, we need node application to run all of these things. If you haven’t installed yet in on your system, you can download it from https://nodejs.org/en/. Download node’s recommended version which is stable for now. Now open the terminal or command window and run this command to check that node is installed or not.
1 | C:\> node -v |
 This for Windows Users
Next thing that you need to do is create a react app. We can get started quickly by using the great create-react-app script which will automatically create a basic react app on our system. So let’s do it:
This for Windows Users
Next thing that you need to do is create a react app. We can get started quickly by using the great create-react-app script which will automatically create a basic react app on our system. So let’s do it:
1 | C:\>npx create-react-app to-do-app |
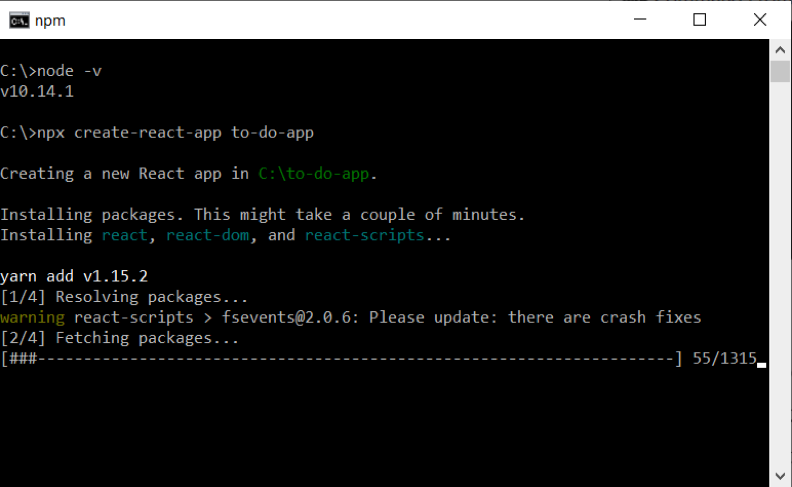
Once you type in that in the command line and hit enter it will install all the necessary files to run this application.
Let’s check that it’s working properly or not. To do that, we need to go inside the app folder:
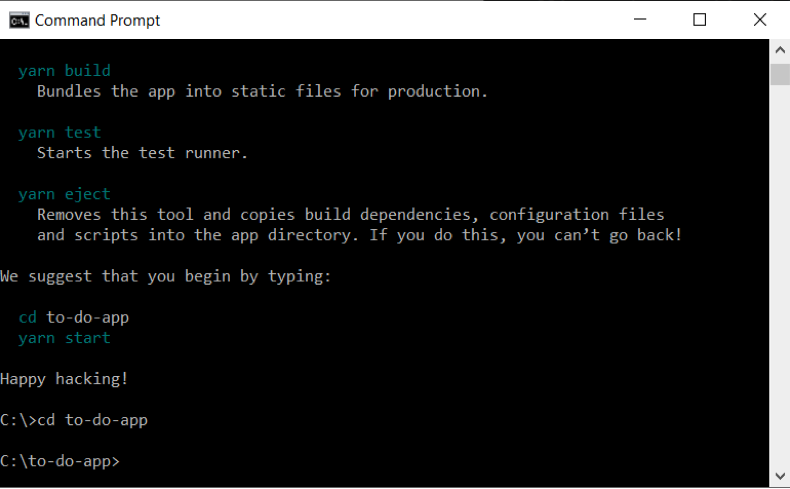
To run the react app, you need to type in the command and hit enter:
1 | C:\>npm start to-do-app |
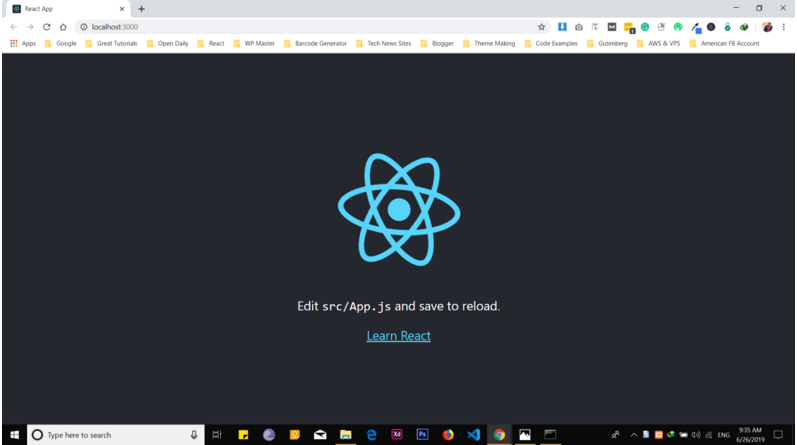
This will automatically open up a browser window which is showing that your app is running on port 3000 as shown in the picture.
So now we have installed node and created a react application. Let’s move on to the next part of the app.
Note: if you install any of those libraries with “npm install” and found some warning then you can use “YARN Package Manager” along with npm.
I’m going to use bootstrap build the frontend faster without writing so much CSS because our main goal is to make this application functionality instead of the design.
1 | C:\to-do-app>npm install bootstrap |
Now, we need to import bootstrap into our application.
1 | import ‘bootstrap/dist/css/bootstrap.css’; |
Let’s test that it’s working or not. To do that, firstly open the app in the code editor (I’m using VS Code, you can use any of them) remove all the code from app.js file and add the code below:
1 2 3 4 5 6 7 8 9 10 11 12 | import React from “react”; import “bootstrap/dist/css/bootstrap.css”; function App() { return ( <div className=”container p-3 bg-primary text-center text-white”> <h2> To Do App </h2> </div> ); } export default App; |
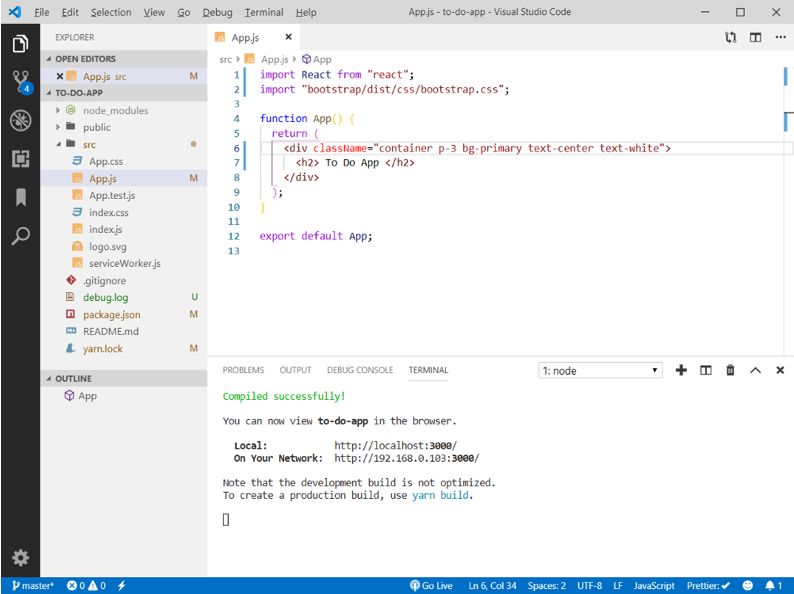
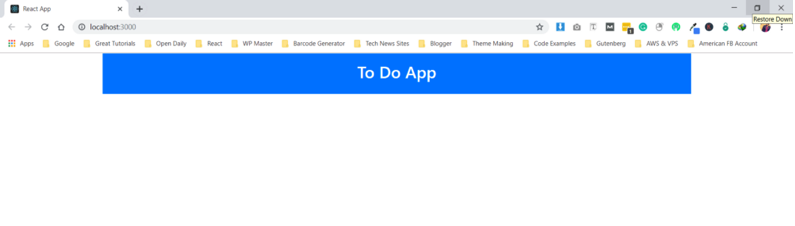
After adding the code run the application. Once you run the application, you will a change in layout as shown below:
Conclusion
This has been part 1 of how to setup a React, Node, and MongoDB based project. We created a basic app using the create-react-app script and installed bootstrap to do some styling. Please follow along with part 2 of the article where we setup React Router.


Pilot the ObjectRocket Platform Free!
Try Fully-Managed CockroachDB, Elasticsearch, MongoDB, PostgreSQL (Beta) or Redis.
Get Started