How To Setup A MongoDB App Using Golang On MacOS
Introduction
The Go programming language (Golang) helps developers, just like you, automate tasks more proficiently. Matter of fact, easier tasking could be one of the main reasons why it’s a popular and preferred language for many coders. Add to the mix, MongoDB, the database that’s document-based, and you’ve also streamlined your productivity in managing your documents.
Lastly, install Golang macOS, then install MongoDB driver macOS, and finally connect MongoDB Golang. That’s it. You’ve placed yourself in a consistent code working environment that’s likely to be reliable day after day. To get there, it’s vital to install MongoDB Golang driver and complete all of the other requirements correctly so they’ll work together seamlessly for you.
Find out more with this tutorial that explains how to setup a MongoDB app using Golang on macOS. If you’re already familiar with how to do this and want to bypass the steps in this lesson, skip to Just the Code.
Prerequisites
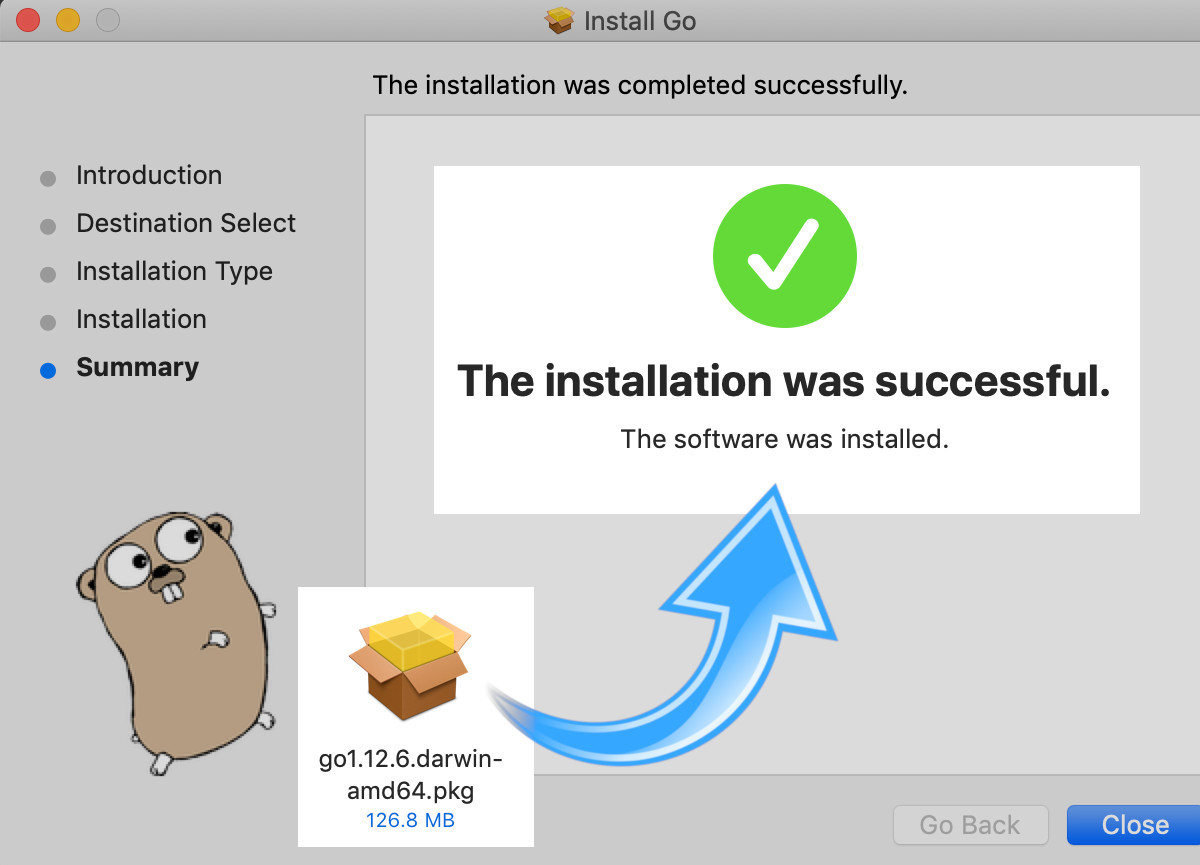
- Install the Golang amd64.pkg installer version for Apple macOS versions 10.0 or later.
- Complete the installation by first going to the directory of
~/Downloadsfrom a new Finder window. - Next, click the Golang package installer icon twice.
- Follow the prompts to finish the Golang installation.
Edit the shell script Bash profile
- Modify the
.bash_profilewith thegeditornanotext editor. A UNIX shell will show the root directory of the user as is indicated by the private directory~/or$HOME.
1 | nano ~/.bash_profile |
- Setup Golang’s location and workspace path’s aliases.
1 2 3 4 5 6 | # GOPATH is for the location of Golang projects export GOPATH=/custom/path/to/workspace # GOROOT is for the location of the Golang installation export GOROOT=/usr/local/go export PATH=$PATH:$GOPATH/bin export PATH=$PATH:$GOROOT/bin |
Confirm your Golang installation and environment setup
- Check that Golang is ready to use before you continue. Read on to find out how to reload the shell and check the settings for the environment.
Reload the configuration with source command
- After you use the
sourcecommand, use~/then.and indicate the name of the shell file including its path as shown in the example below.
1 | source ~/.bash_profile |
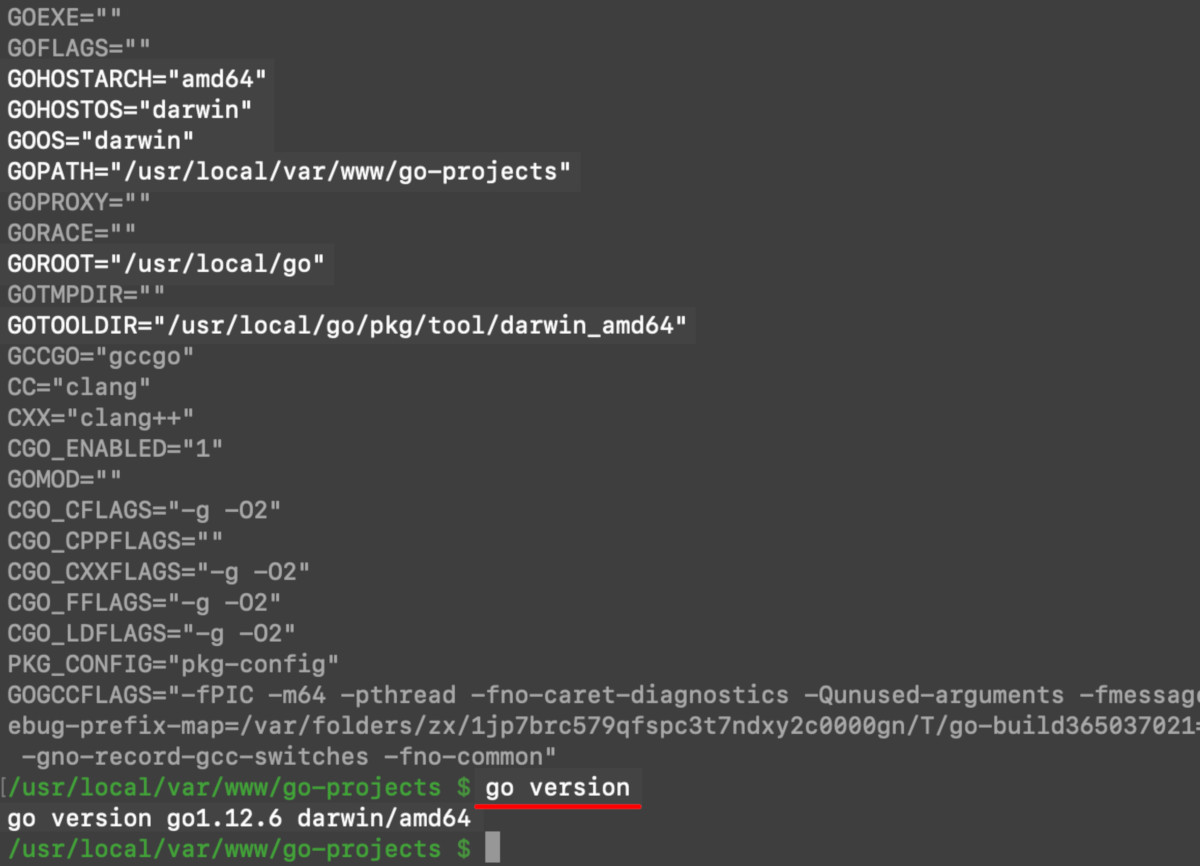
Obtain the variables and settings for Golang environment
- Confirm the changes with the command
go env. Every setting will be returned for you to check the.bash_profile.
Get the version number for Golang
- Substantiate the installation version of Golang by going to the terminal window and typing
go version. You should see a response similar to this one below:
1 | go version go1.12.6 darwin/amd64 |
Get the MongoDB driver Golang
- The
GOPATHvariable has the project directory specification. Change the (cd) directory based on that. Next, install the MongoDB Golang driver with thego getcommand like this:
1 | go get go.mongodb.org/mongo-driver |
Make a new Golang document and connect it to MongoDB
Construct a new file with that extension
.goextension at the end.At the beginning of the file, import the required packages and libraries for a successful MongoDB connection.
1 2 3 4 5 6 7 8 9 10 | package main import ( // built-in Golang packages "context" // for context.WithTimeout "fmt" // for the Println() function "time" // for the timeout method // importing the required dependencies "go.mongodb.org/mongo-driver/mongo" "go.mongodb.org/mongo-driver/mongo/options" ) |
- Create a URI string with the function
main(). Take note of URI port domain and host and verify that they’re right.
1 2 3 | func main() { // create a URI string to pass to the Mongo Client uri := "mongodb://localhost:27017" |
- Take the
URIstring you just created and make a new client instance. You’d do this by passing it to theNewClient()method of the Mongo Client. Then you can make a MongoDB server connection for that client instance.
1 2 3 4 | // create a URI string to pass to the Mongo Client uri := "mongodb://localhost:27017" // to release API sources after a specified time ctx, _ := context.WithTimeout(context.Background(), 15*time.Second) |
When there’s no response within a certain period of time after you make an API call, the
contextlibrary furnishes the context for cancelling MongoDB inside Golang.Analzye the object
errto see if there were any error responses from the API call. Seeingnilis a good thing because it indicates a successful connection was made and there no errors showed up from the MongoDB API or Golang.
1 2 3 4 5 6 7 8 9 10 | // check if the API call returned any errors if err != nil { fmt.Println("ERROR:", err) } else { // connection was a success fmt.Println("ctx:", ctx, "\n") fmt.Println("client:", client, "\n") fmt.Println("Connected to MongoDB!") } } // end of main() func |
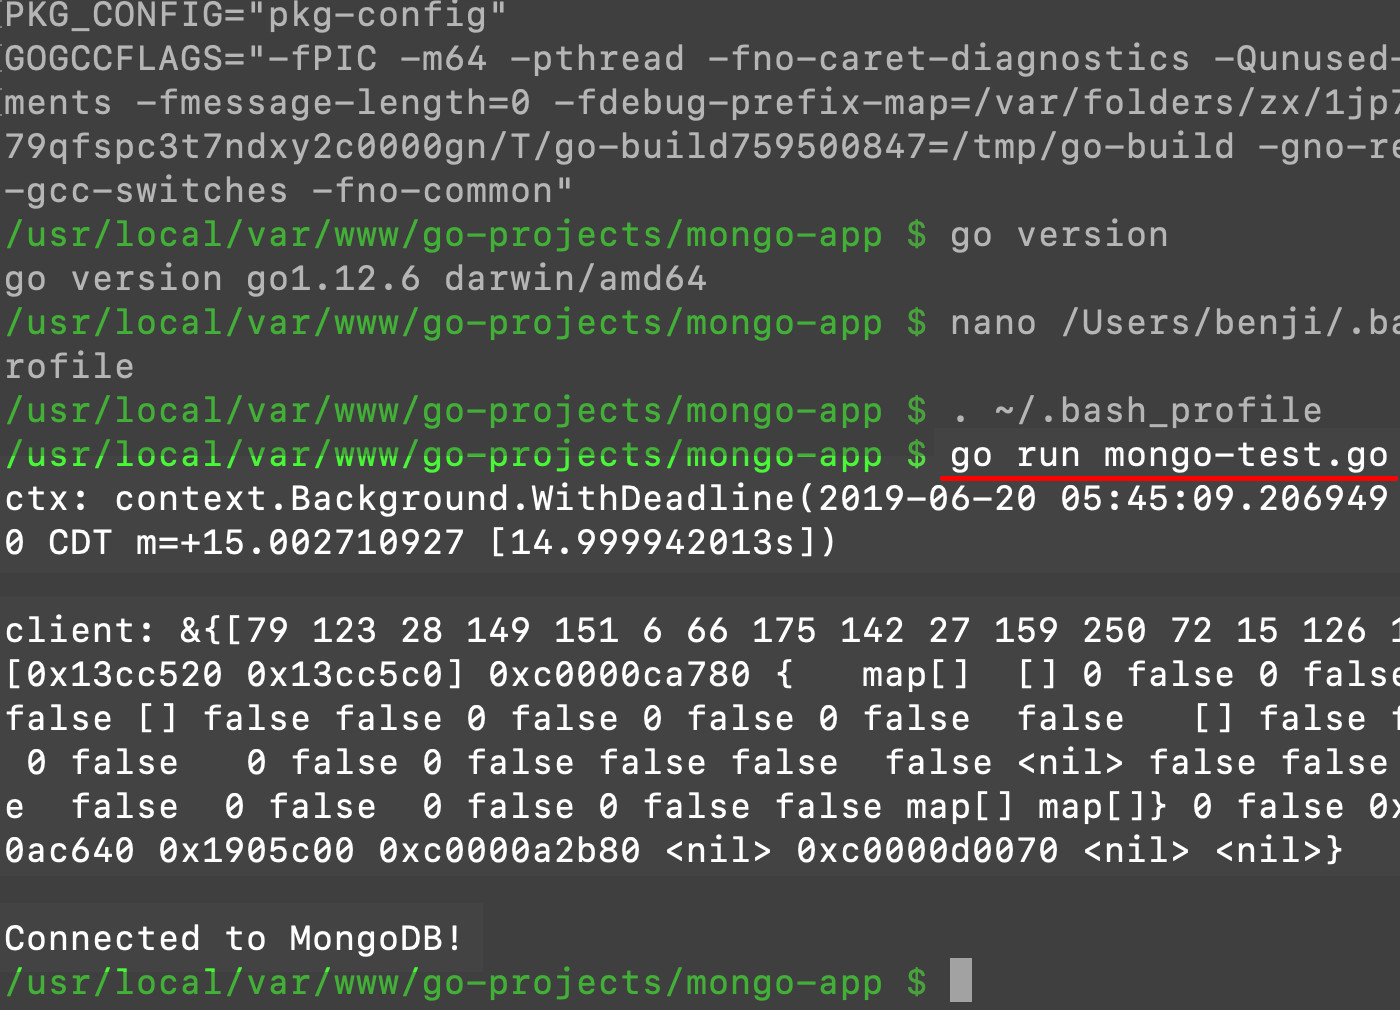
Put together the Golang file and execute it and connect it to MongoDB
- First, save the Golang file.
- Next, assemble it.
- Finally, run the code with the
go runcommand.
1 | go run mongo-test.go |
>NOTE: Remember to rename the .go file’s name from mongo-test to something else.
Conclusion
A most proficient day of code development is possible with the Go programming language (Golang). In this tutorial, you learned how to install Golang macOS, how to install MongoDB driver macOS, and how to connect MongoDB Golang. In other words, you found out how to setup a MongoDB app using Golang on macOs in a straightforward way. As a result, you can now manage tasks more efficiently when you code.
You’ll take advantage of many more benefits as you continue to work with Golang, the MongoDB, the MongoDB driver Golang, and the macOS environment. Now that you’ve started, commence to coding brilliantly today.
Just the Code
Here’s the complete sample code for connecting MongoDB using Golang in macOS.
1 2 3 4 5 6 7 8 9 10 11 12 13 14 15 16 17 18 19 20 21 22 23 24 25 26 27 | package main import ( // built-in Golang packages "context" "fmt" "time" // importing the required dependencies "go.mongodb.org/mongo-driver/mongo" "go.mongodb.org/mongo-driver/mongo/options" ) func main() { // declare a URI string to pass to the Mongo Client uri := "mongodb://localhost:27017" // create a new client instance and error object (if necessary) client, err := mongo.NewClient(options.Client().ApplyURI(uri)) // use 'context' to release API sources after a specified time ctx, _ := context.WithTimeout(context.Background(), 15*time.Second) // check if the API call returned any errors if err != nil { fmt.Println("ERROR:", err) } else { // connection was a success fmt.Println("ctx:", ctx, "\n") fmt.Println("client:", client, "\n") fmt.Println("Connected to MongoDB!") } } |

Pilot the ObjectRocket Platform Free!
Try Fully-Managed CockroachDB, Elasticsearch, MongoDB, PostgreSQL (Beta) or Redis.
Get Started