How to Setup a Database in Compass Community
Introduction
If you’re a developer getting acquainted with MongoDB, possibly setting up a database for your new app idea, Compass Community is a quick and easy way to get started setting up your database. There are numerous ways to get started setting up a new database but we found this way to be great a quick and painless way of getting started and creating a prototype. We’ll show you how to create a new database, collection, and insert a few documents so that we can start coding knowing that there is some data to work with and populate the UI with. In this article we’ll take you through the simple steps of setting up a database using Compass Community Edition.
Prerequisites
- You should have MongoDB installed and running.
- If you don’t have MongoDB installed look at their official documentation for easy step by step instructions on how to install it on your specific operating system.
- If you have MongoDB installed you can run it by using the command
mongodfrom a terminal.
- You should have a version of MongoDB Compass installed. For this tutorial we have used Compass Community Edition.
Setup the Database
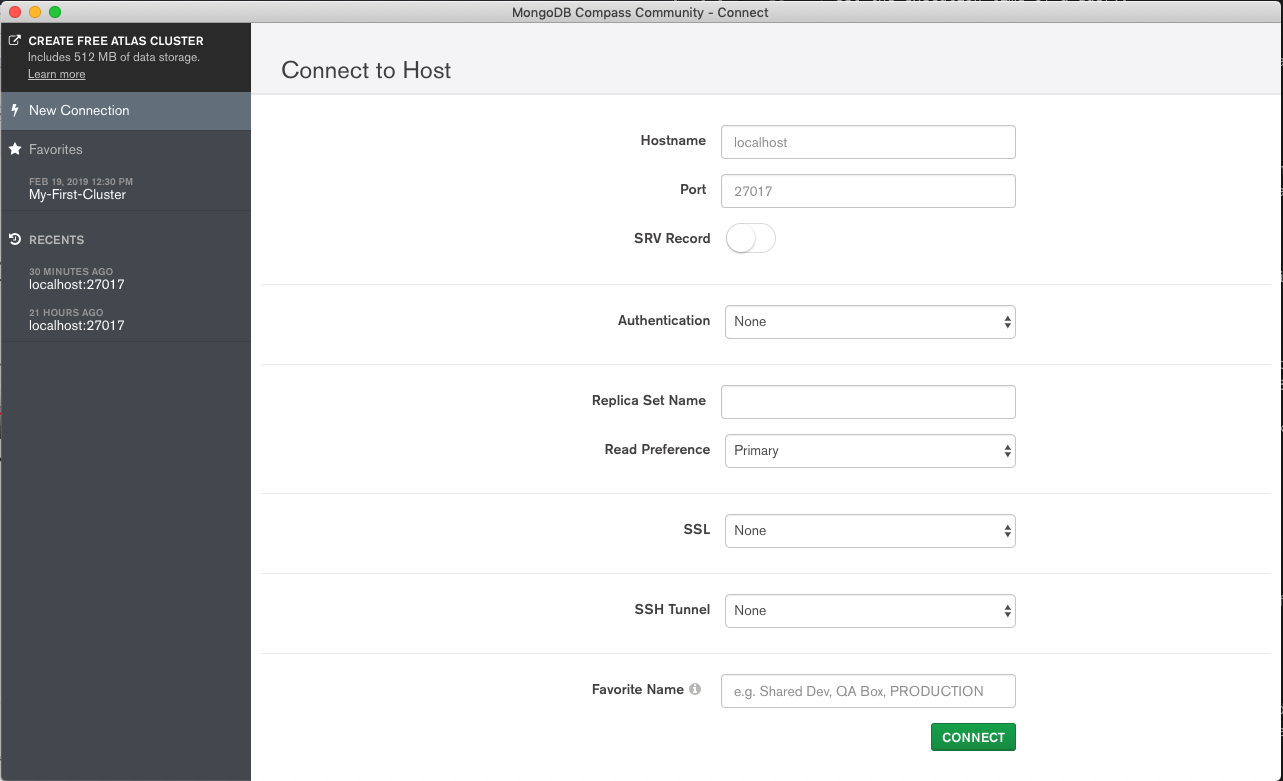
We start by opening up MongoDB Compass and connecting to your database. It’ll prompt you for the host and a port number. We are working on localhost and have run MongoDB on the default port 27017 so we can accept all the defaults and just hit “Connect”.
Create the Database
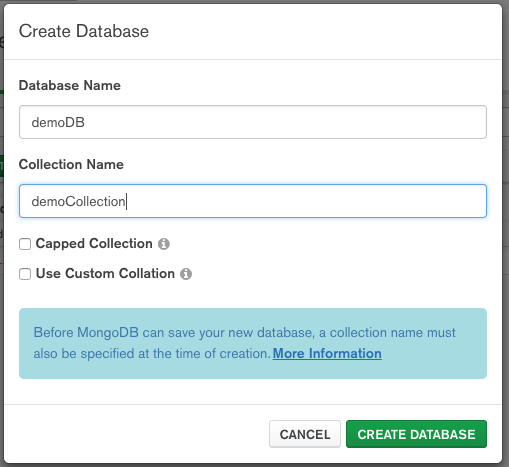
Now that we are connected to the database through Compass we can use the Compass GUI to create our database. Now that you’re connected you’ll see a list of your existing databases listed on the left and a green “CREATE DATABASE” button. There is also a “+” button in the bottom left hand corner which does the same thing. It will prompt you for both a database name and a collection because in MongoDB collection must be created before the database is created. We gave our database the name demoDB and our collection demoCollection and click “CREATE DATABASE”.
Go into Collection
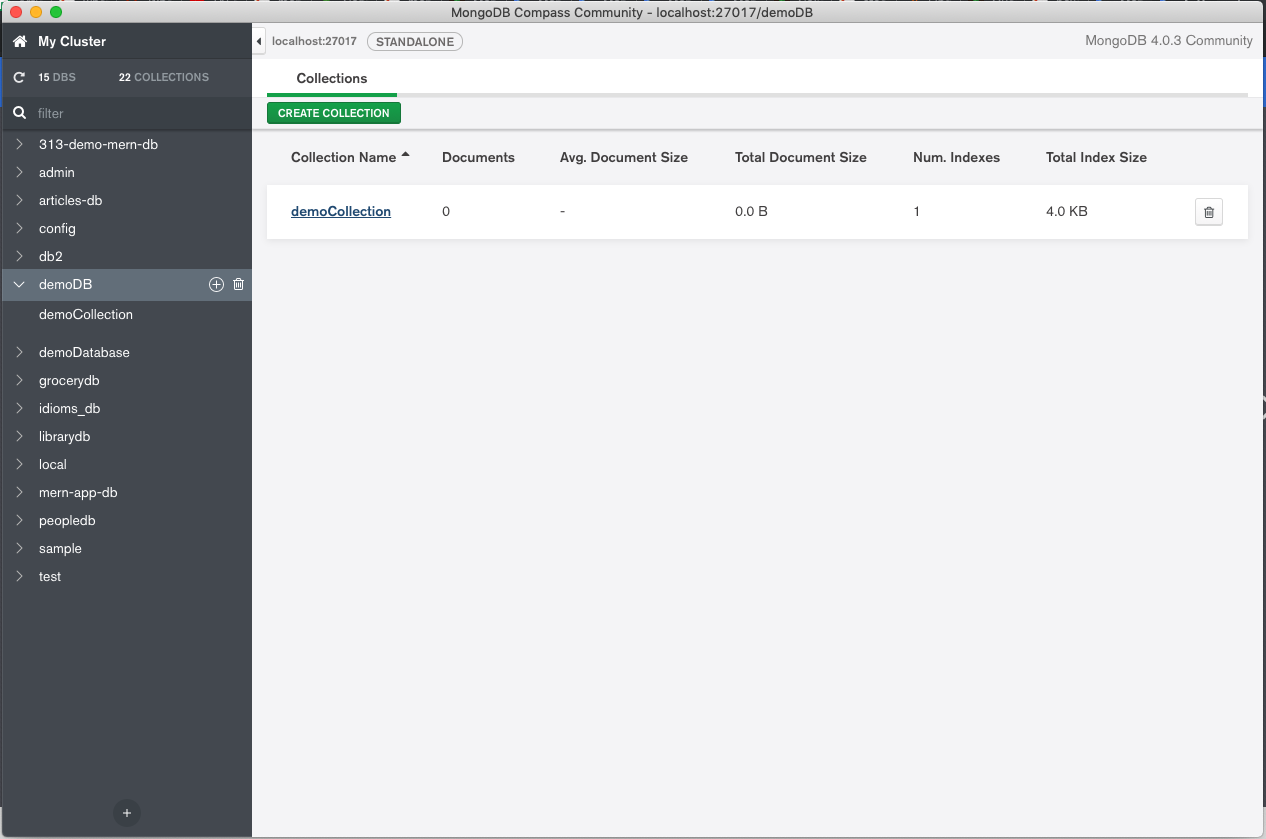
Once you have created the database and collection you are taken back to the main screen and you should see your database name in the list of databases on the left. Click the database you created and it will show you all the collections inside the database. For us it’s just our one collection demoCollection.
Insert Document
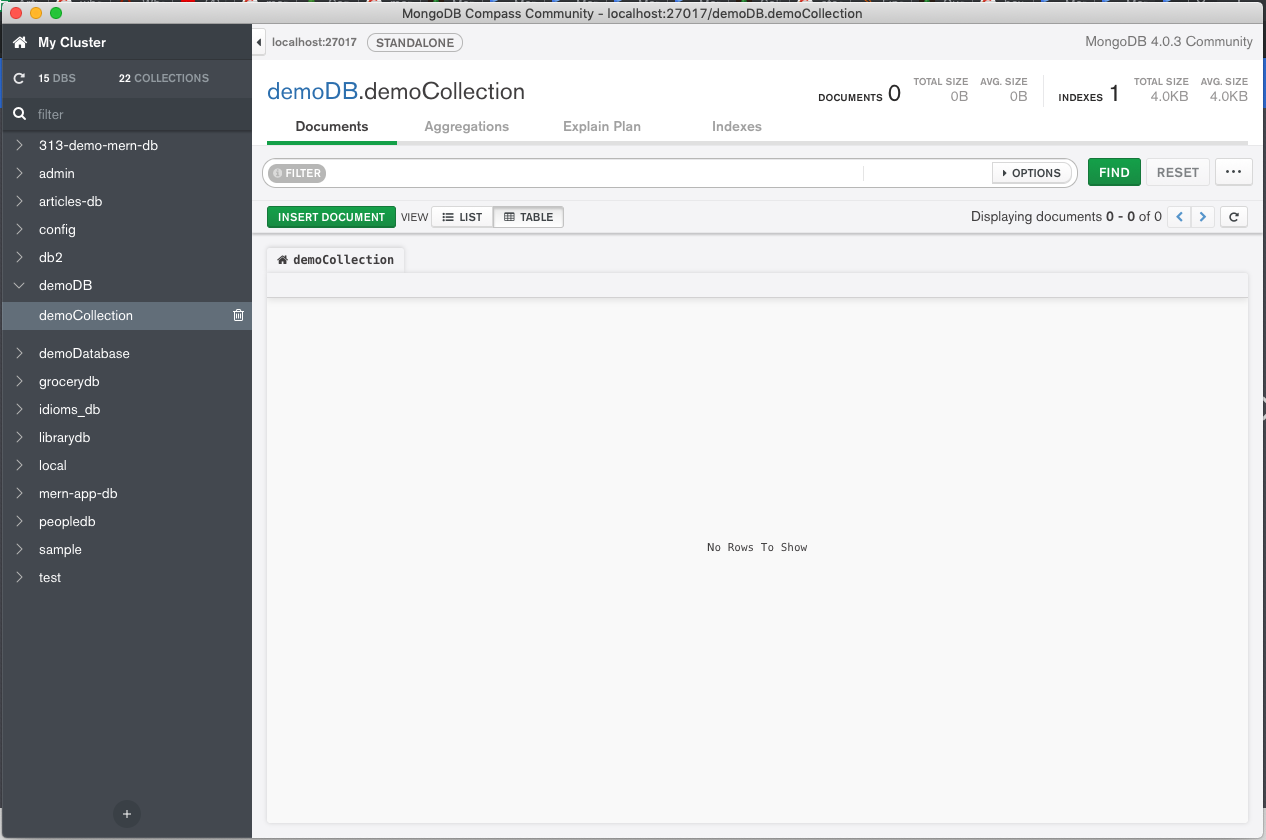
Now we want to insert at least one document so our application has something to display on the front-end. To insert a document first click on the collection you want to insert a document in, we click on demoCollection. Next click the green “INSERT DOCUMENT”.
Click the + Sign “Add Field After”
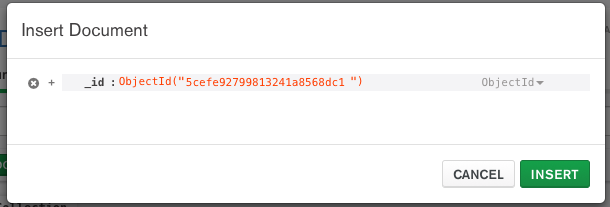
When you click “INSERT DOCUMENT” you’ll be presented with a modal for you to describe the document you want to create. To add new fields click the small plus sign to the left of _id. This will let you allow fields and subfields.
Add Fields
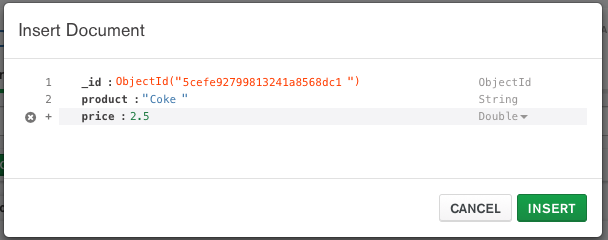
We added a product field as a String and a price field as a Double type because it will be a decimal. Click “INSERT” to finalize the insert.
Verify the Data
You should now see a screen with your inserted document. You might want to add a few more documents depending on what you’ll need to create your prototype.

Conclusion
We hope that you showed you another option for creating your databases. Using Compass is especially great for a super quick and easy way to start a new pet project. This isn’t a great choice for any enterprise situation but it has it’s place. If you need help setting up or managing your MongoDB database please don’t hesitate to reach out to us at Object Rocket.

Pilot the ObjectRocket Platform Free!
Try Fully-Managed CockroachDB, Elasticsearch, MongoDB, PostgreSQL (Beta) or Redis.
Get Started