How to Install PyMongo and Connect to MongoDB in Python
Introduction
If you’d like to connect to MongoDB for Python, you’ll probably want to use Pymongo– the Python wrapper for MongoDB. When you use MongoDB and Python together, you can create, update and query collections with just a few simple lines of code. In this article, we’ll explain how to install the Python driver for MongoDB and connect to MongoDB using Python.
Prerequisites
Before we setup the Python MongoDB client, there are a few important prerequisites that need to be in place. The system requirements for this task include:
- MongoDB must be installed on the machine or server that is being used to run Python scripts. You can use the
--versioncommand in a terminal to confirm that it’s already installed:
1 | mongo --version |
- Python also needs to be installed on the machine or server. Python 3 is the preferred version, as Python 2 is scheduled for depreciation.
Install the Python Package Installer (pip3) for Python 3
Most current operating systems, including macOS and most Linux distributions, come with Python 3; however, sometimes the PIP3 package manager is not included.
Installing the PIP3 package manager for Python 3 on a APT distribution of Linux
On a distribution such as Ubuntu that uses the apt and apt-get repositories, the PIP3 package manager can be installed with the following command:
1 | sudo apt install python3-pip |
Installing PIP3 from source
You can also install PIP3 from a downloaded source using the following command:
1 | python3 path/to/pip-file/get-pip.py |
Upgrading PIP for macOS and Linux
If you need to upgrade pip3 to the latest stable release on a UNIX-based operating system (such as Linux or macOS), use the command shown below:
1 | sudo pip3 install -U pip3 |
Install the PyMongo library using Python’s PIP package manager
You’ll need to install the MongoDB driver for Python on the machine or server where MongoDB is running.
Use the pip3 (or just pip for Python 2) package manager to install the MongoDB Python driver. MongoDB does have support for Python 2.7 and even some limited support for Python 2.6, but Python 2 is being deprecated and will be losing much of its support before 2020. Python 3 along with the PyMongo 3.x Python driver for the MongoDB client are the recommended versions to use.
Installing the pymongo module using Python 3
Use the following command to install the Python driver for MongoDB using Python 3:
1 | pip3 install pymongo |
Installing an older version of the PyMongo library
The following command installs an older version of the PyMongo library for Python 2:
1 | pip install pymongo==2.8.1 |
Troubleshooting and uninstalling PyMongo
How to fix the ImportError: <span>No module named PyMongo error
If you encounter a PyMongo version conflict, or if you need to uninstall PyMongo for some reason, simply use PIP’s uninstall command followed by the package name. It’s a good idea to use sudo with this command to prevent any permissions-related issues:
1 | sudo pip uninstall pymongo |
Conflicts with Python’s bson package
If you have trouble importing the PyMongo library, you might need to uninstall and re-install the BSON package for Python. This can also be accomplished using PIP’s uninstall command:
1 2 3 | pip uninstall bson # reinstall the BSON library pip install bson |
Install PyMongo in the correct Python environment
If you’re still unable to import PyMongo after installing it with PIP, you can try installing it again a different way. Try invoking Python directly, while using the -m option to instruct Python to run PIP as the main module.
Execute this command with sudo privileges to avoid permissions-related errors:
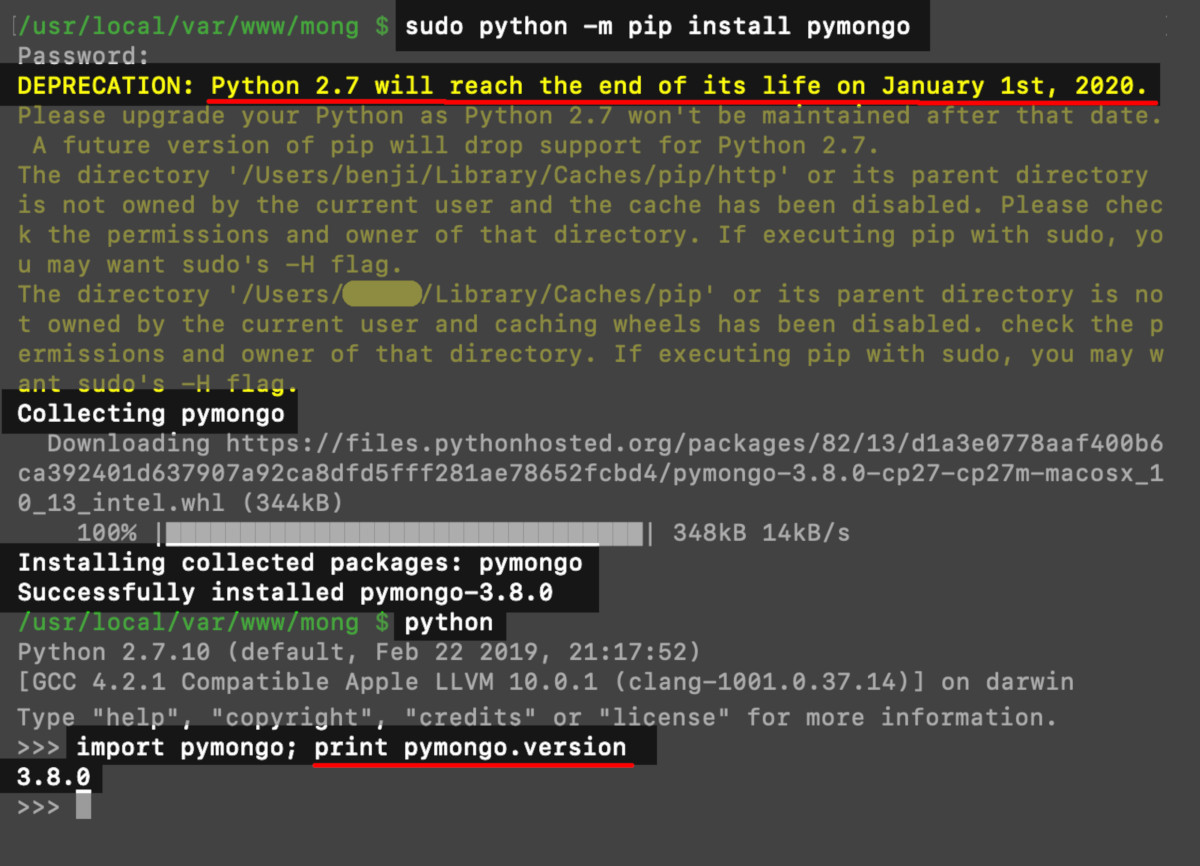
1 | sudo python -m pip install pymongo |
You can use the same command to install an older version of PyMongo in Python 2.7:
1 | sudo python -m pip install pymongo==2.8.1 |
Similarly, you can also install PyMongo 3.8 using PIP for Python 3 by executing the command in the python3 environment:
1 | sudo python3 -m pip install pymongo==3.8.0 |
NOTE: As of June 2019, PyMongo version 3.8 is the latest stable release of the Python driver.
Install PyMongo on Python 2.7 with the -m option when python3 is the environment’s default version of Python

Access the MongoDB server in a Python virtual environment
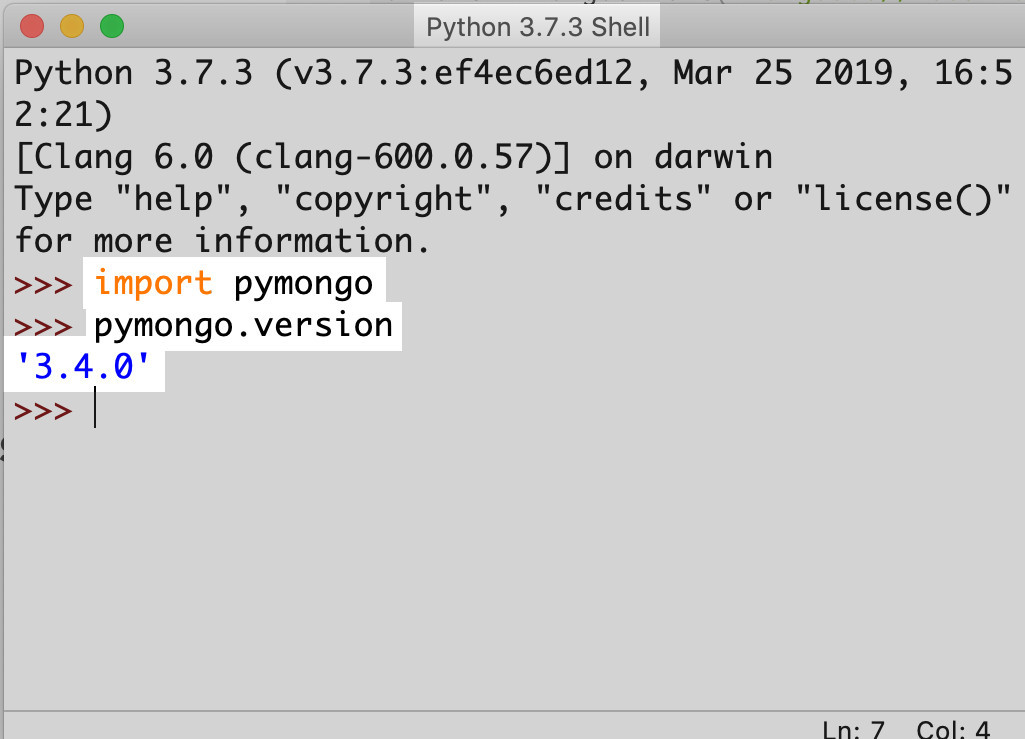
Now that we’ve successfully setup the Python MongoDB driver, let’s open up the IDLE virtual environment for Python by typing idle3 in the terminal. You can also go into the terminal’s Python interpreter by typing python3 and pressing Return.
Get the version of PyMongo installed for Python
Once you’re inside the Python environment, try importing the PyMongo library and getting its version using the following commands:
1 2 | import pymongo print ("version:", pymongo.version) |

Set up a development environment for the PyMongo MongoDB script
Next, let’s set up a development environment for our script. To do this, you’ll need to create a project directory either locally or on a server with private-key remote SSH access, that will be used to connect Python to MongoDB.
Make a new project directory for the PyMongo Python scripts
In a UNIX-based terminal we can create a directory for our Python scripts and files using the mkdir command:
1 | sudo mkdir python-mongo |
NOTE: In this example, we used python-mongo for a directory name, but you can use any name for this directory.
Create a new Python script for PyMongo inside the folder for the MongoDB project
Now, go into the new directory and create a new Python script using the touch command. Choose a unique name for the script, and remember that Python scripts use underscores (_) instead of hyphens (-) in the file names:
1 2 | cd python-mongo sudo touch my_script.py |
NOTE: Using sudo privileges will restrict the file’s permissions so that only the owner can write to it.
Edit the Python script used for the PyMongo client connection
At this point, you’re ready to edit your Python script. Use your favorite IDE or text editor to edit the Python script you just created in the PyMongo project folder. If you’re editing the script remotely, then use a terminal-based text editor like vim, gedit, or nano to edit it:
1 | sudo nano my_script.py |
Once you’re inside the script, be sure to import all of the necessary modules and libraries. In this example, only the MongoClient class of the PyMongo library is needed:
1 | from pymongo import MongoClient |
If you’re using the nano text editor in a terminal window, press CTRL+O to save any changes, and then press CTRL+X to exit out of nano once you’re finished editing the script.
Connect to the MongoDB Server using the MongoClient class in Python
After you’ve imported the MongoClient class, you’re free to use it to build a new client instance of the Python driver. This client instance will be used to make API calls:
1 | mongo_client = MongoClient() |
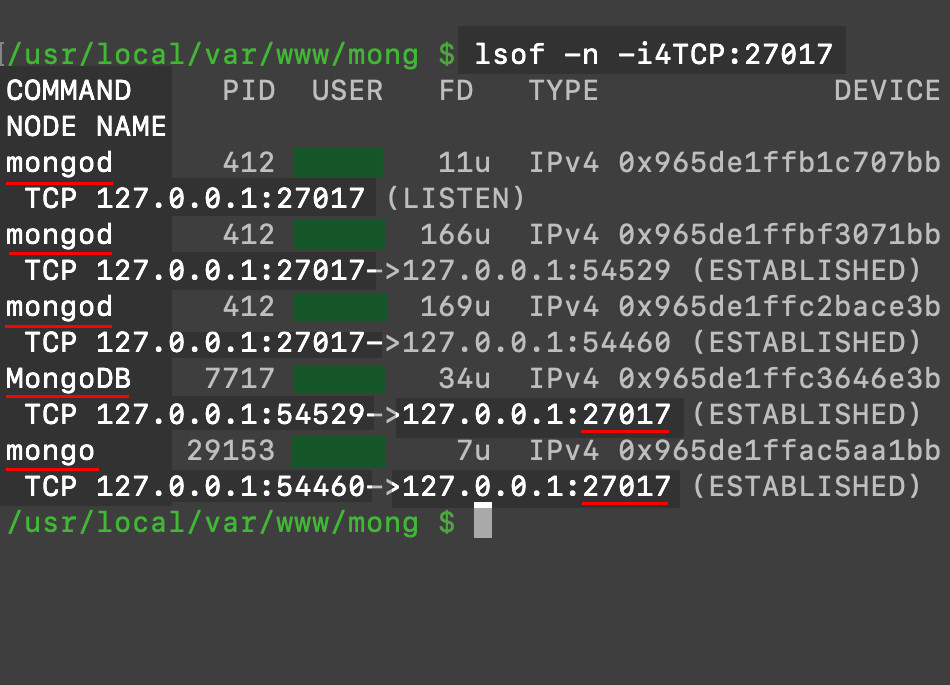
Check if MongoDB is running on port 27017
The default port that the MongoDB server runs on is 27017. If you have issues connecting to the server, use the lsof command in a terminal window to find all processes running on that port.
1 | lsof -n -i4TCP:27017 |

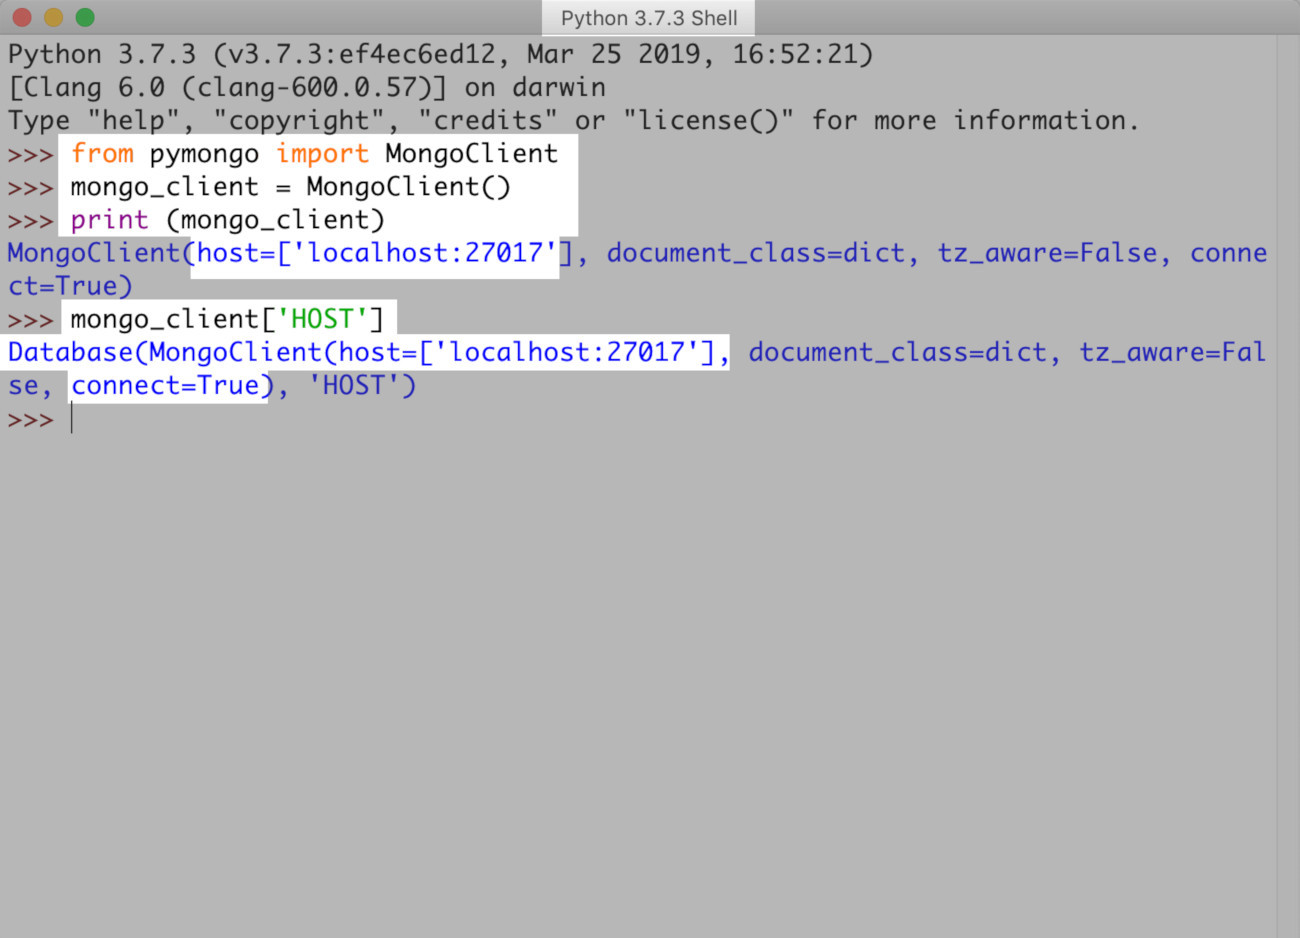
Access the MongoDB client object’s HOST attribute to have it return connection information
Once you create a client instance of the MongoClient class, you can access its attributes to have it return more information about the connection to the MongoDB server.
The code below allows you to access the HOST attribute of the client instance to get more information:
1 2 | host_info = mongo_client['HOST'] print ("host:", host_info) |

Passing the domain and port parameters
There are two different ways to pass in the host domain and server’s port as parameters: They can be passed together as one URI string parameter, or they can be passed separately with the domain name passed as a string, and the port passed as a Python integer.
In this example, the host is being passed as just one string:
1 2 | # one URI string passed as a parameter: mongo_client = MongoClient('mongodb://localhost:27017') |
The next example, however, uses two parameters—- a string for the domain, and an integer for the port that MongoDB is running on:
1 2 | # the string domain and integer port passed: mongo_client = MongoClient('localhost', 27017) |
Conclusion
If you’d like to connect to MongoDB using Python, the PyMongo library is a natural choice. The PIP package manager makes it easy to install PyMongo and get everything set up. Using the instructions and examples provided in this tutorial, you’ll have no trouble installing the MongoDB Python library and creating a script that connects to MongoDB.
1 2 3 4 5 6 7 8 9 10 11 12 13 14 15 16 | #!/usr/bin/env python3 #-*- coding: utf-8 -*- # import the complete PyMongo library and check its version import pymongo print ("pymongo version:", pymongo.version) # import the MongoClient class from pymongo import MongoClient # build a new client instance for MongoDB passing # the string domain and integer port to the host parameters mongo_client = MongoClient('localhost', 27017) host_info = mongo_client['HOST'] print ("\nhost:", host_info) |
Pilot the ObjectRocket Platform Free!
Try Fully-Managed CockroachDB, Elasticsearch, MongoDB, PostgreSQL (Beta) or Redis.
Get Started


