How to Install MongoDB on AWS Lightsail - Part 2
Introduction
In Part 1 of this article we accomplished the main substance of this tutorial which was how to install MongoDB on AWS Lightsail. We saw that it’s not terribly complicated to get a MongoDB server up and running but we never really verified it was working. We were able to start MongoDB on the server with the mongod command and got a message back letting us know that the process had started successfully. Let’s take a quick look at the last actions we took as a reminder:
1 | mongod --dbpath mongodb --port 27017 --logpath mongodb/log --logappend --fork --bind_ip_all |
1 2 3 4 | [centos@ip-172-26-10-246 ~]mongod --dbpath mongodb --port 27017 --logpath mongodb/log --logappend --fork --bind_ip_all about to fork child process, waiting until server is ready for connections. forked process: 4421 child process started successfully, parent exiting |
Now that the server is running we will show you how to connect to that MongoDB server through a program called Studio 3T that will let you create databases, collections, and documents but from a visual GUI instead of the command line. Studio 3T is one of several MongoDB GUIs including Robo 3T and MongoDB’s own Compass. These graphical interfaces are a good option if you’re unfamiliar with the command line syntax.
We’ll be using Studio 3T to provide proof that we can actually connect to our server and create data. These GUIs are a good way to sanity check that your server is working because they’re very easy to connect with a server and they are accessible for new users.
Prerequisites
- You should have Studio 3T installed. If you don’t have it installed you can find it at https://studio3t.com/download/ where it is available for Mac OS X, Windows, and Linux.
- You should have followed the previous tutorial and have a remote MongoDB server running as we configured it in Part 1.
Connect with Studio 3T
Now open up Studio 3T and hit the “Connect” button. We’ll show you as many screenshots as we can so you can easily follow along.
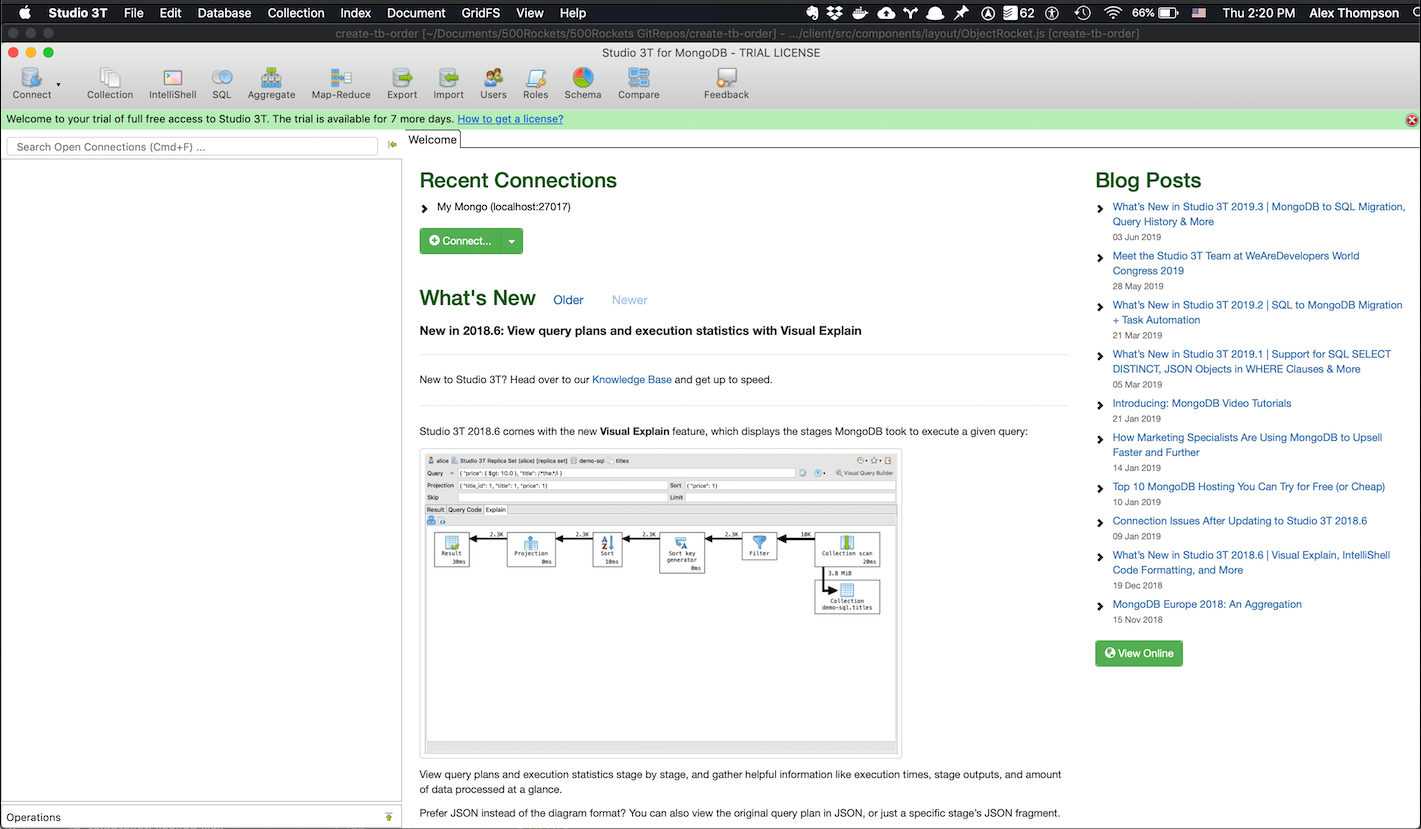
A new modal window for the Connection Manager will pop-up and you can hit “New Connection”:
A “New Connection” modal window will pop-up and prompt you for the details of the new connection you’d like to create:
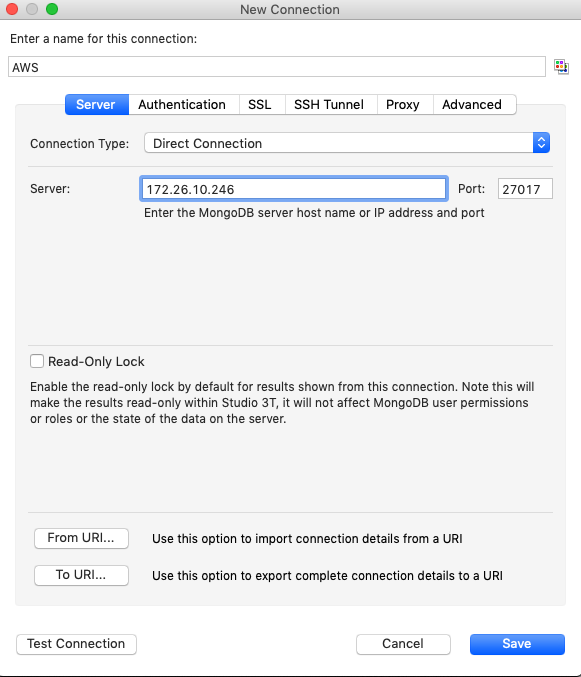
- Enter a name for the connection for example “AWS”.
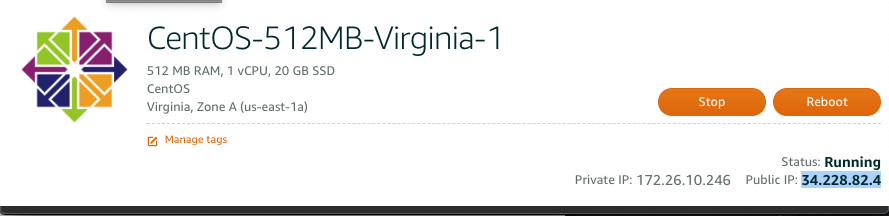
- Under the “Server” tab enter the IP Address and Port of your Server. You can get the IP Address from the Private IP Address field on the instance page on Lightsail. The port we used was the default of 27017:
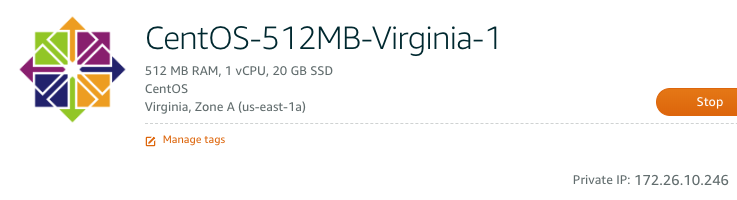
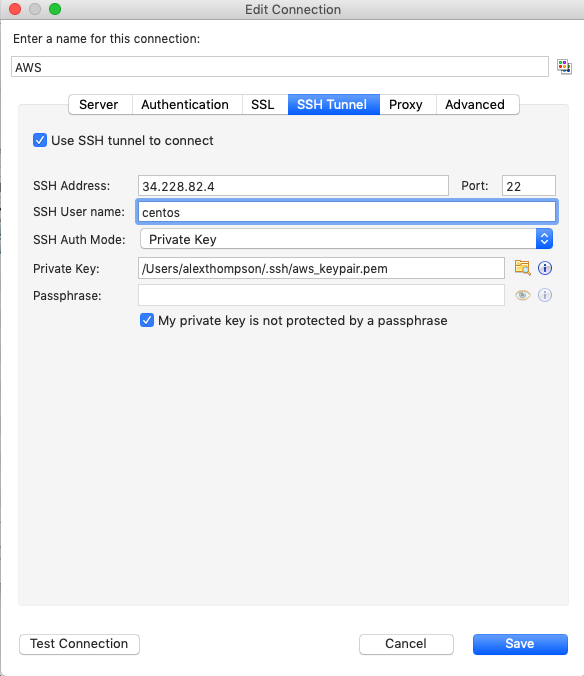
Under the SSH Tunnel tab you should enter the following: * SSH Address: Use the Public IP Address field on the instance page on Lightsail.
- Port: 22
- SSH User name: centos
- SSH Auth Mode: Choose Private Key and then browse to where you stored your keypair.
- Check “My private key is not protected by a passphrase”
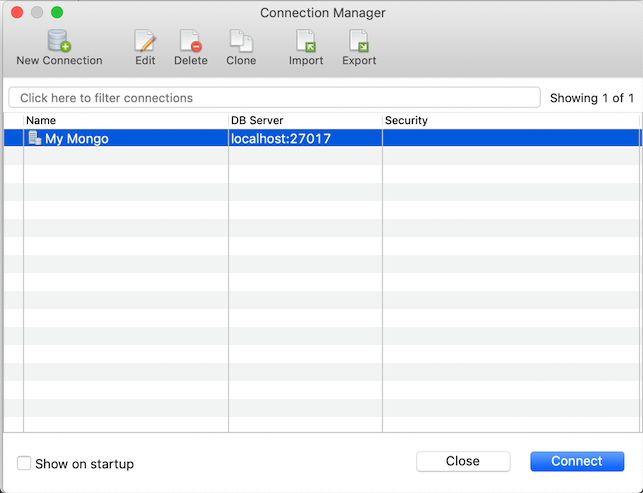
Now click save and you should be taken back to the Connection Manager with your new connection showing like so:
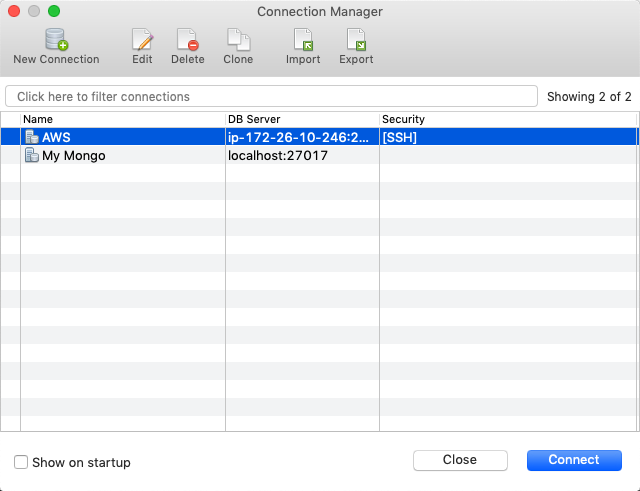
Now click connect and you will be taken to another screen which will let you start seeing and interacting with MongoDB.
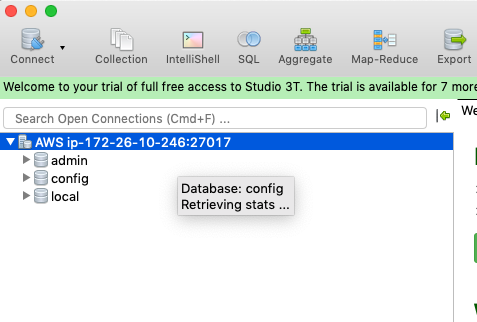
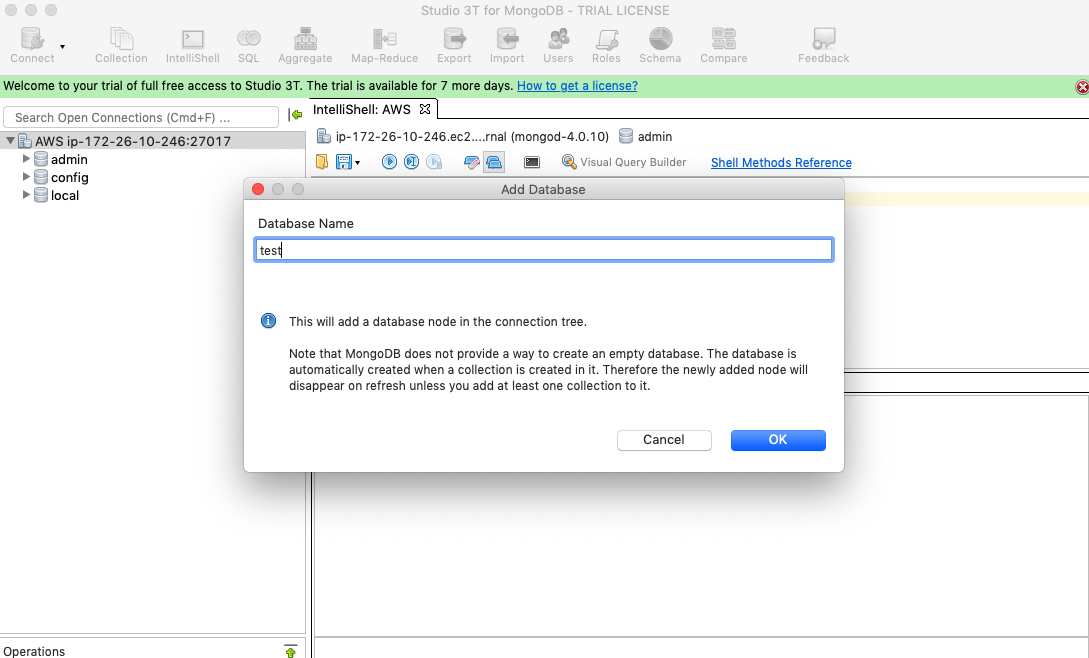
As you can see our MongoDB server has a few databases by default and now we can finally get to verifying by right-click on AWS and clicking “Add database” which will pop up a modal and let us name our database:
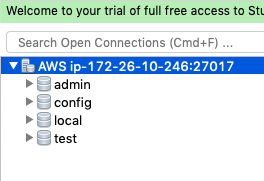
Our new database appears under the AWS instance:
Conclusion
We finally were able to verify our connection to our remote MongoDB server which we created using AWS Lightsail by using Studio 3T to connect to it and create a database. We hope you found this article useful whether you are new to AWS Lightsail or Studio 3T. This is a basic tutorial and database management complexity increases exponentially when you get to full fledged production environments. If you want someone you trust to manage your database needs please reach out to us at Object Rocket.

Pilot the ObjectRocket Platform Free!
Try Fully-Managed CockroachDB, Elasticsearch, MongoDB, PostgreSQL (Beta) or Redis.
Get Started