How to Install MongoDB on AWS Lightsail - Part 1
Introduction
In this tutorial we’ll show you step-by-step how to setup a MonoDB instance using the AWS service Lightsail. Lightsail allows you to spin up servers with operating systems of your choice and they even have installations with the whole tech stack already installed including WordPress, MEAN, and LAMP stacks. We will be creating a CentOS instance and installing MongoDB but you can pick the operating system of your choice. We’ll go through each step in detail and provide screenshots. Part 2 of this article will show you how to connect to your new MongoDB server using the graphical IDE 3T.
Prerequisites
- We recommend you have some command line experience as we will be executing a lot of terminal commands
- You should have an amazon aws account but you can always create one before you get started
Spin up a CentOS Server in Lightsail
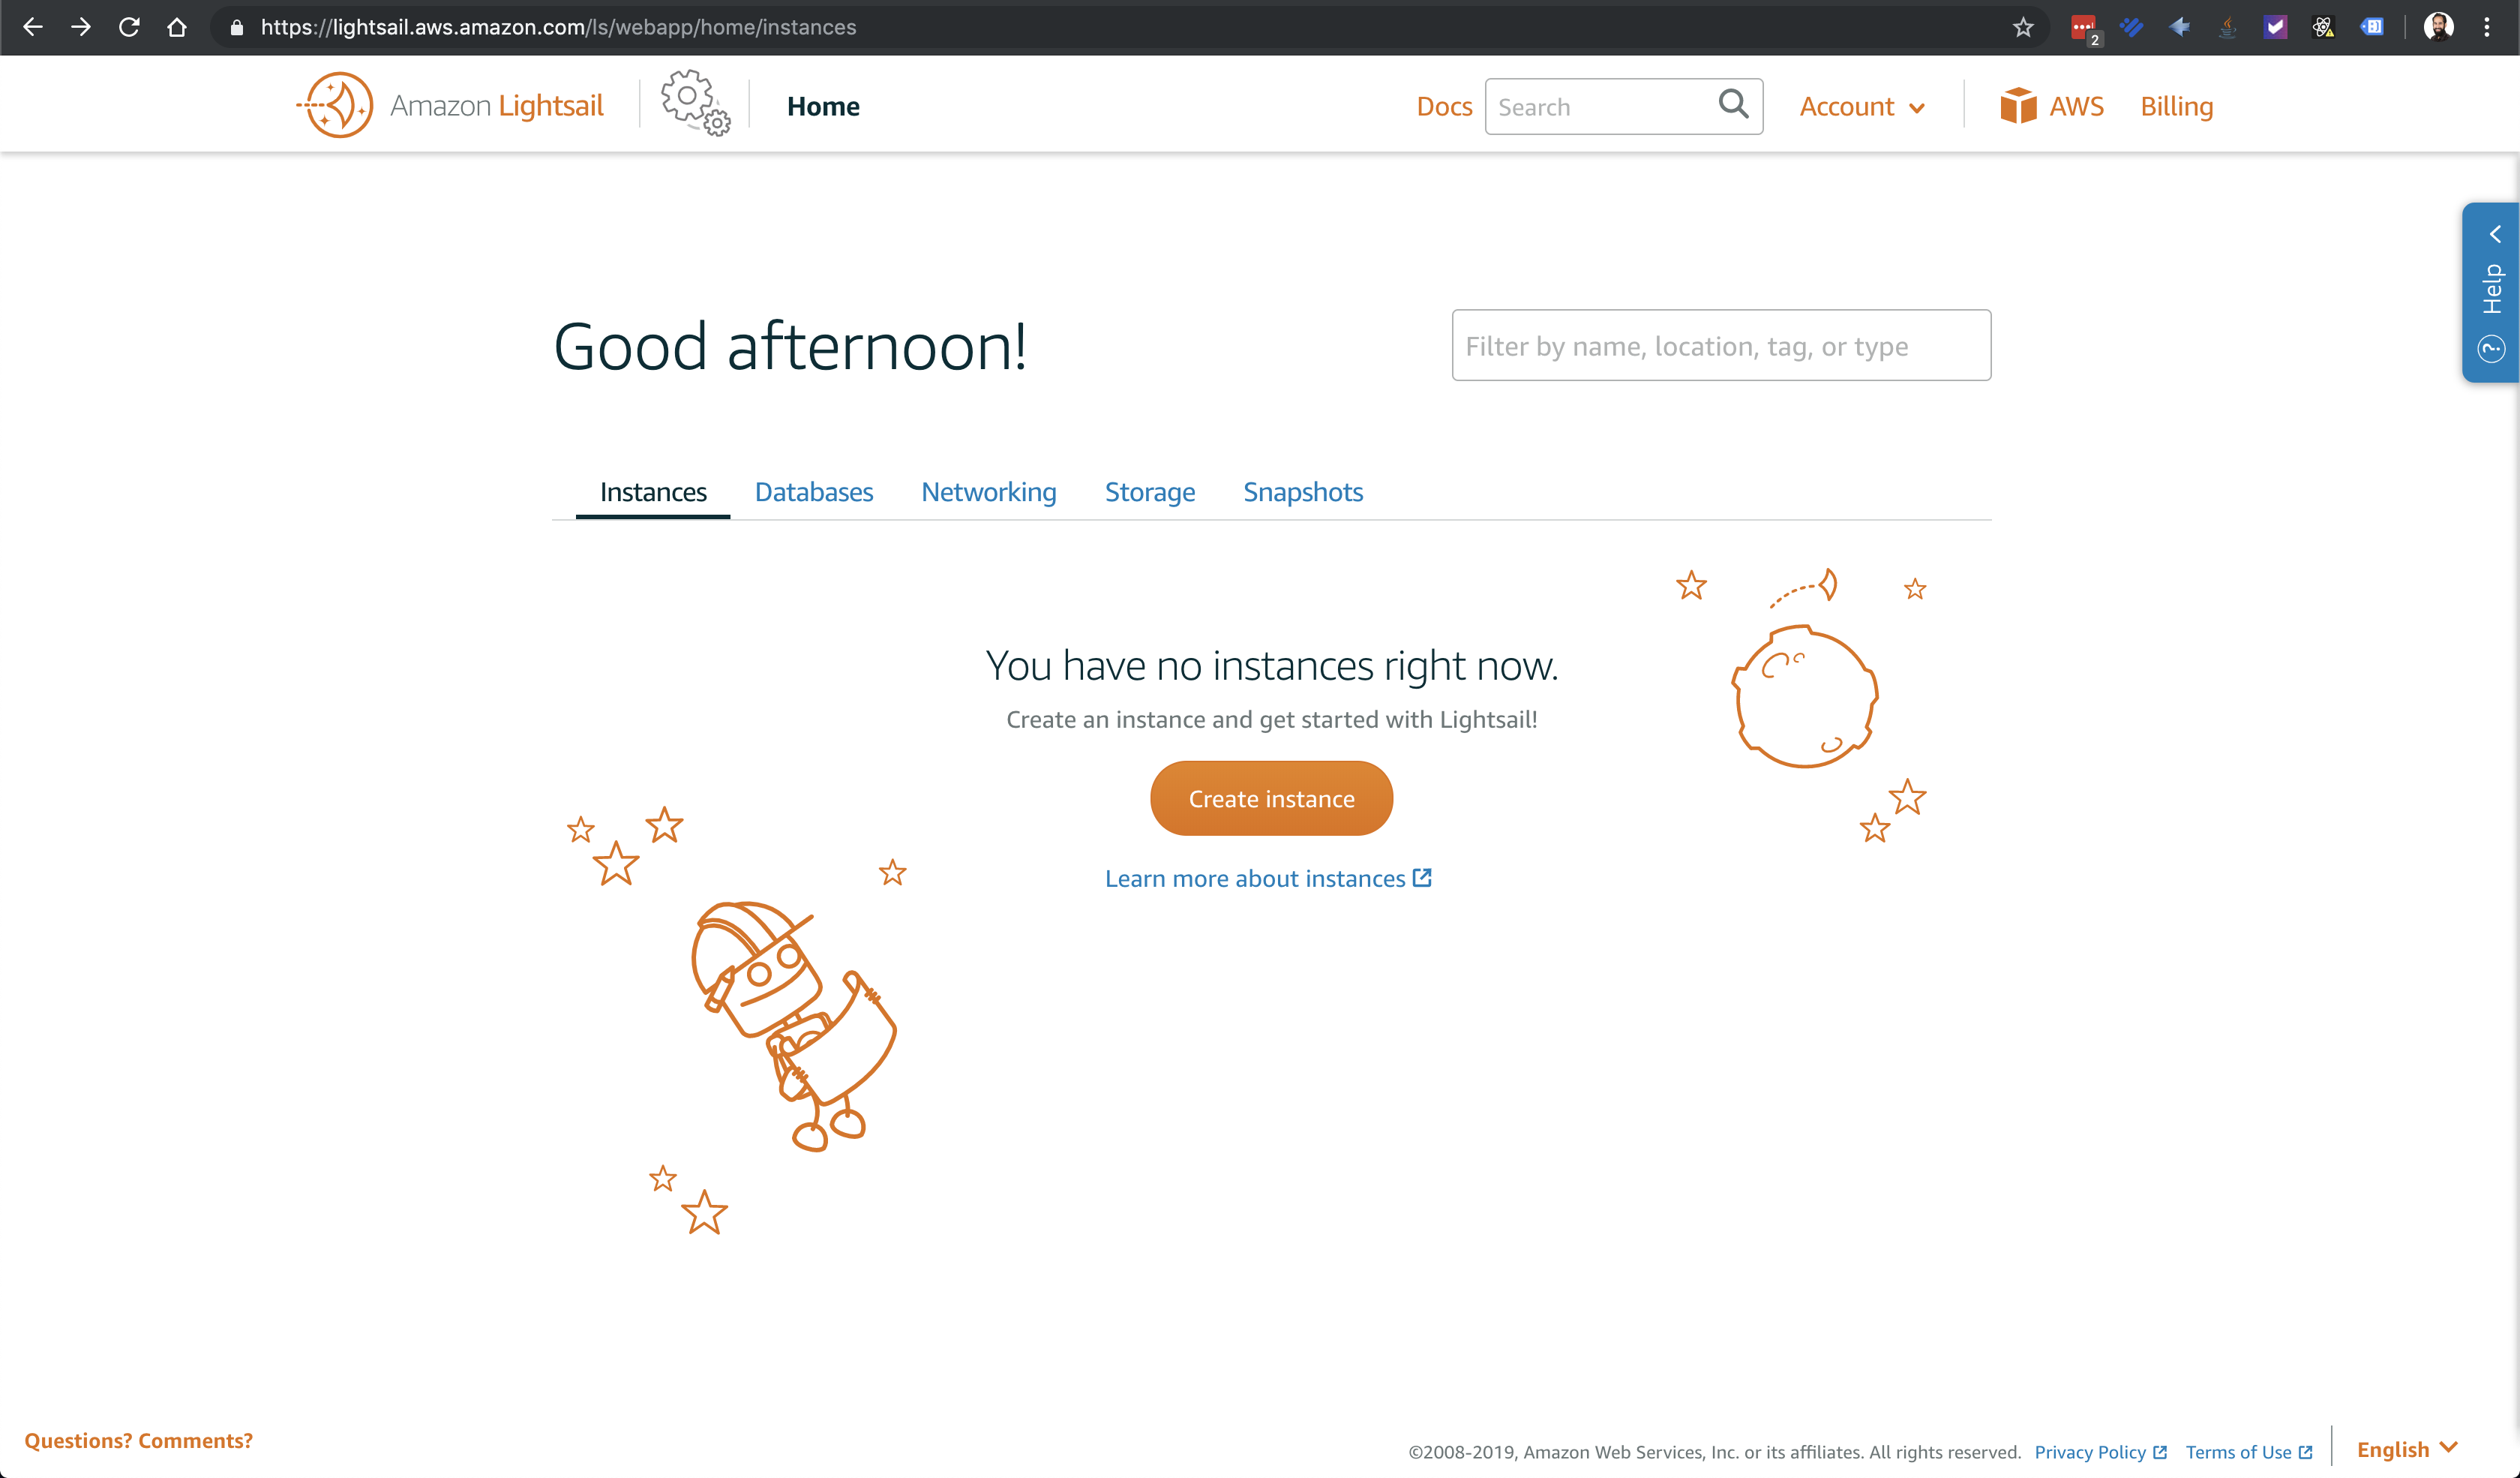
The first step is to go to AWS Lightsail. You’ll need to login with your AWS credentials to do this. You’ll see a page like below where you click the “Create Instance” button:
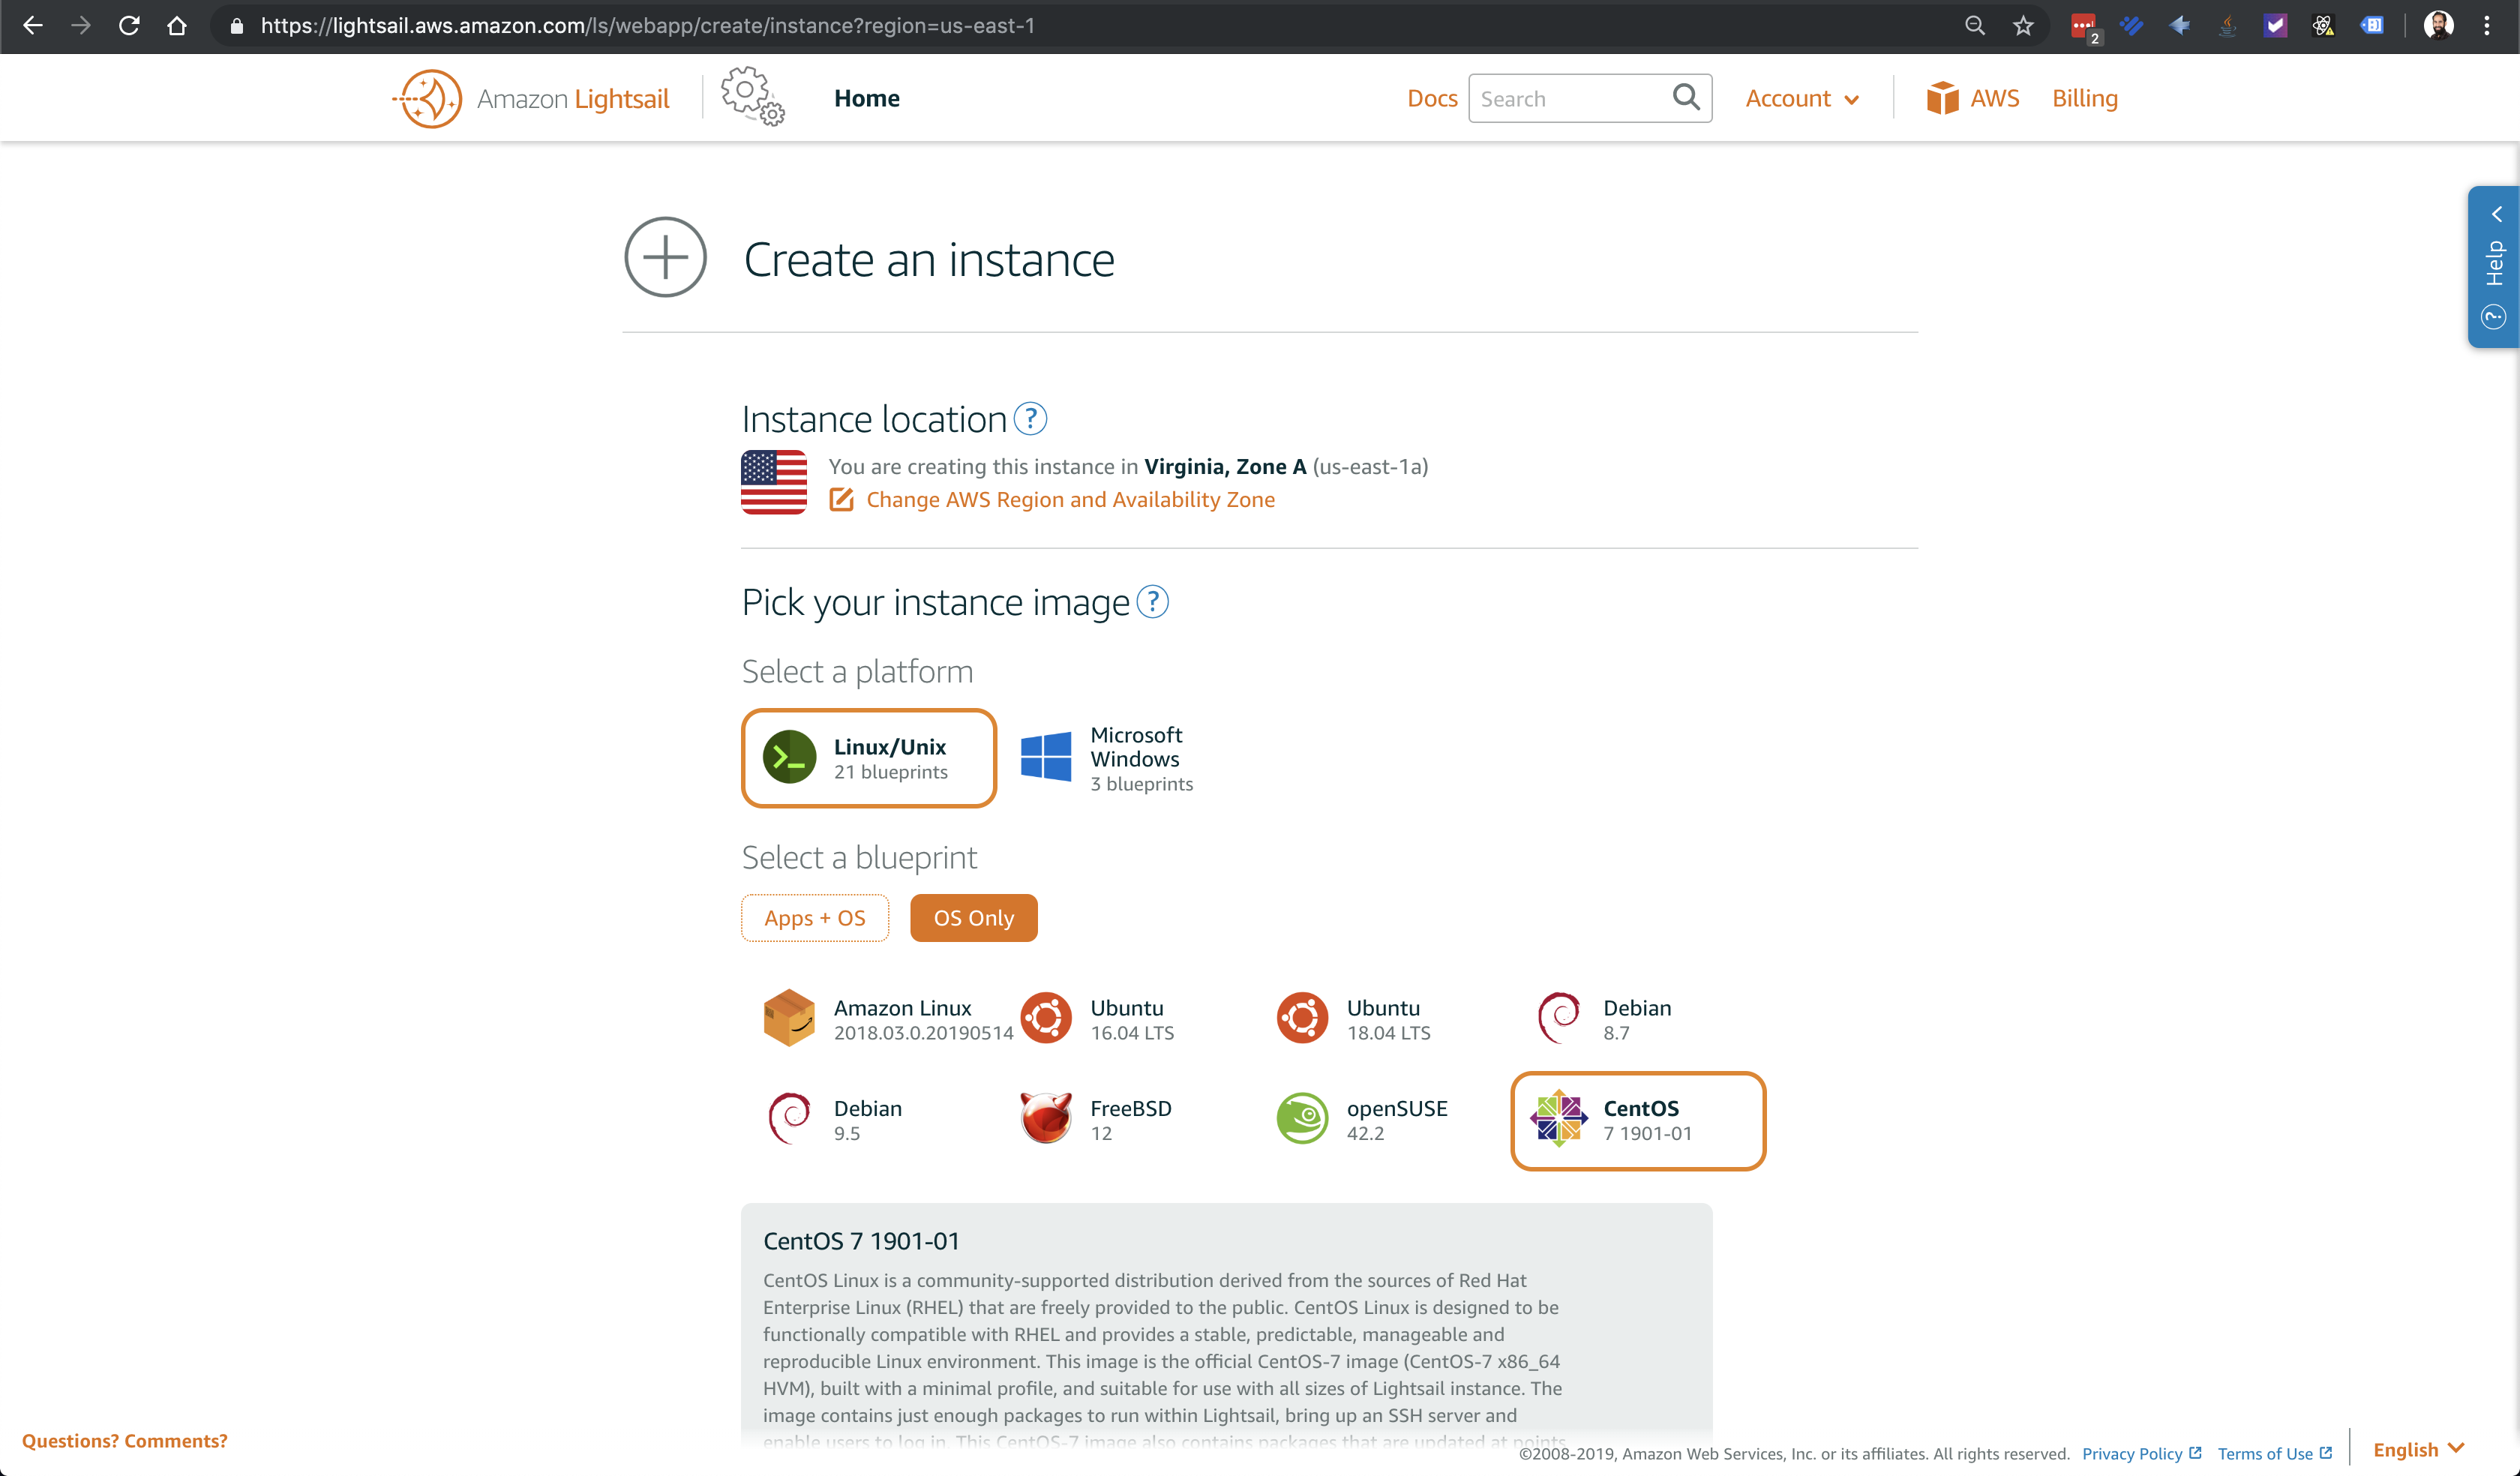
Then we selected Linux/Unix and CentOS as our operating system:
Then under SSH Key Pair Manager we clicked “Create New” and you’ll receive a prompt to name your keypair:
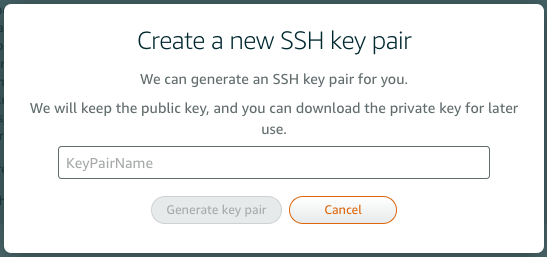
We name ours aws_keypair then we clicked “Generate Key Pair” and then “Download Key”. We then moved our key to where we typically keep ours under our user folder ~/.ssh/aws_keypair.

Under choose your instance plan we chose the one that has the free 1 month trial and then clicked “Create Instance”.
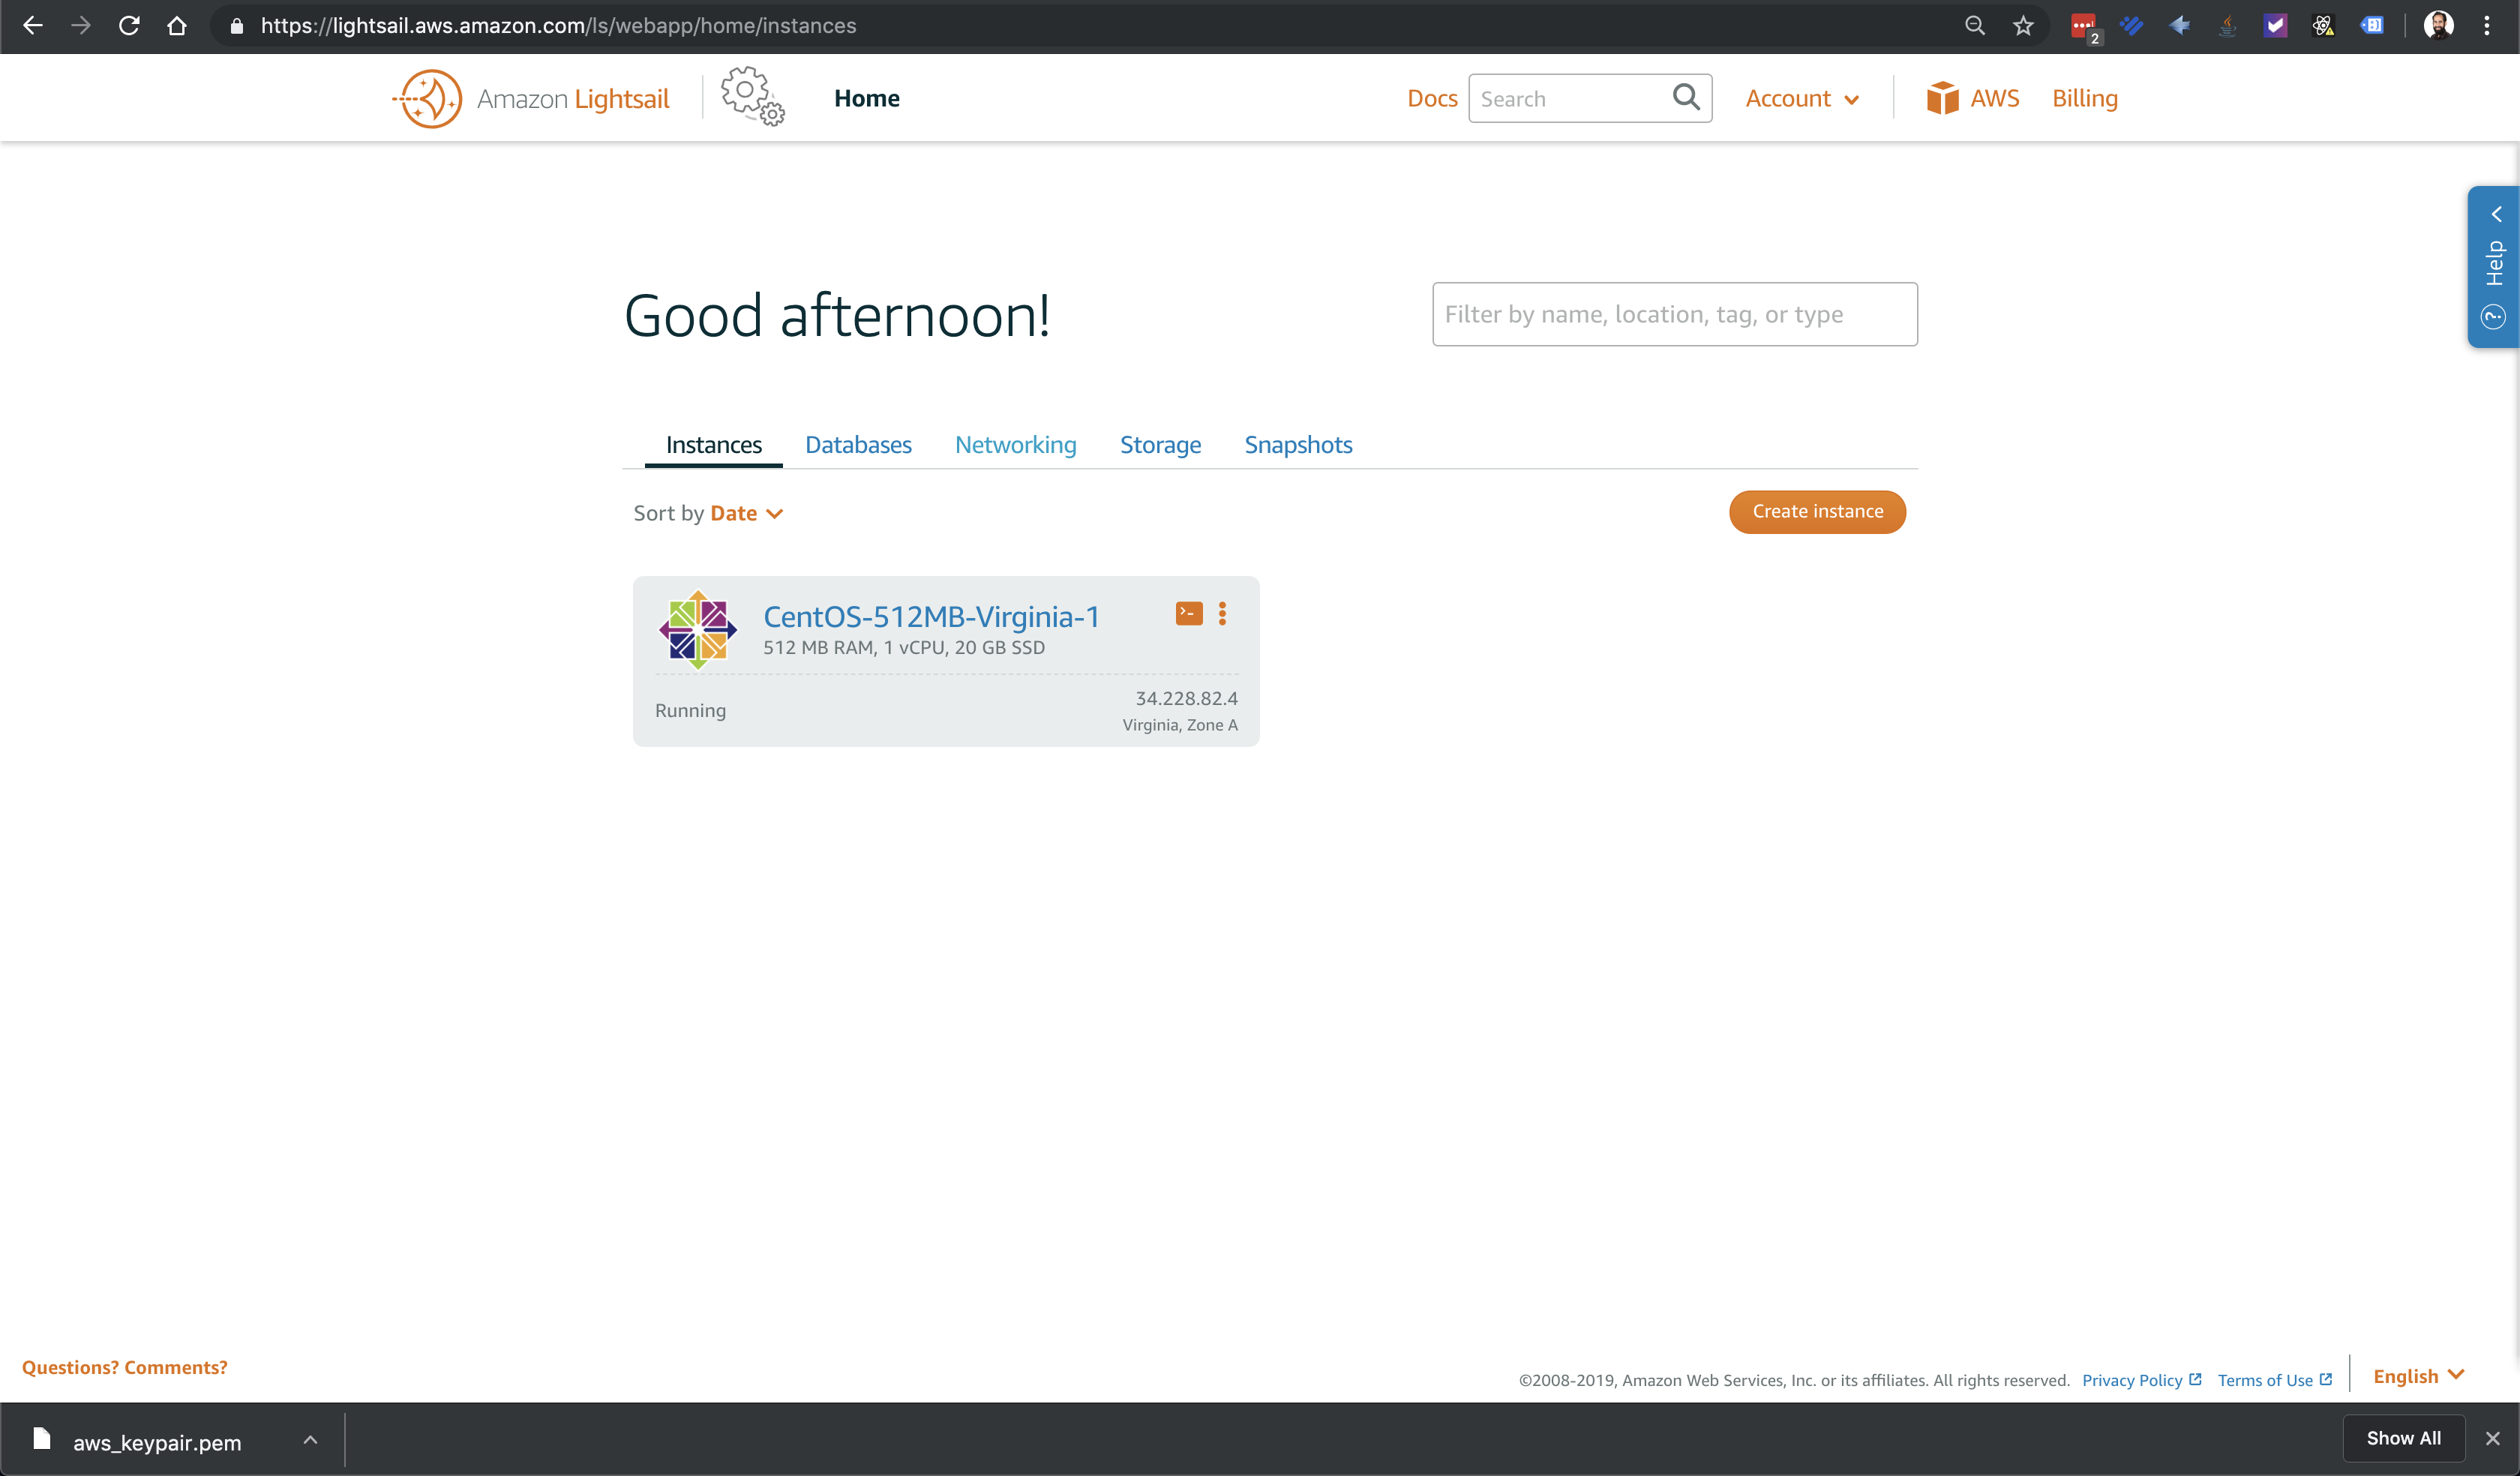
A new page will load and you should see a page similar to the following that in a few moments will let you know that your instance is Running:
SSH Into the Instance
Now we want to SSH into our server so we can eventually install MongoDB but in order to get ssh to work first we need to change the permissions on the aws_keypair we created. In a terminal navigate to the directory where you stored the keypair and execute the following:
1 | chmod 400 aws_keypair.pem |
Now ssh into the instance with the following command with the public ip address of your instance which you can find on the instance page:
1 | $ ssh centos@34.228.82.4 -i ~/.ssh/aws_keypair.pem |
You should receive a response similar to below letting you know that you’re know logged into your CentOS instance as the centos user:
1 2 | Last login: Thu Jun 6 18:18:44 2019 from 72.21.217.75 [centos@ip-172-26-10-246 ~]$ |
Installing MongoDB on the CentOS Server
Now that we have the server up and running we need to install MongoDB. To do so we’ve followed MongoDB’s official documentation and performed the following steps from the terminal ssh’d into your CentOS instance.
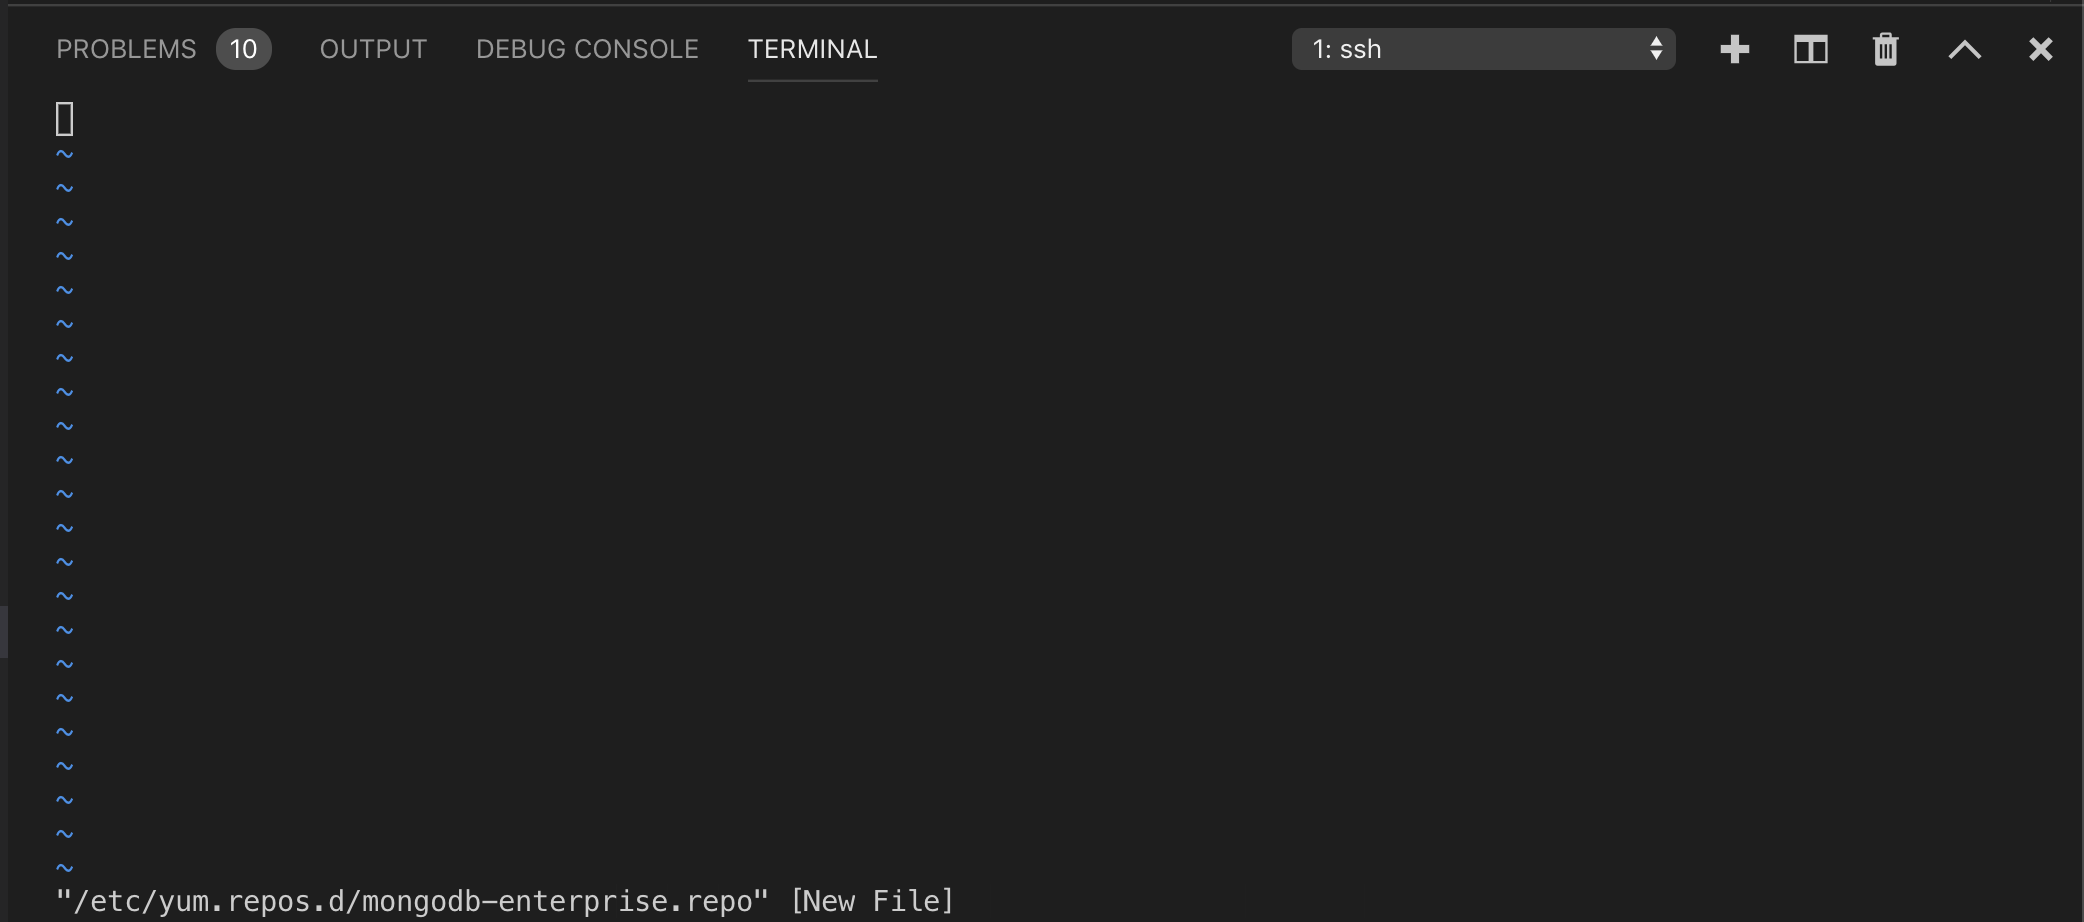
You’ll need to create a new file that will allow you to install MongoDB directly using the yum package manger. The file we’ll be creating is /etc/yum.repos.d/mongodb-enterprise.repo and you can create it with vi like so:
1 | sudo vi /etc/yum.repos.d/mongodb-enterprise.repo |
Because this file doesn’t already exist vi will create the file and open it for us for editing. It should look something like this:
First press the key i to get into “Insert Mode”. Now copy and paste the following text into that file:
1 2 3 4 5 6 | [mongodb-enterprise] name=MongoDB Enterprise Repository baseurl=https://repo.mongodb.com/yum/redhat/$releasever/mongodb-enterprise/4.0/$basearch/ gpgcheck=1 enabled=1 gpgkey=https://www.mongodb.org/static/pgp/server-4.0.asc |
Then to save and exit type :wq ( write and quit ). This will save the file and then we can install MongoDB using yum with the following command:
1 | sudo yum install mongodb-enterprise |
You’ll see a bunch of logs pass by in the terminal and you’ll receive several prompts to which you can answer y to all of them. They’ll look similar to below:
1 | Is this ok [y/d/N]: |
When MongoDB is successfully installed your terminal will look something like below:
1 2 3 4 5 6 7 8 9 10 11 | Installed: mongodb-enterprise.x86_64 0:4.0.10-1.el7 Dependency Installed: cyrus-sasl.x86_64 0:2.1.26-23.el7 cyrus-sasl-gssapi.x86_64 0:2.1.26-23.el7 perl-Storable.x86_64 0:2.45-3.el7 perl-Text-ParseWords.noarch 0:3.29-4.el7 ... perl-threads-shared.x86_64 0:1.43-6.el7 Complete! [centos@ip-172-26-10-246 ~]$ |
Now everything from MongoDB is installed. But now we need a folder that can be used as the path to store our database data. Let’s create a mongodb directory for it with the following commands.
1 2 | [centos@ip-172-26-10-246 ~]$ mkdir mongodb [centos@ip-172-26-10-246 ~]$ chmod -R 777 mongodb |
We make the folder writable because later we are gonna allow MongoDB to also create logs in this folder.
Now we need to make one MongoDB configuration change before we start it. By default MongoDB restricts you from connecting to MongoDB from anywhere other than localhost so we will comment out that configuration by opening up Mongos configuration file /etc/mongod.conf:
1 | [centos@ip-172-26-10-246 /]$ sudo vi /etc/mongod.conf |
Now scroll down to the line that says bindIp: 127.0.0.1, hit i to get into “Insert Mode” and comment it out by typing a # at the beginning of the line. This is the only change we need to make and can hit Escape to exit “Insert Mode” then type :wq to write and quit.
Start MongoDB
Finally we are set to start MongoDB. Execute the following command and we’ll dissect the flags afterward:
1 | mongod --dbpath mongodb --port 27017 --logpath mongodb/log --logappend --fork --bind_ip_all |
- –dbpath: Specifies that we want to store the database in the directory we just made
mongodb - –port: Specifies the port. We like to be explicit here and specify the port number even though this is the default.
- –logpath: We specify that we want the logs in our
mongodbdirectory under a newlogfolder. This is why we made the folder writable earlier. - –logappend: We use the logappend flag so that it appends logs to one file instead of creating multiple files for logs.
- –fork: This allows the process to run in the background without taking over our terminal.
- –bind-ip-all: This allows mongodb to accept connections from everywhere.
If MongoDB started correctly you should get a response similar to below:
1 2 3 4 | [centos@ip-172-26-10-246 ~]mongod --dbpath mongodb --port 27017 --logpath mongodb/log --logappend --fork --bind_ip_all about to fork child process, waiting until server is ready for connections. forked process: 4421 child process started successfully, parent exiting |
Now mongodb is up and running and you can start accepting connections.
Conclusion
In this step-by-step tutorial we showed you how to create a CentOS instance using the AWS service Lightsail. Then we learned how to log into that instance so that we could install MongoDB. We’ve done most of the grunt work in Part 1 of this tutorial but in Part 2 we’ll pick up where we left off and show you how to connect to MongoDB using an IDE called 3T that will make it easy for you to get started creating databases and viewing data. Thank you so much for joining us and we hope you follow along to Part 2 of this tutorial.
As always if you don’t want to deal with all the complexity that comes with configuring and managing databases in a production environment, please don’t hesitate to reach out to us at Object Rocket because we’d be delighted to manage your database.

Pilot the ObjectRocket Platform Free!
Try Fully-Managed CockroachDB, Elasticsearch, MongoDB, PostgreSQL (Beta) or Redis.
Get Started