How to access MongoDB in Node.js
Introduction
If you’re using Node.js to develop applications, you may want your apps to interact with a MongoDB database. This article can help you get started. We’ll walk you through all the steps needed to access MongoDB in Node.js, including the installation process for Node.
Prerequisite
Before proceeding with the instructions in this tutorial, make sure that MongoDB is already installed and configured on your system.
Install Node.js
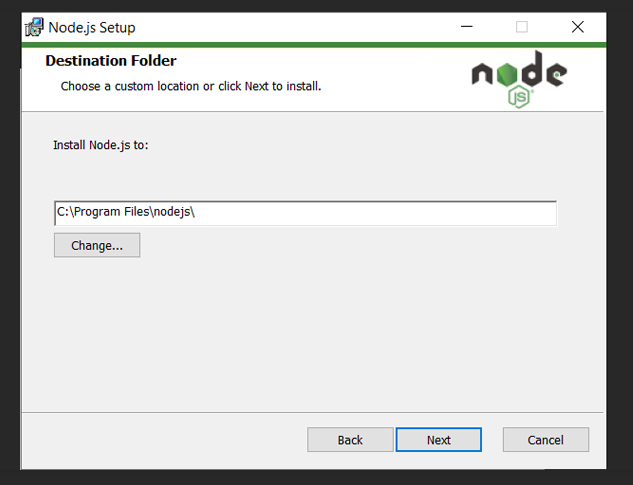
Our first task will be to install Node.js. Fortunately, this process is an easy one. We’ll need to perform these steps:
- First, download the latest version of Node.js here.
- Then, we can proceed with the installation, following the instructions provided by the installer.
Once we finish installing Node.js, we can go ahead and install a native MongoDB driver using the Node Package Manager (NPM). To do this, let’s open the command prompt and use the following command:
1 | npm install mongodb --save |
Connecting Node.js to MongoDB
Now that we’ve installed both Node.js and the MongoDB driver on our machine, we can try connecting Node and MongoDB:
1 2 3 4 5 6 7 8 9 | var MongoClient = require('mongodb').MongoClient; // Connect to the db MongoClient.connect("mongodb://localhost:27017/nodemongo",{useNewUrlParser: true, useUnifiedTopology: true}, function (err, db) { if (err) throw err; console.log("Database created!"); db.close(); }); |
In the code shown above, we use the mongodb module by importing it with the require() method. This allows us to reference the MongoClient object. By referencing the MongoClient, we gain access to one of its methods– the MongoClient.connect() method. We’ll use this method to reference a target MongoDB database.
Notice that we used the following URL in our code: mongodb://localhost:27017/nodemongo. This URL will point to the local MongoDB database. The MongoDB connect() method will create a new database if one with the same name does not already exist; otherwise, the method will return the existing database.
NOTE: We provide the following statement {useNewUrlParser: true, useUnifiedTopology: true} to avoid this error: (node:21796) DeprecationWarning: current Server Discovery and Monitoring engine is deprecated, and will be removed in a future version. To use the new Server Discover and Monitoring engine, pass option { useUnifiedTopology: true } to the MongoClient constructor.
Insert MongoDB Document
In the previous section, we showed you the code needed to make a connection between a MongoDB database and Node.js. Now, let’s look at how to insert a MongoDB document using Node.js:
1 2 3 4 5 6 7 8 9 10 11 12 13 14 15 16 | var MongoClient = require('mongodb').MongoClient; var url = "mongodb://localhost:27017/"; MongoClient.connect(url,{useNewUrlParser: true, useUnifiedTopology: true}, function(err, db) { if (err) throw err; var dbo = db.db("nodemongo"); dbo.collection('Student', function (err, collection) { if (err) throw err; collection.insertMany([{ id: 1, firstName: 'Rommel', lastName: 'Galisanao' }, { id: 2, firstName: 'LiFu', lastName: 'Chen' }, { id: 3, firstName: 'Yong', lastName: 'Heng' }, { id: 3, firstName: 'Jan', lastName: 'Park' }]); db.close(); }); }); |
In this block of code, we create a database collection using the dbo.collection() method if the collection does not exist; otherwise, the existing collection will be used.
After creating the collection, we insert four documents into it. Inserting documents into a MongoDB collection is similar to inserting records into a relational database table. The key difference is that MongoDB has a schema-less data mndel, so collections don’t need to have a predefined schema, and documents within a given collection don’t need to contain the same fields.
We can check if our documents were successfully inserted using the Mongo shell:
1 2 3 4 5 6 7 8 9 10 | > use nodemongo switched to db nodemongo > show collections Student > db.Student.find() { "_id" : ObjectId("5e1594ae3446294aec9ffc78"), "id" : 1, "firstName" : "Rommel", "lastName" : "Galisanao" } { "_id" : ObjectId("5e1594ae3446294aec9ffc79"), "id" : 2, "firstName" : "LiFu", "lastName" : "Chen" } { "_id" : ObjectId("5e1594ae3446294aec9ffc7a"), "id" : 3, "firstName" : "Yong", "lastName" : "Heng" } { "_id" : ObjectId("5e1594ae3446294aec9ffc7b"), "id" : 3, "firstName" : "Jan", "lastName" : "Park" } > |
As we can see, we were able to successfully insert documents using NodeJS.
Conclusion
If you’re developing applications in the popular Node.js runtime environment, it’s important to know how to work with MongoDB in your code. In this article, we reviewed the entire process of accessing MongoDB in Node.js, starting with the Node installation process and ending with the sample code needed to insert MongoDB documents from a Node.js application. With these instructions and code examples, you’ll be ready to make use of MongoDB in your own Node.js development.


Pilot the ObjectRocket Platform Free!
Try Fully-Managed CockroachDB, Elasticsearch, MongoDB, PostgreSQL (Beta) or Redis.
Get Started