Create React App with MongoDB - Part 4 Connecting Backend with the Frontend
Part 4: Connecting backend with the frontend
Frontend and backend are ready. Let’s connect them.
Installing and using Axios
To connect both of them, we need the Axios library. Run the following command to install the Axios.
1 | npm install axios |
Then, import Axios in the details.js file.
1 | import axios from "axios"; |
Completing the frontend
We will use the Axios to fetch data from the backend. We will use axios.get method. But first, we need to define a state in the constructor.
1 2 3 4 | this.state = { data: [], buttonClicked: false }; |
data: This will hold the details fetched from the backend. buttonClicked: This will be used to display data when the button is clicked.
This is axios is used.
1 2 3 4 5 | axios.get("http://localhost:4000/getData").then(res => { this.setState({ data: res.data }); }); |
We used the same endpoint that we defined while creating the backend. When we get the response from the backend, we have to store the data in a state. We will store the data in this.state.data.
To make this work properly, we will add this code in a lifecycle method known as componentDidMount(). This method executes before the first rendering.
1 2 3 4 5 6 7 8 9 | componentDidMount(){ axios.get('http://localhost:4000/getData') .then((res) =>{ this.setState({ data: res.data }) }); } |
Display data
Now, we have all the data. We just need to display it. Remember, the data returned is an array of objects. We have to iterate through it. We will display the data in the following way.
1 2 3 4 5 6 7 8 | this.state.data.map((data)=>{ return( <React.Fragment> <p> <b>name</b> : {data.name}</p> <p><b>age</b> : {data.age}</p> <hr/> </React.Fragment> ) |
Observe the code. We will iterate through this.state.data using the map method. Now we have to put this inside a condition. This code will only get executed when the button is clicked. And for this, we have this.state.buttonClicked.
1 2 3 4 5 6 7 8 | getDetails(){ if(!this.state.buttonClicked){ this.setState({ buttonClicked: true }) } } |
This function will be executed when the button is clicked. It will change the value of this.state.buttonClicked to true and then data will get displayed on the screen.
Let’s add everything to the details.js file.
1 2 3 4 5 6 7 8 9 10 11 12 13 14 15 16 17 18 19 20 21 22 23 24 25 26 27 28 29 30 31 32 33 34 35 36 37 38 39 40 41 42 43 44 45 46 47 48 49 50 51 52 53 54 55 56 57 58 59 60 61 62 63 64 65 66 67 68 69 70 71 72 | import React, { Component } from "react"; import axios from "axios"; export default class Details extends Component { constructor() { super(); this.state = { data: [], buttonClicked: false }; this.getDetails = this.getDetails.bind(this); } componentDidMount() { axios.get("http://localhost:4000/getData").then(res => { this.setState({ data: res.data }); }); } getDetails() { if (!this.state.buttonClicked) { this.setState({ buttonClicked: true }); } } render() { return ( <div className="container-fluid" style={{ marginTop: "30px" }}> <div className="row"> <div className="col-xs-12" style={{ textAlign: "center" }}> <button className="btn btn-primary" style={{ position: "absolute", marginLeft: "50%" }} onClick={this.getDetails} > Click </button> <div className="container-fluid" style={{ position: "absolute", textAlign: "center", marginTop: "50px" }} > {this.state.buttonClicked ? this.state.data.map(data => { return ( <React.Fragment> <p> {" "} <b>name</b> : {data.name} </p> <p> <b>age</b> : {data.age} </p> <hr /> </React.Fragment> ); }) : null} </div> </div> </div> </div> ); } } |
This is how details.js file looks now.
Running the application.
The frontend is ready, the backend is ready, and both are connected. Let’s see how it looks in the browser.
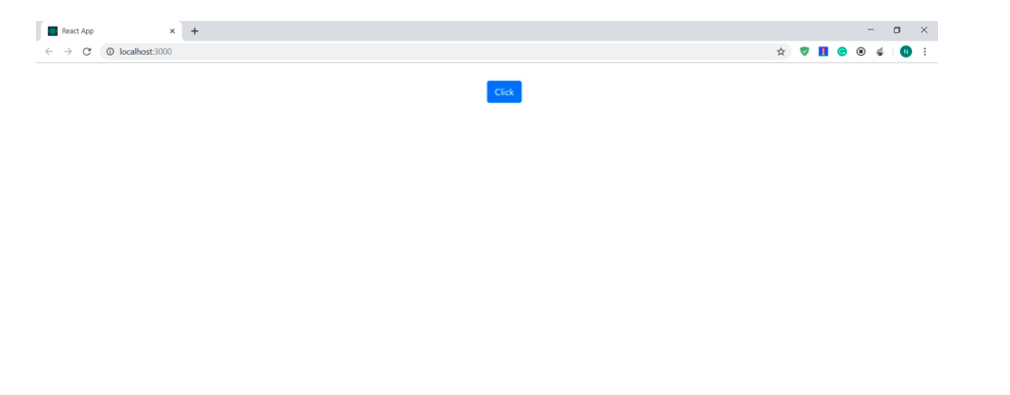
Let’s click on the button.
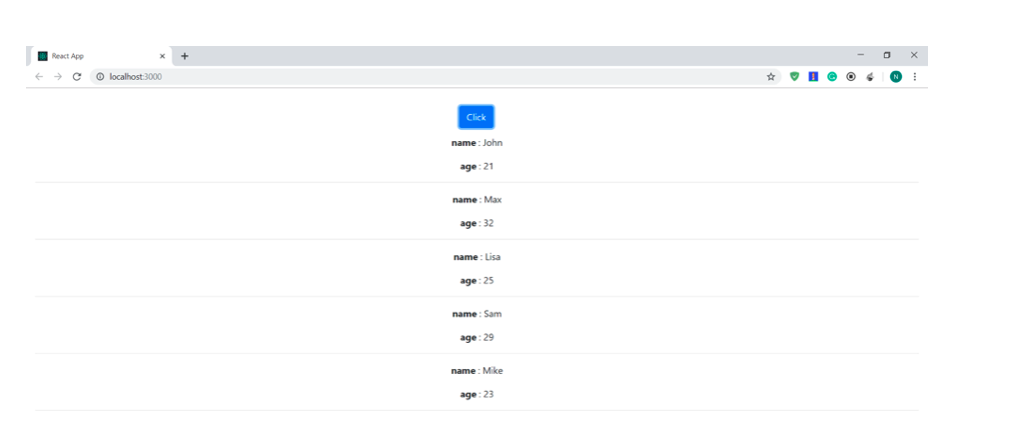
Everything works great!
Conclusion
So we created a simple web application using the MERN stack. First, we created the backend using Node.js, mongoose, and MongoDB. Then, we created the frontend using React. Finally, we connected both of them using the Axios library.


Pilot the ObjectRocket Platform Free!
Try Fully-Managed CockroachDB, Elasticsearch, MongoDB, PostgreSQL (Beta) or Redis.
Get Started