Connect to Mongo using Mongoose
Introduction
Mongoose is used to manage the relationship among data. It is an object-oriented model for Nodejs and MongoDB. It also provides schema validation. But before we can do anything with data, we need to connect to MongoDB. It is fairly easy with mongoose. In this article, we will discuss how to connect to Mongo using mongoose.
Installing and using mongoose
The first step is to install mongoose. Type the following command.
1 | npm install mongoose --save |
After mongoose is installed, created a new javascript file. Then we have to import the mongoose module in it.
1 | var mongoose = require("mongoose"); |
We will also be using express. So let’s install express.
1 | npm install express --save |
Import the module and create an instance of it.
1 2 | const express = require("express"); const app = express(); |
Setting up connection To set up a connection, we need a URI. Have a look at the following URI.
1 | var uri = "mongodb://127.0.0.1:27017/details"; |
There are two parts to this URI.
127.0.0.1:27017 – MongoDB runs on port 27017 on the local machine. If this does not work, try using localhost instead of 127.0.0.1.
details – This is the name of the MongoDB database that we will connect.
Several more parameters can be inserted in the URI. But this is the minimum we need to establish the connection.
Creating a connection using the connect() method
Mongoose provides the connect() method that is used to establish a connection with MongoDB. The connect() method can be invoked by using the instance of the mongoose module we created earlier. We have to pass the URI to it.
1 | mongoose.connect(uri) |
We have set up the default mongoose connection. Let’s get this default connection.
1 | const connection = mongoose.connection |
Next, let’s start the server using the connection we just created.
1 2 3 | connection.once('open', function() { console.log("MongoDB database connection established successfully"); }) |
The connection will be established when we run the command. But before that, let’s use the listen() method to start the server at a specific port.
1 | var port = 4000 |
Earlier, we installed and then created express’s instance. Let’s use it to invoke the listen() method.
1 2 3 | app.listen(port, function() { console.log("Server is running on Port: " + port); }); |
The listen() method has two parameters – the port number on which the server will run and a callback function.
Now everything is ready. This is how our file looks now.
1 2 3 4 5 6 7 8 9 10 11 12 13 14 15 16 17 | var mongoose = require('mongoose'); const express = require('express'); const app = express(); var port = 4000 var uri = 'mongodb://127.0.0.1:27017/details' mongoose.connect(uri) const connection = mongoose.connection connection.once('open', function() { console.log("MongoDB database connection established successfully"); }) app.listen(port, function() { console.log("Server is running on Port: " + port); }); |
Let’s run the server and check what gets displayed in the console. I am using nodemon to run the server.
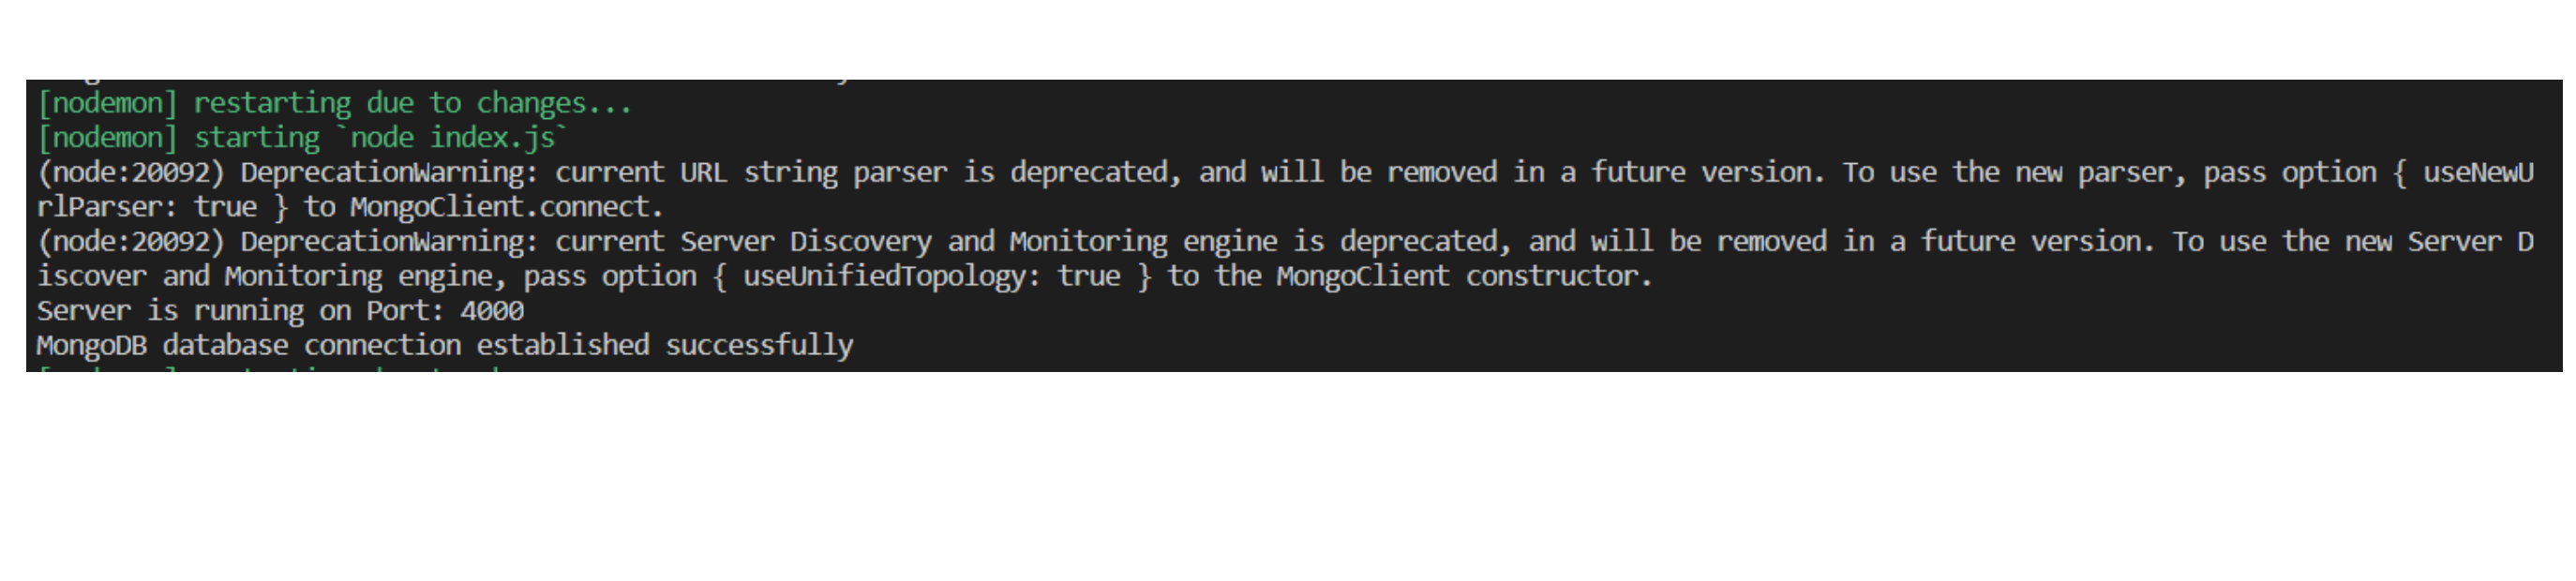
The server is running on port 4000 and connection is also established successfully. But it shows a couple of warnings. Just pass the following object as the second parameter to the connect() method to remove the warnings.
1 | { useUnifiedTopology: true, useNewUrlParser: true} |
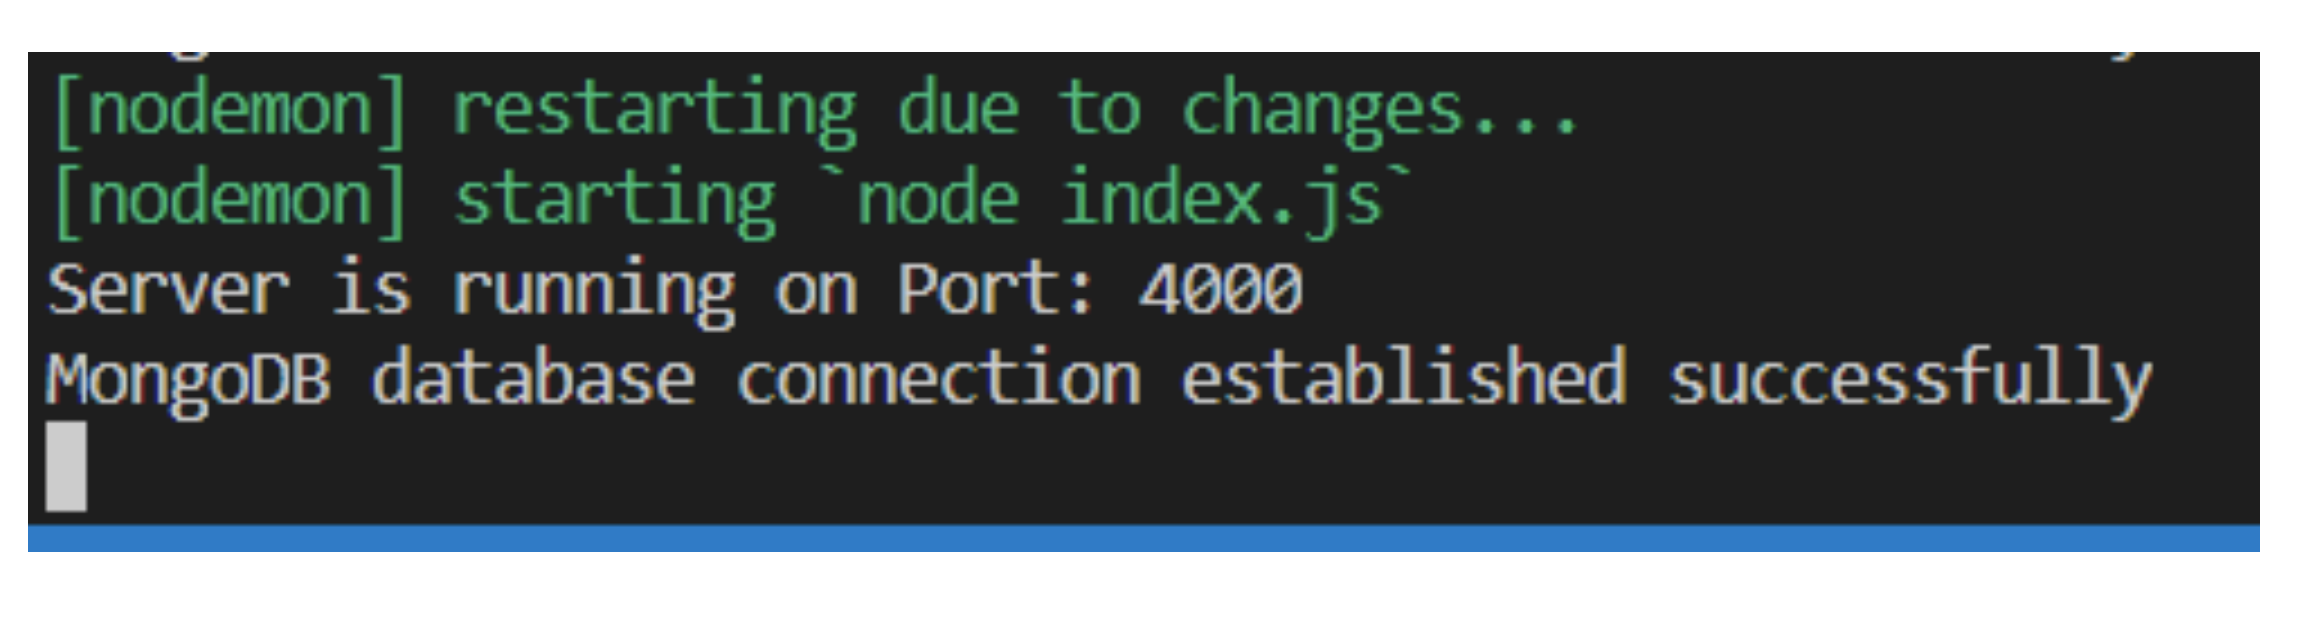
And this fixes the warnings.
Conclusion
Thank you for joining us for another tutorial on MongoDB using Mongoose. If you need some database expert help please don’t hesitate to reach out to us at Object Rocket.

Pilot the ObjectRocket Platform Free!
Try Fully-Managed CockroachDB, Elasticsearch, MongoDB, PostgreSQL (Beta) or Redis.
Get Started